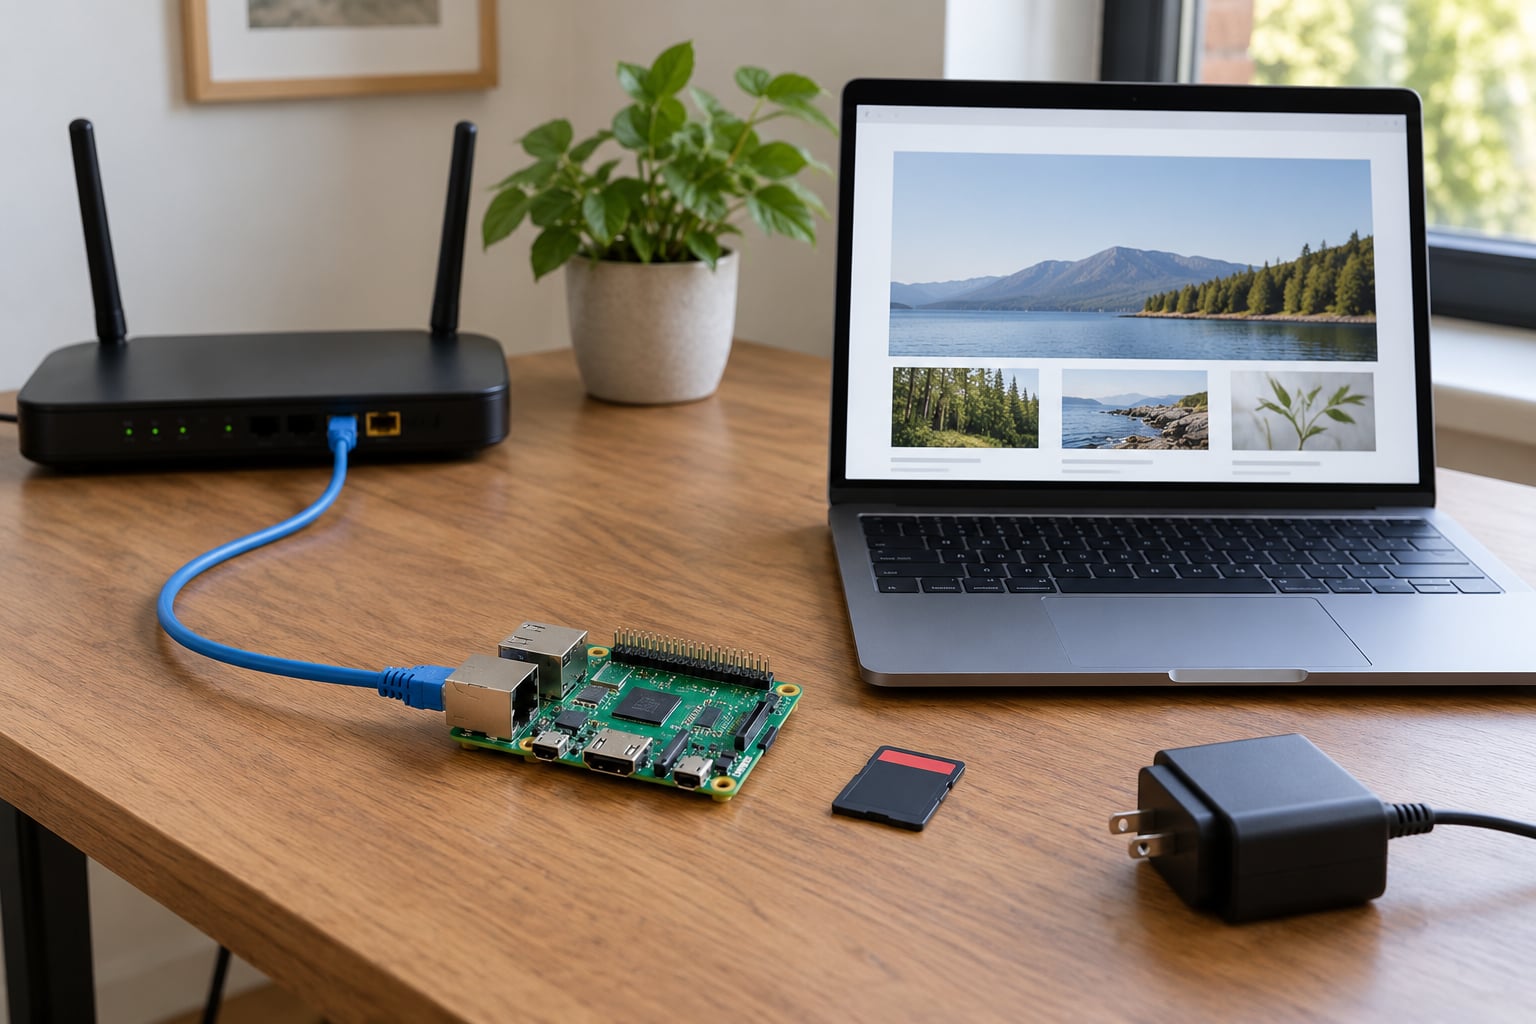
To run a website on a Raspberry Pi, install a web server such as Apache or nginx on Raspberry Pi OS Lite, drop your HTML, CSS and JavaScript files into its document root, then point browsers at the Pi’s local IP address on port 80. Publishing it to the internet is a second, separate step, and a tunnel handles that without opening a single port on your router.
That is genuinely the whole idea, and the honest part is how much hardware the job needs. A Pi serves a personal blog, a portfolio, a landing page or a home-lab dashboard without trouble. It is not the right box for a busy store or anything that needs to survive a traffic spike, and I will show you how to tell which side of that line your site sits on.
The steps below assume a Raspberry Pi 4 or 5 running the current Debian-based Raspberry Pi OS Lite 64-bit image, written with Raspberry Pi Imager, with SSH enabled. Every command is meant to be pasted as written, and each step ends with a way to check that it actually worked.
Table of Contents
- What You Need
- How to Run a Website Locally
- Step-by-Step
- Step 1: Install Raspberry Pi OS and Enable the Server
- Step 2: Install Apache, PHP and MariaDB Only If Needed
- Step 3: Create a Least-Privilege Web User and Document Root
- Step 4: Copy the Website Files
- Step 5: Configure an Apache Virtual Host
- Step 6: Test the Site on the Pi and Another Device
- Step 7: How to Run a Website on a Raspberry Pi from the Internet
- Step 8: Protect the Server and Keep It Running
- Common Mistakes
- Connection refused when you open the address
- A 403 Forbidden error
- A 500 Internal Server Error
- The wrong site loads
- ServerName or hostname errors in the log
- Wi-Fi drops and the site goes offline
- Cloudflare Tunnel errors
- The card is full or the site has slowed to a crawl
- It works at home and fails everywhere else
- Frequently Asked Questions
- Conclusion
What You Need
Half of this list is required to get a page on screen at all. The other half only matters if other people on the internet need to reach it.
Required to run a site on your local network
- A Raspberry Pi. A 4GB or 8GB Pi 5 is the comfortable choice. A Pi 4 with 2GB works for static pages, and a Pi Zero 2 W can serve a very small static site, though it has little headroom for anything dynamic.
- Storage. A 32GB or larger microSD card gets you started. If the Pi will be powered on continuously, boot from a USB SSD instead and you avoid the write wear that shows up on cards after a few months.
- Power. The official USB power supply for your board. Undervoltage throttling is a common cause of a Pi that feels inexplicably slow.
- Network. Ethernet is the better option and removes a whole class of problems. Wi-Fi works, but a dropped association takes your site offline until the Pi reconnects.
- Raspberry Pi Imager on a laptop, to write the operating system image and turn SSH on before the first boot.
- Your website files. A single index.html is enough to test the pipeline before you move a real site across.
Only needed if the site is public
- A domain name. Optional for testing, effectively required for a public site, since visitors should not have to type an IP address.
- Router access. You need the admin page of your own router for port forwarding and for a DHCP reservation that pins the Pi’s local IP.
- A Cloudflare account. A free account is enough to run a Cloudflare Tunnel, which is the exposure method I recommend and cover in the last big step.
- A DDNS client such as DuckDNS, if you choose port forwarding over a tunnel and your public IP changes.
How to Run a Website Locally

Before any of the configuration, it helps to picture the four moving parts. They are simple, and once you can name them, error messages stop being mysterious.
- The web server. A process such as Apache or nginx that listens on port 80 and answers HTTP requests.
- The document root. The directory it reads files from. Apache uses /var/www/html out of the box, and a virtual host lets you point at any directory you like.
- The IP address. Your router hands the Pi a local address, typically something like 192.168.1.50. Other devices on the same Wi-Fi or Ethernet can reach that address directly.
- The route to the public internet. Either a tunnel that dials out to a service, or port forwarding on the router that lets inbound traffic reach the Pi. The tunnel is safer and simpler.
A request from a browser travels like this: the browser asks for a page, the server reads the matching file from the document root, and the server sends the file back. That is the whole mechanism for a static site. For a dynamic site, the server passes the request to an application running on a different local port, such as Node or PHP, and returns whatever the application produced. That second arrangement is called a reverse proxy, and the same server can do both jobs.
Apache, nginx or Caddy: pick one and stick with it
| Web server | Configuration style | HTTPS handling | Best on a Pi when |
|---|---|---|---|
| Apache | Directory-based, more directives to learn | Needs Certbot alongside it | You are following older tutorials or migrating a site that expects .htaccess |
| nginx | One clean server block, low memory use | Needs Certbot alongside it | You want speed and a reverse proxy for a Node or Python app |
| Caddy | Shortest config, almost no boilerplate | Automatic and self-renewing | You want HTTPS without extra tooling or cron jobs |
This guide uses Apache because most Raspberry Pi tutorials, forum answers and search results assume it, which means the fixes you find when something breaks will match the commands here. If you already know nginx, the same sequence applies with different package names and a different file at /etc/nginx/sites-available.
Step-by-Step
Step 1: Install Raspberry Pi OS and Enable the Server
Open Raspberry Pi Imager, choose your Pi model, select Raspberry Pi OS Lite (64-bit) as the operating system, pick your microSD card, then open the gear icon for advanced options.
Set a hostname, create your user with a password, tick SSH, and tick Erase storage if the card previously held something else. Write and eject the card, then boot the Pi with a keyboard and screen attached the first time, or headless if you have already confirmed SSH works. On a Pi 5 the USB-C power port is the power input, and you need a micro-HDMI to HDMI adapter to see the display.
Find your address and confirm the system is current:
hostname -I
sudo apt update
sudo apt full-upgrade
Worked when hostname -I prints an address such as 192.168.1.50, and the upgrade finishes without errors. If you booted headless, connect over SSH with ssh [email protected]. From here on, run commands as that user with sudo.
Step 2: Install Apache, PHP and MariaDB Only If Needed
Apache alone serves static files, which covers a hand-written site, a Hugo or Jekyll build, or a plain landing page. That is all this command installs:
sudo apt install apache2 -y
Check that it is listening:
sudo systemctl status apache2 --no-pager
ss -tlnp | grep ':80'
You should see active (running) and a listener on port 80. If you do not, start it with sudo systemctl enable --now apache2.
PHP and MariaDB are only necessary for a site that generates pages on request, such as WordPress. Add them when you need them rather than by default:
sudo apt install php libapache2-mod-php mariadb-server -y
sudo a2enmod php8.2
Admins on r/selfhosted repeat this advice constantly: install the minimum, confirm the simple case works, and add application servers only when a project actually requires them. A Pi 5 with 8GB runs WordPress acceptably for light traffic, and a Pi 3B with 1GB generally does not.
Step 3: Create a Least-Privilege Web User and Document Root
The default Apache install serves /var/www/html as the www-data user. For anything you will maintain, a dedicated account with its own directory is cleaner. It also means a compromised script is not running as root on your machine.
sudo adduser --system --group --home /srv/pisite webadmin
sudo mkdir -p /srv/pisite
sudo chown -R webadmin:webadmin /srv/pisite
sudo find /srv/pisite -type d -exec chmod 755 {} ;
sudo find /srv/pisite -type f -exec chmod 644 {} ;
Directory permissions of 755 and file permissions of 644 are the sane defaults: Apache can read everything, and only the owning account can write. Do not reach for 777 to make an error disappear. It rarely fixes anything and it makes the server writable by every local account on the Pi.
Verified with ls -la /srv/pisite, where the owner column reads webadmin.
Step 4: Copy the Website Files
For a quick smoke test, create a single page directly on the Pi:
echo '' | sudo tee /srv/pisite/index.html
For a real site, upload it from your laptop with SFTP or scp. Copy to a temporary path first, then move the files into place, because a direct copy into a directory you do not own can leave you with a mess of files owned by your desktop user:
scp -r ./site [email protected]:/tmp/site
ssh [email protected] 'sudo mv /tmp/site/* /srv/pisite/ && sudo chown -R webadmin:webadmin /srv/pisite'
Confirm what actually landed:
ssh [email protected] 'ls -la /srv/pisite'
A built static site usually has an index.html at the top level. If your generator puts files in a public or dist folder, that inner folder is the document root, not the project root.
Step 5: Configure an Apache Virtual Host
A virtual host tells Apache which directory to serve for a given name, so you can run several sites on one Pi. Create the config file:
sudo nano /etc/apache2/sites-available/pisite.conf
Paste this in, then save with Ctrl+O and exit with Ctrl+X:
<VirtualHost *:80>
    ServerName pisite.local
    DocumentRoot /srv/pisite

    <Directory /srv/pisite>
        Options -Indexes +FollowSymLinks
        AllowOverride All
        Require all granted
    </Directory>

    ErrorLog ${APACHE_LOG_DIR}/pisite-error.log
    CustomLog ${APACHE_LOG_DIR}/pisite-access.log combined
</VirtualHost>
Enable it and validate before reloading, because a syntax error leaves the server down if you skip the check:
sudo a2ensite pisite
sudo apache2ctl configtest
sudo systemctl reload apache2
configtest printing Syntax OK means the config parsed. Anything else names the file and line to fix. For a real domain, change ServerName to your domain name and add a matching A record in DNS.
Step 6: Test the Site on the Pi and Another Device
Test locally before touching anything outside your network. First from the Pi itself:
curl -I http://pisite.local
curl -s http://pisite.local | head -5
A response of HTTP/1.1 200 OK with your content in the body means the server, the document root and the permissions all line up. If the name does not resolve on the Pi itself, use the raw address instead: curl -I http://192.168.1.50.
Then open the same address in a browser on a phone or laptop joined to the same network. If it works there, the Pi side is finished and every remaining problem lives in your router, your DNS or the tunnel. That split saves hours of guessing later.
Step 7: How to Run a Website on a Raspberry Pi from the Internet
Check one thing before you configure anything: whether you even have a public IP address. Compare the WAN IP shown on your router’s status page with what a search for my IP returns. If the router shows an address in the range 100.64.0.0/10, you are behind carrier-grade NAT and port forwarding cannot work, no matter how you configure it. A Cloudflare Tunnel works regardless, which is why it is the default here.
sudo mkdir -p --mode=0755 /usr/local/lib/cloudflared
curl -fsSL https://github.com/cloudflare/cloudflared/releases/latest/download/cloudflared-linux-arm64.deb -o /tmp/cloudflared.deb
sudo dpkg -i /tmp/cloudflared.deb
cloudflared --version
The arm64 package is the right one for every currently supported Pi. On a Pi with 32-bit userland only, download the armhf build instead.
For a permanent hostname, create a named tunnel rather than the temporary quick tunnel:
cloudflared tunnel login
cloudflared tunnel create pisite
cloudflared tunnel route dns pisite example.com
The login command opens a browser and asks you to pick a zone. Then write the tunnel config:
mkdir -p ~/.cloudflared
nano ~/.cloudflared/config.yml
tunnel: YOUR_TUNNEL_ID
credentials-file: /home/pi/.cloudflared/YOUR_TUNNEL_ID.json
ingress:
  - hostname: example.com
    service: http://localhost:80
  - service: http_status:404
Install it as a background service and make sure it starts after a reboot:
sudo cloudflared service install
sudo systemctl enable cloudflared
sudo systemctl restart cloudflared
systemctl status cloudflared --no-pager
Visit your domain from a phone with Wi-Fi turned off. A working tunnel means the service is active, the DNS record exists, and Cloudflare can reach port 80 on your Pi. No port forwarding rule is needed, and nothing about your home IP is exposed.
If you prefer port forwarding, reserve the Pi’s local address in your router’s DHCP settings, forward ports 80 and 443 to it, and use DuckDNS to track a changing public IP. That path gives you a real IP and a real attack surface, which is why the security-minded crowd on the Raspberry Pi forum and news.ycombinator.com keep steering people toward tunnels or a VPS instead.
Step 8: Protect the Server and Keep It Running
Put a firewall in place, allowing SSH first so you cannot lock yourself out, then HTTP and HTTPS:
sudo apt install ufw -y
sudo ufw allow 22/tcp
sudo ufw allow 80/tcp
sudo ufw allow 443/tcp
sudo ufw enable
For SSH, switch to key authentication, set PasswordAuthentication no in /etc/ssh/sshd_config, and run sudo systemctl restart ssh while your key-based session is still open. Do not close the working session until a second one connects successfully.
Turn on automatic security updates and confirm both services start on boot:
sudo apt install unattended-upgrades -y
sudo systemctl enable --now unattended-upgrades
sudo systemctl enable apache2 cloudflared
Watch the logs and the disk when something feels wrong:
sudo journalctl -u apache2 -f
sudo tail -f /var/log/apache2/pisite-error.log
df -h
free -h
After a kernel update, reboot with sudo reboot rather than leaving the old kernel loaded. Finally, back up the site files and the config directory somewhere off the card, because an SD card in a machine that is always on will eventually fail, and the failure is rarely polite about timing.
Common Mistakes
Almost every failure on this setup falls into one of nine buckets, and each has a quick check that tells you which one you have.
Connection refused when you open the address
The server is not listening. Run sudo systemctl status apache2 and ss -tlnp | grep ':80'. If nothing appears, start the service and check the error log. If you use a tunnel, the same fix applies to cloudflared.
A 403 Forbidden error
Permissions or the directory block. Confirm with ls -la /srv/pisite that the files are readable, and remember that every parent directory needs the execute permission for Apache to walk into it.
A 500 Internal Server Error
The server reached the file but the application behind it failed. The error log names the reason, usually a PHP syntax error or a database that is not running. For a static site, a 500 usually means a stray .htaccess file.
The wrong site loads
Another virtual host is answering, or the default one is. List them with sudo a2dissite 000-default to disable the default site, then reload and try again.
ServerName or hostname errors in the log
Apache tried to look up a name and failed. That warning is harmless when you only serve by IP. To silence it, add the hostname to /etc/hosts on machines that need it, or set ServerName correctly in the vhost.
Wi-Fi drops and the site goes offline
Use Ethernet, or manage the interface with NetworkManager and wpa_supplicant. Headless Pis on Wi-Fi also need the HDMI fallback enabled in the boot config, or they will not come back after a power cut.
Cloudflare Tunnel errors
Run sudo systemctl status cloudflared and read journalctl -u cloudflared. The usual causes are a wrong tunnel ID in config.yml, a DNS record that was never created, or a local service that is not answering on port 80. Test curl -I http://localhost:80 on the Pi itself first.
The card is full or the site has slowed to a crawl
Check with df -h and du -sh /var/log/*. Logs on a long-running server fill cards quickly. Trim old logs, and move logging to a USB SSD or tmpfs so the card handles mostly reads.
It works at home and fails everywhere else
This is a routing problem, not a web server problem. Either the site sits behind CGNAT, so port forwarding never reaches you, or the ISP blocks inbound port 80. A Cloudflare Tunnel sidesteps both, which makes it the fastest way to a working public URL.
Frequently Asked Questions
Can a Raspberry Pi run a website for other people?
Yes, for a small audience. A Pi 4 or 5 comfortably serves a personal blog, a portfolio, a landing page or a home-lab dashboard to friends, family or a small community. Threads on r/selfhosted reach the same conclusion: the hard part was never the hardware, it was DNS, HTTPS and uptime. For a public site with unpredictable traffic, move to a VPS or a managed host before launch.
Do I need Raspberry Pi OS Desktop instead of Lite?
No, you want Lite. It installs no graphical desktop, so it uses far less memory, boots faster and leaves more headroom for the web server and any application behind it. Desktop is useful only if you want a monitor attached and a browser on the Pi itself. If you need a local GUI for something such as Pi-hole, you can install a minimal desktop later without starting from Desktop.
Can this setup run WordPress or another dynamic application?
Yes, with PHP and MariaDB installed alongside Apache, as shown in step 2. A Pi 5 with 8GB handles WordPress fine for light traffic, and you would front it with Caddy or nginx as a reverse proxy for TLS. Keep a close eye on memory, because older boards such as the 3B run out during updates. For anything beyond a handful of visitors, a VPS is a better home.
Will a website hosted on a Raspberry Pi stay online 24/7?
Only while the power, the router and the ISP cooperate. A Raspberry Pi draws very little power and reboots cleanly, so it is a capable always-on box, but a power cut, an ISP outage or a failed SD card will take the site down. A UPS, a USB SSD instead of a card, and a tunnel that reconnects on its own cover most of that risk.
Do I need to forward port 80 or 443 on my router?
Not if you use a Cloudflare Tunnel, and that is the route this guide recommends. The tunnel dials out to Cloudflare over an outbound connection, so no inbound rule exists to break. Port forwarding is only required for a directly exposed server, and it does not work at all behind carrier-grade NAT, which many ISPs use by default.
Conclusion
Start small. Write Raspberry Pi OS Lite to a card, install Apache, put one index.html in the document root, and open it from a phone on the same network. That loop takes about half an hour and tells you the whole story of how to run a website on a Raspberry Pi, from the server process down to the file on disk.
Only when the local test passes should you add a domain, then a Cloudflare Tunnel, then hardening. Take a backup of the site files and /etc/apache2 as soon as the site exists, keep unattended upgrades on, and treat the SD card as the consumable part it is.
Be honest about what you are building. A personal blog on a Pi at home is a satisfying weekend project that costs pennies a month and teaches more about Linux, DNS and TLS than most tutorials do. A business site with real visitors belongs on infrastructure with a support number behind it.