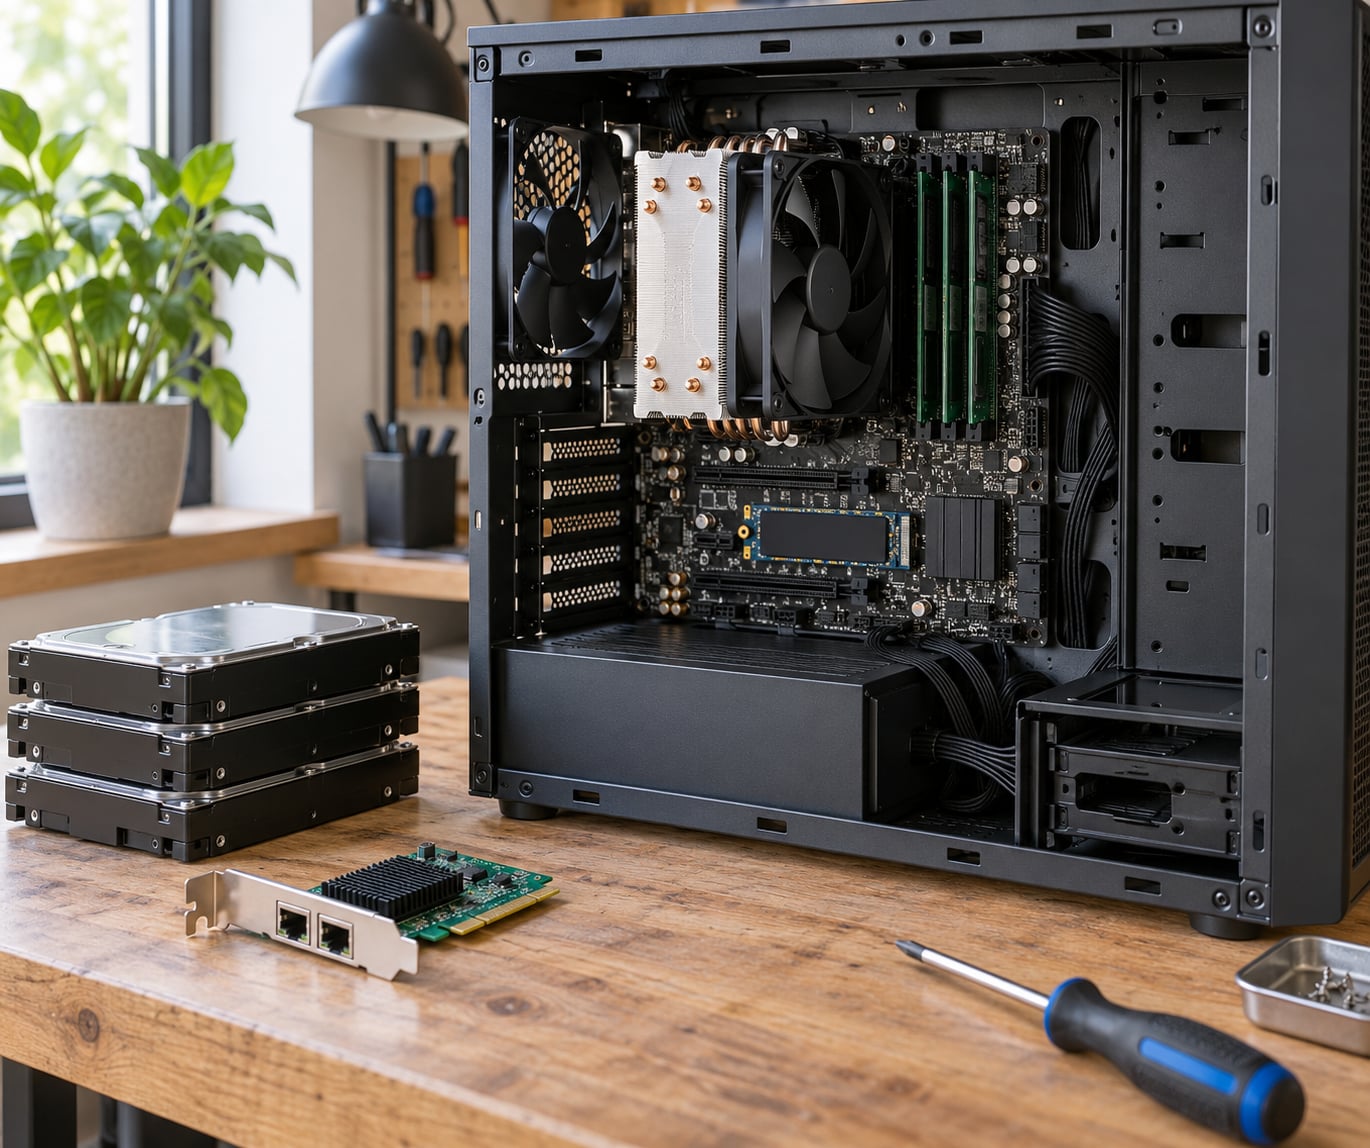
A PC built for virtualization workloads is sized backward from the guests, not forward from the parts list. You decide how many virtual machines you want running at once, what operating system each one boots, and how much I/O they generate, then you buy enough physical cores, memory, and storage throughput to carry that load without contention.
Get this backwards and the host still boots, which is why the mistake is so common. It feels fine right up until four VMs are running and every boot crawls. The guide below walks through the whole build: define the workload, pick the CPU, size the RAM, tier the storage, configure firmware, wire the network, install the hypervisor, and validate the result.
Table of Contents
- What You Need
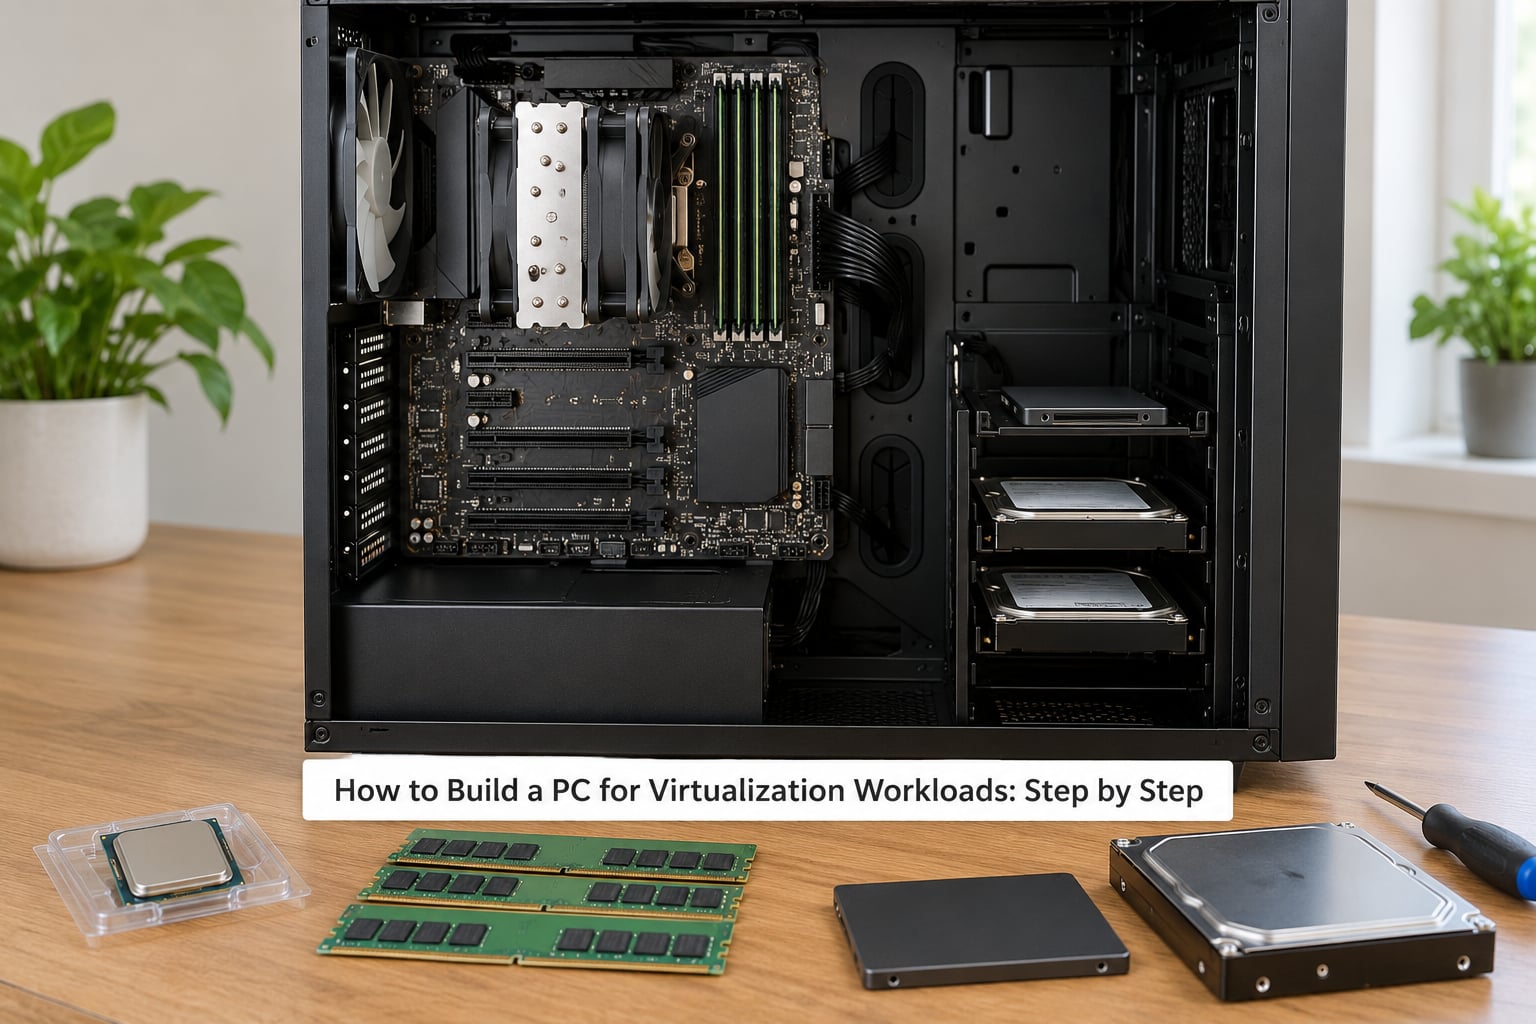
- How to Build a PC for Virtualization Workloads: Step by Step
- 1. Define the Virtualization Workload
- 2. Choose a CPU With Strong Virtualization Support
- 3. Size and Configure Memory
- 4. Select Storage for VM Performance and Resilience
- 5. Install the Motherboard, Firmware, and Cooling
- 6. Add Networking for Local, Remote, and Clustered VMs
- 7. Install and Configure the Hypervisor
- 8. Validate the Host and Tune VM Performance for Virtualization Workloads
- Common Mistakes
- Virtualization disabled in firmware
- Hyper-V or VBS already owns the layer
- Not enough RAM, and overcommitted to hide it
- Guest disks on the wrong storage
- Buying a discrete GPU for a headless host
- Consumer motherboard with too few lanes
- Power settings throttling or sleeping
- Thermal throttling on an always-on box
- Frequently Asked Questions
- Do I need a server CPU to build a PC for virtualization workloads?
- How much RAM should I allocate to virtualization?
- Is Proxmox better than Hyper-V for a home virtualization host?
- Does my motherboard chipset matter for virtualization?
- Do I need a discrete GPU if I am not doing graphics-heavy VMs?
- Should I use RAID for virtual machine storage?
- Start With the Workload, Not the Parts List
What You Need
A virtualization host runs a hypervisor on bare metal, and the hypervisor carves the same physical cores, RAM, and disk queue depth into virtual resources handed to each guest. Cores, total memory, and storage IOPS are the three hard constraints that decide how many machines a host can sustain at the same time. Undersize any one of them and every guest feels it.
Before you pick parts, get these prerequisites straight.
A written workload definition
Number of concurrent VMs, the OS for each one, expected vCPU and vRAM per guest, where the disk images live, and how much network traffic moves between guests. People who skip this end up with a host that is excellent at one job and useless at the next.
A CPU with hardware virtualization extensions
Intel VT-x and AMD-V are the baseline. If you plan to pass a device through to a guest, you also need an IOMMU: Intel VT-d or AMD-Vi. Every 64-bit x86 CPU sold in the last decade has VT-x or AMD-V, so treat missing extensions as a sign the CPU is ancient or locked down, not that you found a bargain.
A motherboard with enough lanes and the right options
Check four things before buying: how many PCIe lanes are actually available for storage and passthrough devices, whether the BIOS exposes VT-d or AMD-Vi and PCIe bifurcation, whether it supports ECC memory if that matters to you, and whether there is an IPMI or BMC port for out-of-band management. Consumer boards often fail one of these, usually lane count.
Memory in a supported configuration
Match the module type the board supports: ECC unbuffered, registered, or load-reduced. Populate channels in pairs or in full groups of four or eight, or you halve your usable bandwidth.
Storage with a tiering plan
At minimum you want a small boot drive that is not shared with VM data, plus a pool for VM disks. Add slow spinning media only for cold storage or backups.
Networking hardware
At least one onboard 1GbE port, ideally an Intel 2.5GbE or 10GbE adapter for a real lab. Plan how management, storage, and guest traffic get separated.
A hypervisor and a way to install it
Proxmox VE, KVM/QEMU on Linux, Hyper-V, VMware Workstation Pro, or Oracle VirtualBox. You need a USB stick or SSD with the installer, plus a second machine for the initial configuration since the host drops to a terminal over SSH after install.
A quick check that your current PC even qualifies
On Windows, run msinfo32 and read the Virtualization Enabled line, or check the Hyper-V Requirements summary. On macOS, run system_profiler SPHardwareDataType. On Linux, run lscpu | grep -E 'vmx|svm' and look for VT-x or AMD-V. If that flag is missing, no amount of RAM will help.
One trap catches nearly everyone: on a Windows machine, Hyper-V, Virtual Machine Platform, or Windows Memory Integrity may already own the virtualization layer. That makes VMWare Workstation Pro and VirtualBox fall back to slow emulation or refuse to start 64-bit guests. Turn those features off in the Windows Features list before you install a competing hypervisor.
How to Build a PC for Virtualization Workloads: Step by Step
1. Define the Virtualization Workload
Write down your guest list before anything else. A developer running a Kubernetes cluster has a completely different profile from someone standing up an Active Directory lab or a malware analysis sandbox, and both differ from a media server plus a firewall VM.
For each guest, note the OS, how many vCPUs, how much vRAM, roughly how much disk it needs, and whether it is latency-sensitive. Then add the host overhead: about 4GB of RAM and two cores for the hypervisor itself, plus a slice for your desktop if you will log into the host graphically.
| Workload | Concurrent guests | Physical cores | Host RAM | Fast storage |
|---|---|---|---|---|
| Light lab: Linux containers plus two small Linux VMs | 4-6 | 4-6 | 32GB | 256GB NVMe |
| Mixed home lab: Windows Server, a firewall VM, media services | 6-10 | 8-12 | 64GB | 512GB-1TB NVMe |
| Developer host: Kubernetes, CI runners, Docker stacks | 10-20 | 12-16 | 128GB | 1-2TB NVMe |
| Lab cluster with live migration and headroom | 15-30 | 16-24 | 256GB+ | 2TB+ mirrored NVMe |
Treat these as starting points, then adjust for how many of your guests are Windows. A Windows Server guest idles around 2GB and wants 4GB to work properly; a small Linux service runs happily in 512MB. Count Windows guests at full allocation even when they sit idle, because idle memory is still reserved.
2. Choose a CPU With Strong Virtualization Support
For VMs, physical cores matter more than threads, and you want one vCPU per physical core as the default. Over-allocating vCPUs hurts more than over-allocating RAM, because CPU time is a preemptive shared resource: two guests fighting over one core feel the lag immediately, while spare RAM just sits idle.
Threads still help throughput for lightly loaded guests, but they are a secondary gain. For latency-sensitive workloads such as a firewall VM or a database, turning SMT off in the host BIOS and giving each guest a dedicated core beats giving each guest two threads on a shared pair.
Cache matters more than clock speed on a host that runs a lot of mostly-idle guests. When twenty VMs wake at once, a larger L3 keeps them from stalling on memory. Modern desktop and workstation silicon from both vendors gives you both hardware virtualization and IOMMU support, so a server CPU is not required for a home lab.
Where a server platform earns its place is power limits, memory channels, and sheer core count per watt. If you care about the wattage the host pulls at idle, that is a server part, and forum builders cap their targets around 50 to 60W for the whole system.
3. Size and Configure Memory
Use this rule: total host RAM equals the sum of your guest allocations divided by a target utilization of 0.6 to 0.7. If your guests add up to 60GB, you want 96GB or 128GB installed, not 64GB. Overcommitting RAM is survivable on paper and terrible in practice, because the hypervisor starts swapping long before anyone notices.
| Guest OS or service | Comfortable minimum | Notes |
|---|---|---|
| Windows Server 2019 / 2022 | 4GB | Idles near 2GB; role services push it higher |
| Windows 10 / 11 desktop | 4GB | 2GB boots but pages constantly |
| Linux server or headless service | 1GB | 512MB works for a single static service |
| LXC container | 512MB | Shares the host kernel, so overhead is small |
| Kali or Metasploitable pentest target | 2GB | Tool installs and updates need headroom |
| Kubernetes control plane node | 4GB | Worker nodes can run lighter |
| TrueNAS SCALE with ZFS | 8GB minimum | 32GB or more if you want a large ARC |
On ECC, the honest answer is that it matters for ZFS and for anyone running long unattended. ECC memory catches single-bit errors before they corrupt a VM disk image or a ZFS pool. Non-ECC is fine for a spare lab running throwaway guests, and it costs less and is easier to source at high capacity.
Two channel-population rules save real performance. Fill every channel with matched modules, and fill in the full group the board recommends, whether that is two, four, or eight slots. On NUMA systems with two sockets, keep guest allocations inside one node where the workload allows it, or cross-socket memory latency quietly eats the gains from more cores.
4. Select Storage for VM Performance and Resilience
VM disks are latency-sensitive, so tier your storage by how hot the data is. Running guest disks on spinning media is the single most common cause of five-minute boot times, and no amount of CPU or RAM fixes it.
| Tier | Media | What goes here | Failure handling |
|---|---|---|---|
| Boot | Small NVMe or SATA SSD, 128-512GB | Hypervisor OS and config only | Reinstallable; keep it separate so a bad pool cannot take the host down |
| Hot VM pool | NVMe SSD, ideally mirrored | Running VMs, container roots, build agents | Mirror or ZFS raidz1 so a disk failure is an inconvenience |
| Cold archive | HDD arrays | ISO libraries, backups, media | Rebuildable from backup; no performance expectation |
| Shared or remote | NFS or iSCSI target | VM disks used by more than one host | Depends entirely on the network; needs a fast link |
Between NVMe and SATA SSDs, buy the NVMe. Queue depth on a modern NVMe drive is where virtualization I/O hides, and that is exactly the queue pressure a spinning guest disk produces. SATA SSDs are a fallback for cheap surplus drives, not a design goal.
On redundancy, RAID gives you uptime and is invisible to the hypervisor. ZFS adds checksumming, snapshots, and compression, which matters a lot for home labs running containers and storage services, at the cost of RAM for its ARC cache and of careful configuration. Ceph and VMware vSAN are clustered storage built for several hosts; they are excellent and far beyond a single-machine lab.
Watch drive endurance too. VM workloads write constantly, including snapshot churn, so pick drives rated for high write endurance rather than the cheapest TB/s figure on the box.
5. Install the Motherboard, Firmware, and Cooling
Physical cores first, then the board that can carry them. Match the socket to the CPU, check the chipset supports the memory speed you bought, and count PCIe lanes: each M.2 slot, SATA port, and NIC may be hanging off a lane your passthrough device will need later.
Update the firmware before you install the hypervisor. Motherboard and NIC firmware are the most common reason a virtualization host fails to boot or loses an IOMMU group, and vendors fix exactly these bugs in later revisions.
Then set the firmware options the hypervisor depends on:
- Enable Intel VT-x or AMD-V, and VT-d or AMD-Vi if you want passthrough
- Enable IOMMU and check how the board groups devices
- Enable PCIe above 4G decoding and bifurcation where supported
- Set the boot order so the USB installer wins first
- Leave SVM or VT-x exposed when a nested hypervisor needs it
- Disable power-saving states that stop background VMs from waking
Build the chassis with airflow in mind. An always-on host runs its fans constantly, so route intake through a front or side filter and exhaust out the rear, and keep the intake path clear of cable clutter. If the machine lives in a room with people in it, large slow fans beat small fast ones for the same airflow.
Finally, set the power limits deliberately. A CPU capped at a lower wattage loses little single-threaded performance but drops idle draw noticeably, which is where an always-on host spends most of its life.
6. Add Networking for Local, Remote, and Clustered VMs
Start with the onboard port for management traffic and add a proper adapter for guest traffic. Intel 2.5GbE chipsets are the common choice for a home lab because they are well supported by every hypervisor; 10GbE with SFP+ makes sense when you move VM disks between hosts or run storage over the network.
Skip Wi-Fi for guest traffic. It adds latency and roaming surprises, and most hypervisors will not bridge a wireless interface reliably. Use Wi-Fi for management only, if at all.
Segment the network with 802.1Q VLANs so management, storage, and guest traffic stay separate. On Proxmox that means a Linux bridge per VLAN, such as a management bridge on VLAN 10, a server bridge on VLAN 20, and a bridge for guests on VLAN 40, each mapped to its physical port in the network configuration. Guest VLAN awareness has to be enabled on the bridge for the tags to reach the guests.
Plan for two NICs if you intend to cluster or live-migrate. One link for the cluster and storage traffic, one for guest traffic, avoids a saturated migration saturating everything else. Link aggregation is worth it only when both switches are managed and configured for LACP properly; half-configured bonding is a common source of mystery outages.
Do not forget jumbo frames on both ends. They help storage traffic, and a mismatch between host and switch settings causes subtle corruption and stalls that take hours to find.
7. Install and Configure the Hypervisor
Install from a USB stick to a machine with an Intel or AMD CPU. Proxmox VE installs to bare metal, gives you a web management UI over HTTPS, and includes both KVM virtual machines and LXC containers, which is why most home labs land there.
On Windows, Hyper-V needs a Pro or Server edition, and you enable it through Windows Features or PowerShell with Enable-WindowsOptionalFeature -Online -FeatureName Microsoft-Hyper-V -All. On Linux, KVM and QEMU come from your distribution packages and pair with libvirt for management. VMware Workstation Pro runs as an application on top of an existing OS, which makes it convenient for a laptop and a poor choice for a dedicated always-on host.
After the first boot, configure these in order:
- Change the default credentials and set up two-factor authentication on the management interface
- Set the host CPU type explicitly for guests, for example x86-64-v2-AES for current Linux workloads
- Install guest tools inside every VM: virtio drivers on Windows guests, the QEMU guest agent on Linux, integration services for Hyper-V guests
- Configure VLAN-aware bridges, then verify tags from inside a guest
- Schedule automated backups with
vzdumpor your hypervisor’s backup tool, and store them off the boot drive - If you need GPU passthrough, add the IOMMU flag to the bootloader, for example
intel_iommu=onfor Intel oramd_iommu=onfor AMD, before configuring the device assignment
Keep the host OS minimal. Anything you install on the host competes for the same cores and memory your guests need, and a web browser on a hypervisor is a liability as much as a resource hog.
8. Validate the Host and Tune VM Performance for Virtualization Workloads
Do not declare the build done because the hypervisor installed. Run through these checks, in this order.
Confirm virtualization is actually active at the firmware level with lscpu | grep -E 'vmx|svm' on Linux, or by checking the firmware settings again. If the flag is missing, your VMs are running in software emulation and everything will feel wrong.
Stress the memory with MemTest86 or an equivalent pass before you trust anything on it. A marginal memory kit that passes at the default speed often fails at the advertised speed, and a single-bit error will find your VM disks eventually.
Benchmark storage with fio or CrystalDiskMark while watching queue depth, not just sequential speed. Random write latency and queue behaviour under load are what your guests feel.
Then build the workloads you actually care about and watch them under load. Create a Windows guest with the recommended vCPU count, boot it, and time it. Copy a multi-gigabyte file inside a guest to test storage end to end, including the write-through path. If your hypervisor supports it, clone a running VM or migrate it to a second host and confirm the guest keeps its session.
Finally, set up monitoring before you need it. Track per-VM CPU, memory, disk latency, and network throughput, and alert on host memory pressure and disk queue depth. Most “the host froze” reports turn out to be memory exhaustion or storage saturation that was visible in a graph days earlier.
Common Mistakes
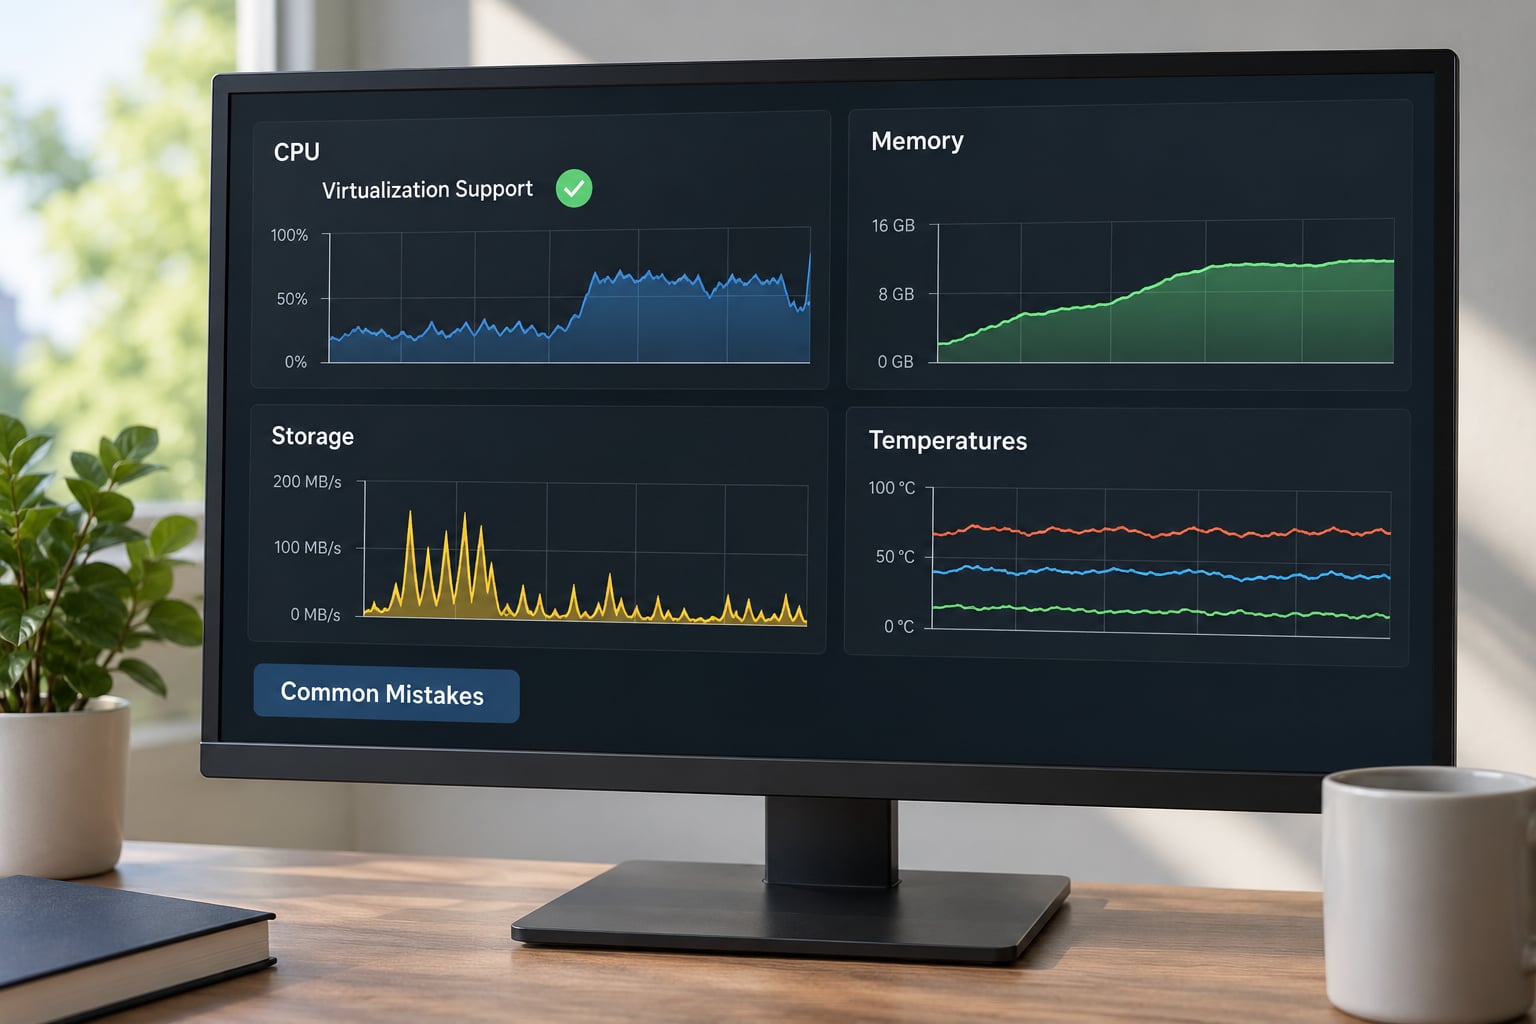
Almost every broken home lab fails for one of these reasons.
Virtualization disabled in firmware
The CPU supports it, but the board ships with it off, or a firmware update moved the setting. Symptom: VMs install and then refuse to boot 64-bit guests. Fix: enable VT-x or AMD-V in firmware, and VT-d or AMD-Vi if you need passthrough.
Hyper-V or VBS already owns the layer
On Windows, Memory Integrity and Virtual Machine Platform claim the CPU extensions before any other hypervisor can. Symptom: third-party hypervisors run slowly or refuse 64-bit guests. Fix: turn those Windows features off before installing anything else.
Not enough RAM, and overcommitted to hide it
Symptom: everything works until the fifth VM, then the host swaps and guest clocks drift. Fix: size the host to 0.6 to 0.7 utilization of your guest allocations and accept fewer guests rather than thinner ones.
Guest disks on the wrong storage
Symptom: multi-minute boots, high iowait, guests stalling during heavy I/O. Fix: move guest disks to NVMe and keep the boot drive separate.
Buying a discrete GPU for a headless host
If you are not running graphics-heavy guests or passing a card through, a dedicated GPU is money you do not need. The processor’s integrated graphics will drive the console fine.
Consumer motherboard with too few lanes
Symptom: you filled the single M.2 slot, exhausted the lanes, and have no room left for a NIC or passthrough device. Fix: count lanes before buying, and favour boards with multiple M.2 slots and a chipset that exposes lanes to add-in cards.
Power settings throttling or sleeping
C-states, aggressive power management, and a weak power supply all cause hosts that die under load. Fix: disable deep sleep states in firmware, leave headroom in the power supply, and check idle wattage with a watt meter once the build is done.
Thermal throttling on an always-on box
Symptom: performance drops after hours, and one fan is screaming. Fix: improve intake airflow, clean dust filters, and confirm case fans spin in the right direction before blaming the CPU.
When you are ready to tune, work down this list. First, correct vCPU allocation so guests are not oversubscribed. Second, check that every channel is populated and running at the rated speed. Third, verify the host CPU type matches what your guests need. Fourth, confirm storage queue depth and latency under real load. Fifth, add monitoring so the next problem arrives with a graph attached.
Frequently Asked Questions
Do I need a server CPU to build a PC for virtualization workloads?
No, not for a home lab. Any modern 64-bit x86 processor includes VT-x or AMD-V plus an IOMMU, which covers KVM, Hyper-V, and Proxmox. A server part earns its place when you need more memory channels, high core counts per watt, or lower idle draw for an always-on host.
How much RAM should I allocate to virtualization?
Add up your guest allocations, then divide by 0.6 to 0.7 to get host capacity. If guests need 60GB combined, install 96GB or 128GB. Budget about 4GB for the hypervisor itself. Overcommitting RAM is the fastest way to turn a lab into a swapping, unresponsive host.
Is Proxmox better than Hyper-V for a home virtualization host?
Proxmox VE is built for this: it boots directly to bare metal, mixes KVM virtual machines and LXC containers, and ships with a web management interface, backups, and clustering. Hyper-V is the better choice if you need to run VMs from a Windows desktop, because it is already part of the operating system you are using.
Does my motherboard chipset matter for virtualization?
Yes, more than most buying guides admit. You need enough PCIe lanes for storage, NICs, and passthrough devices, firmware options for VT-d or AMD-Vi and PCIe bifurcation, and memory support for the modules you plan to install. Boards with only one M.2 slot and no add-in lanes run out of room fast.
Do I need a discrete GPU if I am not doing graphics-heavy VMs?
No. Processor integrated graphics will drive the host console and remote desktop sessions perfectly well. Buy a discrete card only if you plan to pass a GPU through to a guest or run workloads that need CUDA or 3D acceleration.
Should I use RAID for virtual machine storage?
Yes, for the hot pool. RAID keeps VMs running when a disk fails, and mirrors or a single-parity ZFS layout are the usual choices. Keep the boot drive on its own so a pool failure never takes the host down, and keep backups somewhere the array cannot reach.
Start With the Workload, Not the Parts List
If you take one thing from this guide, make it the guest list. Write down every VM you intend to run, its operating system, its vCPU and vRAM needs, and its storage tier, then size the host against that list. Once you know how to build a PC for virtualization workloads for your own case, the shopping is mechanical: cores first, then memory, then fast storage, then the board that ties them together with enough lanes.