Self hosting a password manager means running the vault server on your own machine or VPS and pointing the standard Bitwarden apps at your own domain. In short: pick a server, run the container, put HTTPS in front of it, connect the apps, then automate and test your backups — the backup step is the one people skip and the one that matters.
Most homelab people end up running Vaultwarden, a lightweight community reimplementation of the Bitwarden server API, because the official Bitwarden self-hosted stack asks for a few gigabytes of RAM and a database engine to get going. Vaultwarden runs happily in roughly 50 to 60 MB. The official Bitwarden mobile, desktop and browser apps still connect to it unchanged, so you are not locked into a second client ecosystem.
Here is the honest framing before the steps. Your vault data is encrypted on your devices with a key derived from your master password, and the server only ever holds ciphertext. What self hosting adds is control over where that ciphertext lives and who administers it. What it takes away is someone else’s uptime, someone else’s patching and someone else’s restore drill. Almost every horror story in this space is not a cryptographic break; it is a dead disk, a lost encryption key, or a restore file nobody tested.
If you want to know how long this takes on a machine you already own, the sequence below takes about an hour on Ubuntu or Debian with Docker installed. You can read the whole thing and come back with your terminal open.
Table of Contents
- What You Need to Self Host a Password Manager
- Step-by-Step: How to Self Host a Password Manager
- Step 1: Choose a Self-Hosted Password Manager
- Step 2: Prepare the Server and Persistent Storage
- Step 3: Run the Password Manager and Create the First User
- Step 4: Configure HTTPS and Secure Access
- Step 5: Install Browser and Mobile Clients
- Step 6: Import, Test, and Automate Backups
- Common Mistakes That Lock People Out
- Frequently Asked Questions
- Is self-hosting a password manager safer than using a managed service?
- How much hardware do I need to self host a password manager?
- Can family members use a self-hosted password manager?
- How do I back up a self-hosted password manager securely?
- Can I access my self-hosted password manager on iPhone and Android?
- What happens if my self-hosted password manager server fails?
What You Need to Self Host a Password Manager
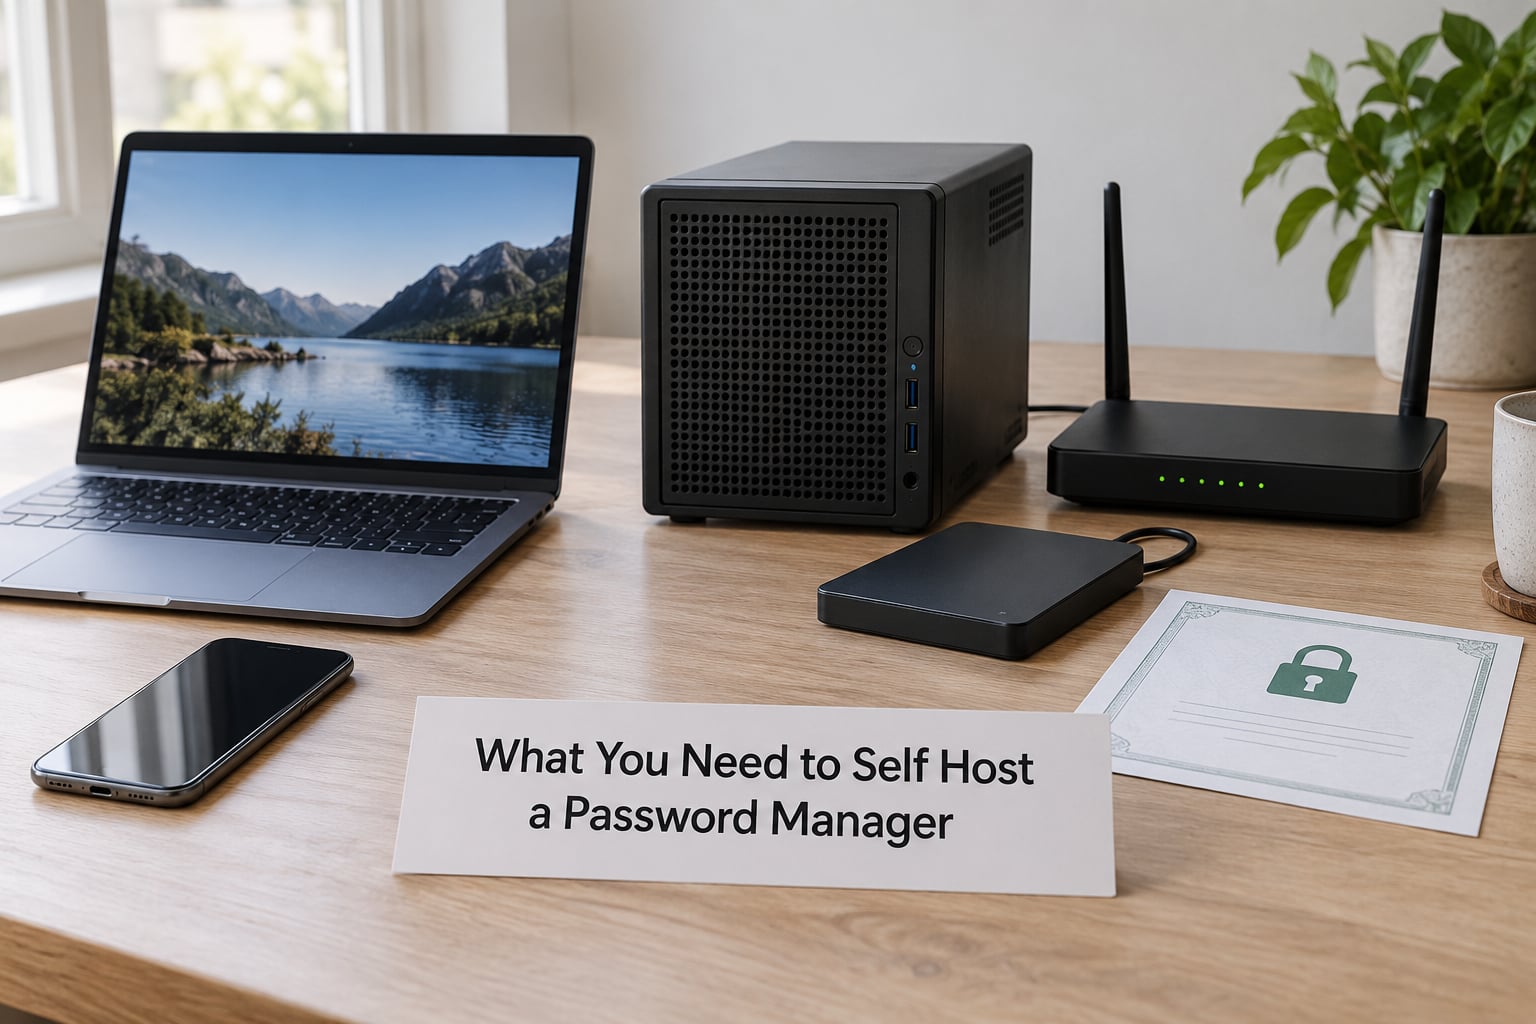
Self hosting a password manager needs far less hardware than most people assume, and far more planning than hardware. You need a place to run the server, a way to reach it over HTTPS, persistent storage, backups somewhere other than the server, and at least one client device.
The short prerequisite list
- A server. A VPS with a public address if you want access from anywhere, or a box on your home network if you only ever connect from home.
- A domain name if you are going public. Let us Encrypt certificates are issued over plain HTTP verification, so a resolvable domain is the practical requirement.
- HTTPS, terminated by a reverse proxy. Never expose the vault port directly to the internet.
- A Docker-compatible environment. Docker Engine with the Compose plugin, or Podman, or a NAS application system that runs the same container image.
- Persistent storage on a real disk with a mount that survives container replacement. The data directory holds the SQLite database, attachments and configuration.
- A backup target off the server. A second machine, an object storage bucket, or another NAS. On the same box is a copy, not a backup.
- Clients on the devices you actually use: browser extension, desktop app, phone app.
Public server or home lab: which one suits you
A home lab deployment keeps everything on your LAN. Nothing is published, nothing needs a certificate, and a compromised router is your only real exposure. The catch is access: outside your house, your vault is unreachable unless you build a tunnel.
A public VPS gives you a stable address and a domain pointing at it. It is reachable from any network, any device, which is the whole point if you travel. The catch is that the server is now on the open internet and depends on a provider you do not control for uptime.
Most people end up with both: the VPS runs the server, and a private overlay network such as Tailscale provides the private path for administration so you never expose an admin interface to the public at all.
Hardware sizing by user count
Sizing is generous in everyone’s favour for this workload, because a password vault is a tiny database that mostly sits idle. The numbers below are realistic for Vaultwarden on Linux; the official Bitwarden self-hosted stack is a different animal and wants considerably more.
| Users | RAM | vCPU | Disk | Notes |
|---|---|---|---|---|
| 1 | 512 MB | 1 | 10 GB | A Raspberry Pi 4 or 5 works, but see the storage warning below |
| 2 to 5 | 1 GB | 1 | 20 GB | Comfortable headroom for attachments and a local backup job |
| 10 to 25 | 2 GB | 2 | 40 GB | Share with family or a small team; keep registration closed |
| 50 to 100 | 4 GB | 4 | 80 GB | Add monitoring; consider a second host for failover |
Swap matters less than people think at these sizes, but giving the container 1 GB of swap prevents an out-of-memory event from taking the whole machine down mid-write.
One warning about Raspberry Pi microSD cards. They wear out, often without warning, and people consistently report losing vaults to card corruption. If you go that route, run the data directory on a USB SSD and treat the card as disposable.
Step-by-Step: How to Self Host a Password Manager
Step 1: Choose a Self-Hosted Password Manager
Choose based on operational requirements, not feature lists. Every mature option does encryption, password generation, TOTP and autofill. What separates them is the server, the client support and what happens when your setup breaks.
Vaultwarden is the default answer for a homelab. It is a single container, speaks the Bitwarden API closely enough that the official apps work, and has a web vault if you need one. It is a community project, not an official Bitwarden release, so weigh that before you point a family’s credentials at it.
Official Bitwarden self-hosted is the licence-clean option with the vendor’s own support path. The price is complexity: the standard deployment involves the web vault, an API service, an admin service and a database, commonly SQL Server Express. The vendor’s own Linux documentation walks through it and it will work on modest hardware if you size it deliberately, but it is a bigger machine and a longer first install.
KeepassXC is a different shape entirely. There is no server; the vault is an encrypted file you sync yourself, often with Syncthing or a Nextcloud folder. That removes an entire attack surface and an entire class of outage, and it is a good fit for one person or a household. What you give up is central multi-user management, web-based invitations and a hosted mobile app that just works.
Passbolt sits between the two. It is a server-backed team vault with a strong focus on structured sharing between users rather than a personal password grab bag.
Whatever you pick, check five things before you commit: an actively maintained release history, first-party browser and mobile clients that can be pointed at your own server, end-to-end encryption that leaves the server holding only ciphertext, some form of multi-user or sharing support if you need it, and a backup story that does not depend on the server being healthy at the moment you need it.
Step 2: Prepare the Server and Persistent Storage
This section assumes Ubuntu or Debian with systemd. Paths and package names differ on other systems, but the sequence is the same: install a runtime, create a service account, make a data directory, restrict it, and open only the ports you need.
Install Docker Engine and the Compose plugin from Docker’s official repository rather than the distribution package, which is often outdated. Once Docker is running, create a dedicated user so the service is not running everything as root:
sudo adduser --system --group --home /opt/vaultwarden vaultwarden
sudo mkdir -p /opt/vaultwarden/data
sudo chown -R vaultwarden:vaultwarden /opt/vaultwarden
sudo chmod 750 /opt/vaultwarden/data
Restricting the data directory matters. Attachments and the configuration file live there, and on a multi-user host a world-readable data directory is an unnecessary risk.
Then open the firewall. If you are going to front the service with a reverse proxy, only SSH and the proxy ports need to be reachable:
sudo ufw default deny incoming
sudo ufw allow 22/tcp
sudo ufw allow 80/tcp
sudo ufw allow 443/tcp
sudo ufw enable
Success looks like SSH still works in a second terminal before you close your current session. Rebooting a remote box with an over-eager firewall rule is a classic self-inflicted outage.
Step 3: Run the Password Manager and Create the First User
Run the server bound to loopback only. The reverse proxy is the only thing that should ever be able to reach it, and binding to 127.0.0.1 makes that true by configuration rather than by hope.
services:
  vaultwarden:
    image: vaultwarden/server:latest
    container_name: vaultwarden
    restart: unless-stopped
    environment:
      DOMAIN: "https://vault.example.com"
      SIGNUPS_ALLOWED: "false"
      INVITATIONS_ALLOWED: "false"
      SHOW_PASSWORD_HINT: "false"
    volumes:
      - /opt/vaultwarden/data:/data
    ports:
      - "127.0.0.1:8080:80"
Save that as docker-compose.yml in the service account’s home directory, then start it and watch the logs. You are looking for a line confirming the database was created and a listening port, with no repeated error about the data directory.
cd /opt/vaultwarden
docker compose up -d
docker compose logs -f vaultwarden
Now create the first account. Because signups are disabled in that file, the cleanest method is a local tunnel from your laptop so nothing is exposed during the moment the account exists:
ssh -L 8080:127.0.0.1:8080 vaultwarden@your-server
Then open http://127.0.0.1:8080 in a private browser window and register. The traffic never leaves the encrypted SSH channel. Success is a completed registration screen and an account you can sign into from the web vault on that same local port.
Leave SIGNUPS_ALLOWED false. If you later need to add family members, flip it to true, invite, and flip it straight back.
Step 4: Configure HTTPS and Secure Access
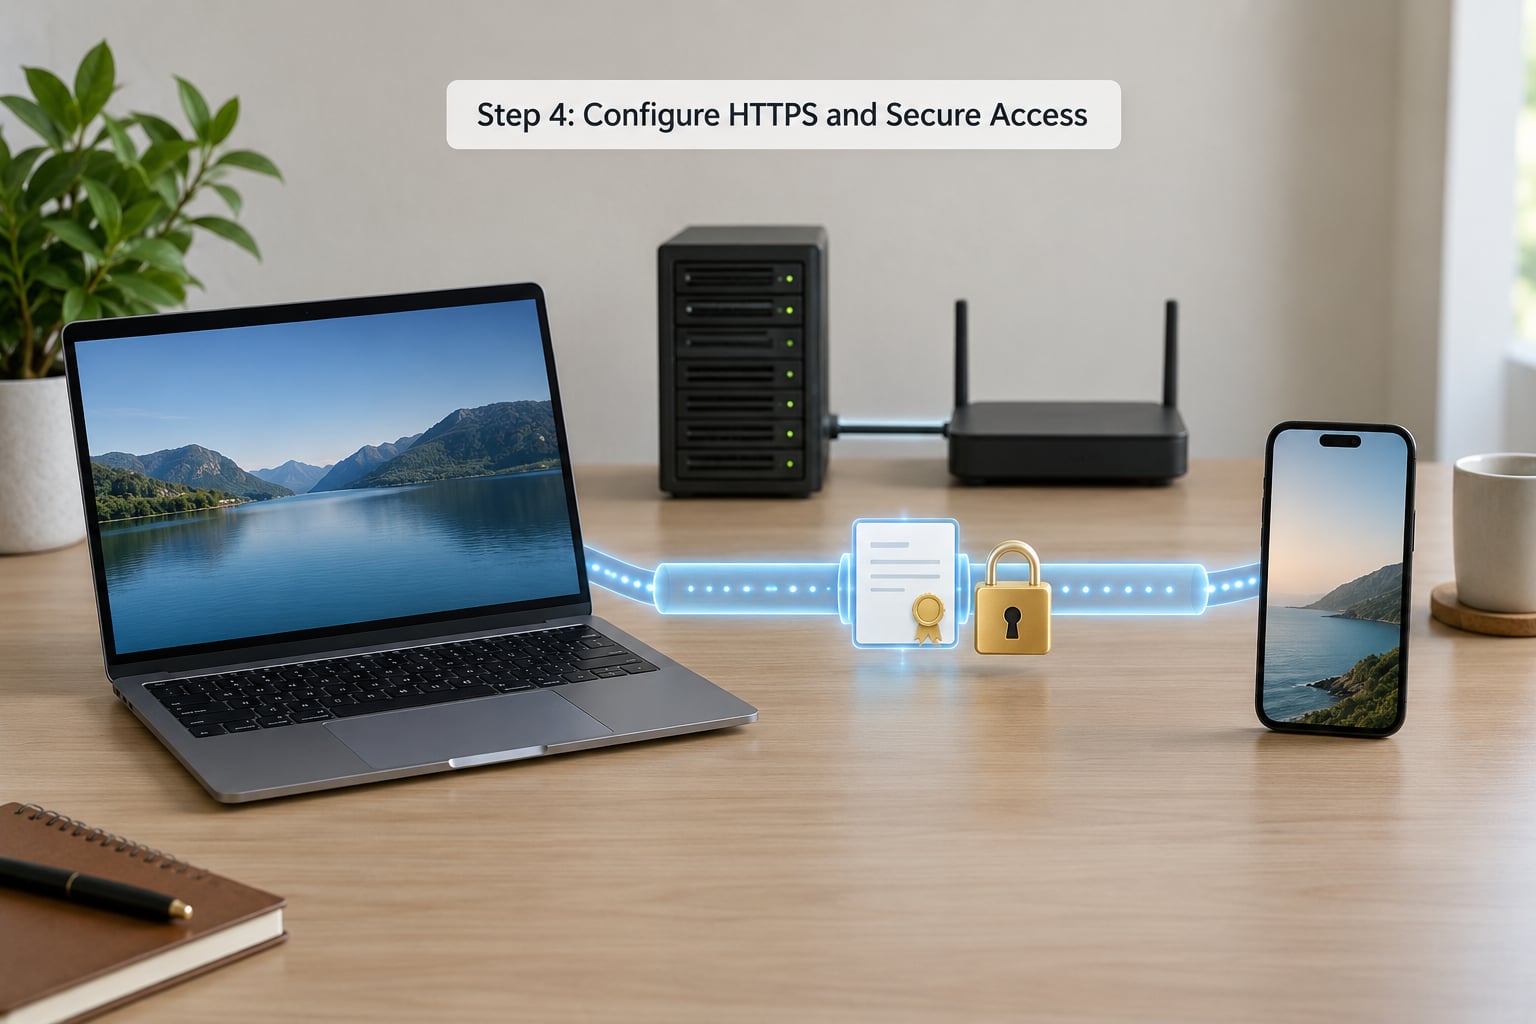
The vault must sit behind a reverse proxy that terminates TLS. Caddy is the shortest path because it obtains and renews certificates automatically; Nginx gives you more control if you already run it or need configuration you can shape precisely.
A Caddyfile for this job is genuinely this short:
vault.example.com {
    encode zstd gzip
    reverse_proxy 127.0.0.1:8080 {
        header_up X-Real-IP {remote_host}
    }
}
Caddy handles the HTTP to HTTPS redirect and certificate issuance on its own. If you would rather use Nginx, the parts that matter for a Bitwarden-compatible server are the WebSocket upgrade headers, without which sync silently degrades to polling:
server {
    listen 443 ssl http2;
    server_name vault.example.com;

    location / {
        proxy_pass http://127.0.0.1:8080;
        proxy_set_header Host $host;
        proxy_set_header X-Real-IP $remote_addr;
        proxy_set_header X-Forwarded-Proto $scheme;
        proxy_http_version 1.1;
        proxy_set_header Upgrade $http_upgrade;
        proxy_set_header Connection "upgrade";
    }
}
Test the certificate from outside your network, ideally on a phone, using a site that checks what a visitor’s browser sees. You are looking for your own hostname, a valid chain, and an expiry date in the future. A certificate that works from the server and fails from your phone usually means the port 80 verification is being intercepted somewhere.
Two alternatives to publishing a port at all. Tailscale or a comparable overlay network keeps the server on a private address and reachable only from devices on your tailnet, which removes certificate and port-forwarding concerns for remote access entirely. Cloudflare Tunnel does the opposite: it opens an outbound connection from your server, so no inbound port is ever opened on your router, and the proxy handles the public hostname. Both are reasonable answers, and many people run the public path for phone access and the private path for administration.
Step 5: Install Browser and Mobile Clients
Connect the official clients by pointing them at your own server URL. The apps are the ordinary Bitwarden apps from the official vendor channels — the browser extension from the extension store, the desktop app from the vendor’s download page, the phone app from the App Store or Google Play. There is no separate Vaultwarden-branded client to hunt for, and you should not install anything from an unofficial source to do this.
On desktop, create a new account, choose the self-hosted option at the environment prompt, and enter your server URL as https://vault.example.com. On mobile, the account creation screen has a self-hosted server field in the same place. The trailing slash matters less than people expect, but being consistent avoids a confusing mismatch later.
Check three things before you import anything. The sign-in works, the client shows a healthy sync timestamp rather than a repeating error, and the web vault opens on a second device. Only then start importing.
Passkeys and WebAuthn are worth verifying early if you plan to use them. The browser extension uses the origin of the web vault, so passkeys live inside your own vault and only work there — no cross-device portability the way a hardware-key passkey has. If you rely on passkeys for a passwordless login to another service, that other service stores its own credential and knows nothing about your setup.
Do not delete your existing password copies until the import is verified and the restore drill in Step 6 is done. That is the single rule that separates a smooth migration from a locked-out afternoon.
Step 6: Import, Test, and Automate Backups
Import from a CSV export or from your existing browser. The CSV route is the honest one: export from the old manager, import into the new vault, then spot-check a handful of entries you will recognise — an old account, a site with a long password, an item with an attachment. Spot-checking beats counting rows.
Then prove sync works across devices. Sign in on a second device, confirm the imported item appears, and add a new entry on the phone and watch it appear on the desktop. If the notification channel is not working you will see stale state rather than an error, which is why this test matters.
Now the backups. The database is SQLite, and SQLite in write-ahead logging mode means a plain file copy taken while the server is writing can be a torn, unrestorable copy. Two fixes: stop the container for a moment and copy, or use the online backup API so the copy is consistent without downtime. The second is nicer, the first is simpler and completely fine for a vault this small.
docker compose exec vaultwarden /vaultwarden backup /data/backups/db.sqlite3
Follow the 3-2-1 rule. Three copies, on two different media, one of them somewhere physically or administratively separate. A local snapshot on the same disk does not count, and neither does a copy on a second folder of the same server — if the machine dies, both copies are gone with it. An encrypted object storage bucket on another provider is a good fourth line of defence for the smallest of these setups, because it survives both a dead disk and a compromised host.
Schedule it daily. A systemd timer or a cron entry that runs the backup command and then pushes the result off-box is enough; nothing about this needs a scheduling platform.
Then run a restore test, which is the step everyone skips. Stop the service, copy a backup into a fresh empty data directory on a scratch machine, start the service there, and sign in with your master password. If that works, the backup is real. If you have never done it, you have a file, not a backup. Put a recurring calendar reminder in place — quarterly is a reasonable cadence — and write down the outcome.
Common Mistakes That Lock People Out
These are the failures that show up over and over, and each one has a specific fix.
Exposing the container port directly. Publishing 8080 on all interfaces hands the whole internet an admin surface and skips HTTPS entirely. Bind to 127.0.0.1 and let the proxy be the only door.
Leaving registration open. A public signup form on a known Bitwarden-compatible endpoint gets automated account creation attempts within hours. Create your accounts, then set signups and invitations to false and restart.
Mounting the database without persistent storage. A container with no volume, or an unnamed volume, loses the database the first time the image is recreated. Use a named host path and confirm the data directory contains db.sqlite3 after the first start.
Backing up the data but not the ability to read it. If your attachments directory is not in the backup, restoring gives you an empty vault for anyone who stored files. Back up the whole data directory, not one file.
Ignoring WebSocket headers in Nginx. Sync limps along on polling and you assume the server is slow. Add the upgrade headers, reload, and watch a live change appear on a second device.
Forgetting the two-factor chicken-and-egg. If TOTP is the only second factor and TOTP lives in the same vault, a failed device leaves you stuck. Keep one recovery code, printed or on paper, somewhere that is not the vault.
Never testing a restore. A backup you have not restored is a hope. The drill above takes twenty minutes and is the difference between a bad afternoon and a bad month.
Storing TOTP and passwords together without a plan. Bitwarden-style clients can store both, which is convenient and collapses into a single compromise. Decide where your authenticator seed lives, and write down how you get into it if the server is gone for a month.
Frequently Asked Questions
Is self-hosting a password manager safer than using a managed service?
Neither is automatically safer. A managed service publishes independent audits, has staff watching for breaches and absorbs the uptime work. Self hosting removes a third party from the trust chain and keeps ciphertext on hardware you control, but the patching, firewall and restore discipline fall to you. Self hosting wins when you are comfortable running that maintenance, and loses when the vault is the one system you cannot afford to have down when you need it most.
How much hardware do I need to self host a password manager?
Less than most people expect. Vaultwarden runs comfortably in 512 MB of RAM for a single user and 1 to 2 GB for a small team, on one vCPU and any modern disk. The official Bitwarden self-hosted stack is heavier because it includes several services and a database, so plan for a few gigabytes there. A Raspberry Pi 4 or 5 handles a personal vault, but run the data directory on a USB SSD rather than a microSD card.
Can family members use a self-hosted password manager?
Yes, and it is one of the better reasons to run your own. Create an account for each person, optionally place them in a shared organisation so collections and items can be shared deliberately rather than by handing over one master password. Turn registrations off as soon as the accounts exist, use a separate master password per person, and enable two-factor authentication. Shared items sync to each member’s clients over your own server.
How do I back up a self-hosted password manager securely?
Copy the entire data directory, not just the database, because attachments live there too. Use the SQLite online backup API or briefly stop the container so the copy is consistent, then encrypt the result before it leaves the machine. Follow 3-2-1: three copies, two media types, one off-site. An encrypted object storage bucket on a separate provider covers the case where the host is lost or compromised.
Can I access my self-hosted password manager on iPhone and Android?
Yes. Install the official Bitwarden app from the App Store or Google Play, then choose the self-hosted server option during account setup and enter your HTTPS URL. The app syncs through your server exactly as it does with a managed account. Set the server up and verify it from a browser first, and remember that mobile clients keep a local encrypted cache, so recent items stay readable on a flaky connection.
What happens if my self-hosted password manager server fails?
Until you sync, you are stuck with whatever the clients already hold. Every Bitwarden-compatible client keeps an encrypted local copy of your vault, so passwords you have already synced generally remain available offline on that device. That cache is your real safety net, which is why restoring a verified backup onto a second host matters. Rebuild the server, restore, sign in, and let the clients resync before you delete anything.
Start with the parts that decide whether you keep this: run the container bound to loopback, put Caddy in front, create your accounts over an SSH tunnel with registration disabled afterwards, and connect one browser and one phone before you import anything. Then schedule the daily backup and do a real restore test on a scratch machine that day, not next quarter. If that drill feels like a chore, that is useful information about whether self hosting is the right trade for you — a vault you cannot restore is worse than a subscription.