Learning how to use Git for personal projects comes down to six commands: git init, git add, git commit, git push, git switch and git log. Set it up once, commit whenever something works, and every bad decision you make gets an undo button — even though nobody else is ever going to look at the code.
The whole first-time setup takes about fifteen minutes. After that, your loop is the same every day: check what changed, stage it, commit it, push it. That loop is the entire job, and once it is muscle memory the rest of Git is stuff you look up when you need it.
One distinction first, because it trips up almost everyone starting out. Git is the tool on your machine that records snapshots of your files. GitHub, GitLab and Codeberg are websites that store those snapshots somewhere other than your laptop. You can use Git for years without ever touching a hosting site, but a remote gives you a backup outside your own hard drive, which is the one thing a local history cannot do for you.
Here is the short version before the details:
- Install Git and set your name and email once.
- Open a terminal in your project folder and run
git init. - Write a
.gitignorebefore your first commit. - Stage with
git add, snapshot withgit commit -m "message". - Create a private repo on a host and connect it with
git remote add origin. - Push with
git push, then branch whenever you experiment.
Table of Contents
- What You Need
- Step-by-Step
- Step 1: Install Git and Check Your Setup
- Step 2: Initialize a Repository for Your Project
- Step 3: Make Your First Commit
- Step 4: Use Branches for Experiments
- Step 5: Review Changes Before Committing
- Step 6: Recover an Earlier Version or Undo Changes
- Step 7: Add a Remote Repository for Backups
- Step 8: Build a Repeatable Personal Git Workflow
- Common Mistakes
- Frequently Asked Questions
- Do I need Git if nobody else sees my code?
- Should I use branches and issues when working alone?
- What is the difference between Git and GitHub?
- What should I put in .gitignore for a personal project?
- How do I undo a commit I already pushed?
- How often should I commit when working alone?
What You Need
You need four things, and you probably already have three of them.
- Git itself. Free and open source, and the same program on every operating system. Once installed, the commands in this guide are identical on Windows, macOS and Linux.
- A terminal. On macOS and Linux that is Terminal or your distribution’s terminal emulator. On Windows, use PowerShell or Git Bash, which Git for Windows installs for you.
- Your project folder. The folder that already holds your code, scripts, notes or configs. Git works on top of files that already exist, it does not need a special project layout.
- A text editor. Anything you already write in. You will use it for commit messages, which is more commit-message writing than most beginners expect.
Optionally, add an account on a Git host. GitHub, GitLab and Codeberg all have free private repositories, and the account is what holds the off-machine copy of your history. You can set all of this up locally first and add the remote later — nothing in the steps below breaks if you wait a week.
Step-by-Step
Step 1: Install Git and Check Your Setup
Install Git, then confirm it works and tell it who you are. Those two settings are the only global configuration most people ever need.
On Windows, install Git for Windows from the official git-scm.com download, or use the built-in package manager:
winget install --id Git.Git -eOn macOS, the Xcode Command Line Tools include Git:
xcode-select --installIf you already manage software with Homebrew, brew install git gives you a newer version. On Debian or Ubuntu, use sudo apt install git; on Fedora, sudo dnf install git.
Now set the identity that gets attached to every commit you make:
git --version
git config --global user.name "Your Name"
git config --global user.email "[email protected]"
git config --global init.defaultBranch main
You should see a version number from the first command and silence from the rest, which is normal. That last line makes new repositories start on main instead of the older master name, so your local branches and the ones on GitHub line up without renaming later.
How do you know it worked? Run git config --list and you will see the three values you just set. If user.email is wrong, every commit you already made carries the wrong address, and rewriting that history is more painful than the three commands above.
Step 2: Initialize a Repository for Your Project
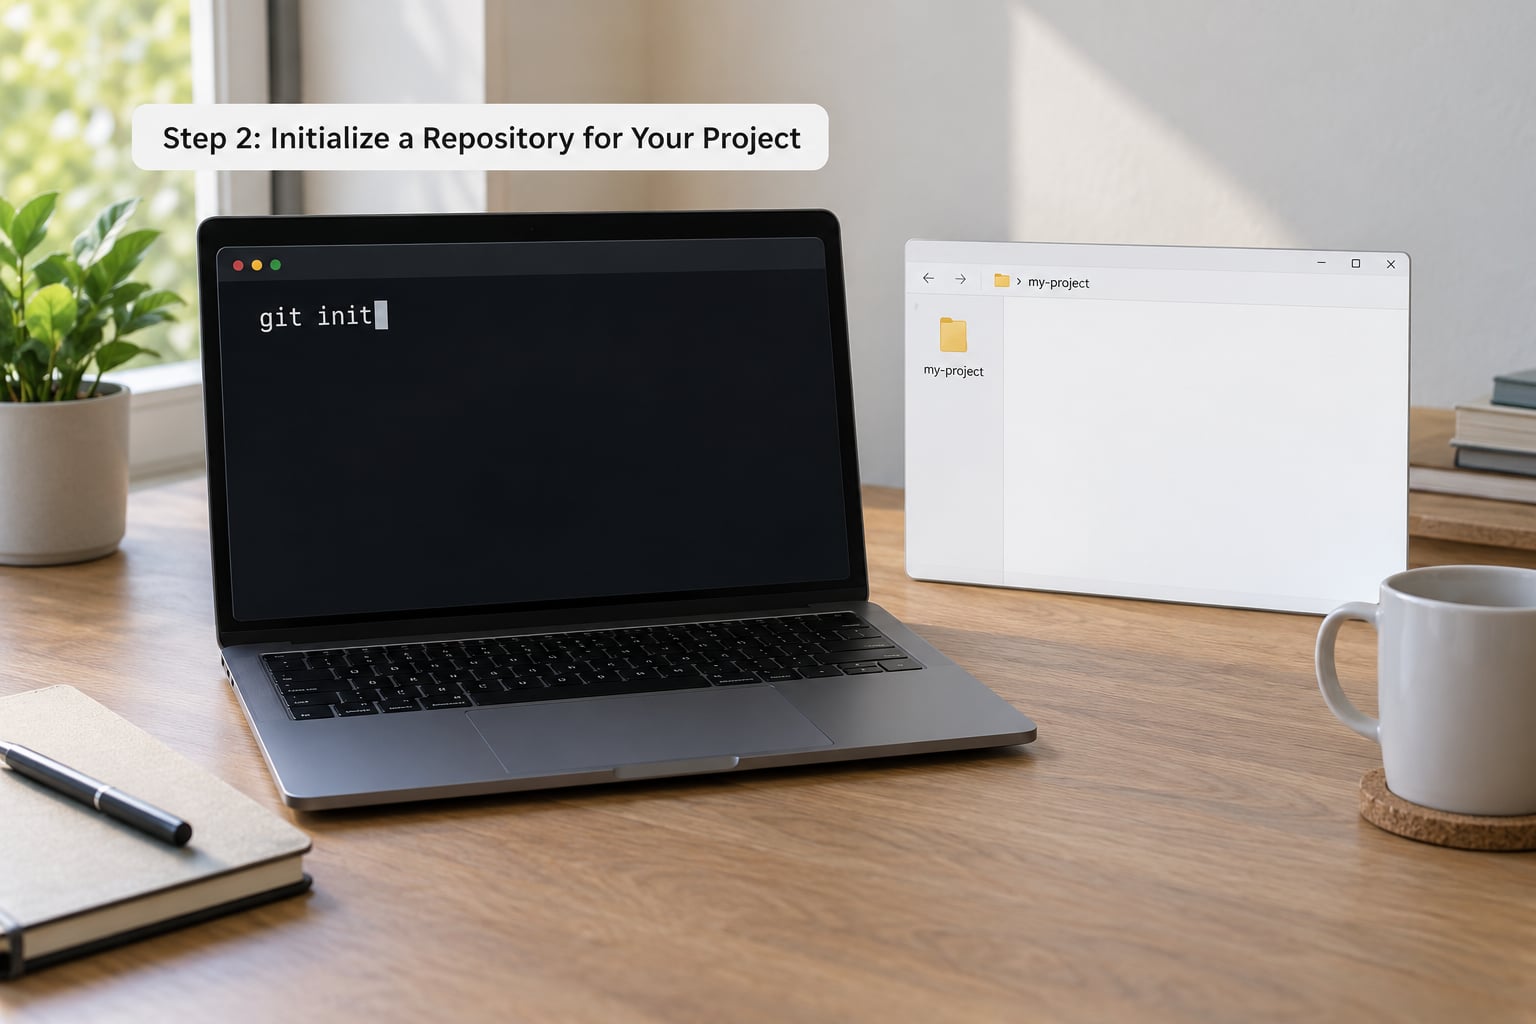
Turn your existing folder into a Git repository. Navigate into the folder that holds your project and run git init. That single command creates a hidden .git directory and turns the folder into a working directory tracked from that moment on.
cd ~/projects/my-first-project
git init
git status
Expected output looks like this:
Initialized empty Git repository in /home/you/projects/my-first-project/.git/
On branch main

No commits yet

nothing to commit (create/copy files and use "git add" to track)
That “nothing to commit” message is not a warning. It means Git found files, knows they are not under version control yet, and is waiting for you to say which ones matter.
One decision belongs here, before you ever stage a file. Run git init in the folder that holds your work, never one level above it. Initializing your whole home directory by accident is a common and unpleasant surprise — the .git folder appears at the top and every project underneath is suddenly part of one history.
Step 3: Make Your First Commit
Stage the files you want to record and save a snapshot with a message that will make sense to you in six months.
git add .
git status
git diff --staged
git commit -m "Add initial version of the blog engine"
git add . stages every file in the current folder and its subfolders. git status then lists them under “Changes to be committed” instead of “Untracked files”, and git diff --staged shows the exact text you are about to lock in. Read that diff once per commit. It is the cheapest mistake catcher you will ever set up.
When you prefer to pick files one at a time, git add filename stages a single file, and git add -p walks you through the changes hunk by hunk so you can stage half a file. On macOS the scmpuff add-on turns the status list into something you can select by number, which is handy once you are committing a dozen files a day.
Confirm it landed:
git log --oneline --graph --decorateA short hash, your branch name, and your message in one line. The first hash is a fingerprint of the snapshot, and every commit points at the one before it — that chain is what makes walking backward possible later.
Step 4: Use Branches for Experiments
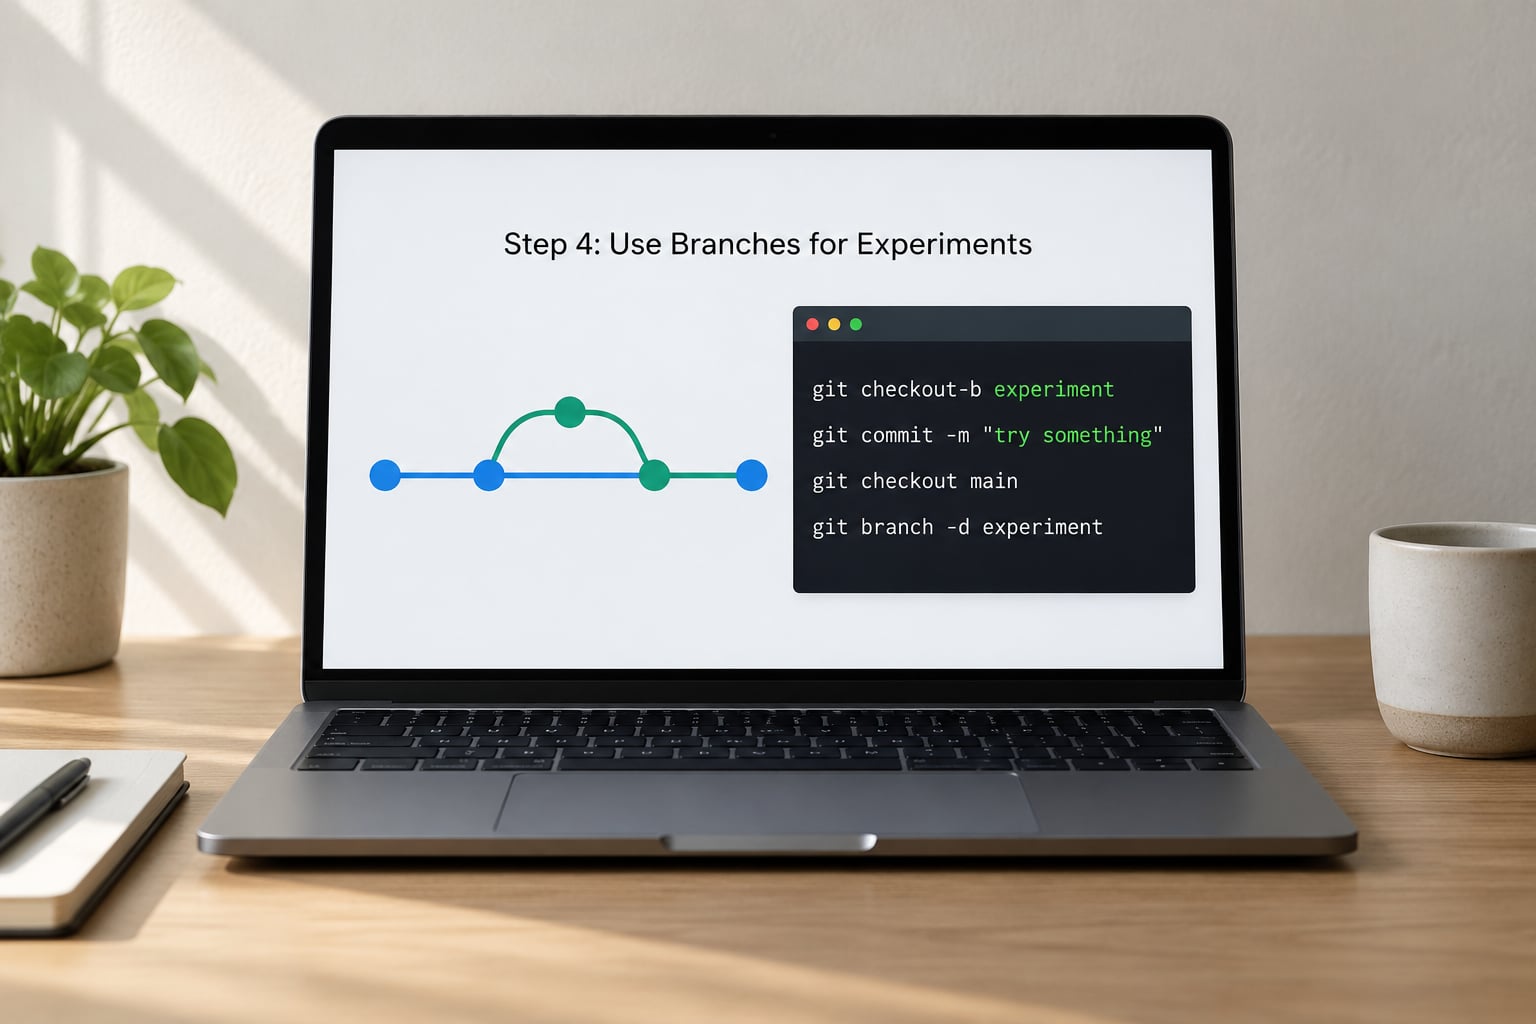
Yes, you should use branches when you work alone. A branch costs one command and gives you a place to try something that might not work, without touching the version that does.
git switch -c experiment/new-parser
# work, then commit as usual
git add .
git commit -m "Try the new parser on the archive folder"
git switch main
git merge experiment/new-parser
git branch -d experiment/new-parser
git switch -c creates the branch and moves you onto it. Commits you make while there stay on that branch only, so main remains the version that works. If the experiment fails, git switch main walks away from it and the branch can be deleted with git branch -d.
If both sides changed the same lines, Git stops and marks the conflict in the file instead of guessing. Open the file, decide which version is right, delete the marker lines, then git add that file and git commit to finish the merge. Nobody is waiting on you to review the conflict, so there is no process to follow — just resolve it and move on.
The habit worth building: one branch per idea, and merge it as soon as the idea is finished or abandoned. Branches cost nothing on a solo project, but a pile of half-finished ones costs you a lot of headroom.
Step 5: Review Changes Before Committing
Three commands answer three different questions: what changed, what is staged, and what exactly will go into this commit.
git status            # what is modified, untracked, or staged
git diff              # changes you have NOT staged
git diff --staged     # changes that ARE staged
Reading the status output matters more than it looks. Untracked means Git has never seen the file. Modified means Git knows it and the file differs from the last commit. Staged means it is in the next snapshot. When a line appears under both “Changes to be committed” and “Changes not staged for commit”, you edited a file after staging it and can refresh the staged copy with git add on that path.
Stash is the fourth one to know. git stash puts your uncommitted changes aside and gives you a clean tree, git stash pop brings them back. Use it when you need to switch branches with work in progress rather than committing something half-done.
Step 6: Recover an Earlier Version or Undo Changes
Almost every Git horror story is one of four situations, and each has a command that does exactly what you want. Nothing here is destructive to your history if you pick the right row.
| What you want | Command | What it does |
|---|---|---|
| Throw away unstaged edits to one file | git restore file.txt | Resets the file to the last commit |
| Unstage a file you added by mistake | git restore --staged file.txt | Keeps the file, removes it from the next commit |
| Fix the message or a small file in the last commit | git commit --amend | Replaces the tip commit before anyone sees it |
| Undo a commit that was already pushed | git revert <hash> | Adds a new commit that undoes the old one |
| Find a commit you thought you lost | git reflog | Lists every position HEAD has held, including discarded ones |
| Remove a file from tracking but keep it on disk | git rm --cached secrets.env | Takes it out of Git without deleting it |
Two rules keep this painless. Use --amend only on commits you have not pushed, and reach for git revert once a commit is public. The git reflog is the safety net underneath everything: if you reset or rebase past work you cared about, the reflog still lists the hash, and you can bring it back with git reset --hard <hash>.
For anything destructive you did not mean to run — git reset --hard, git clean -fd — stop and read the prompt output first. Both delete uncommitted work with no confirmation beyond a single line.
Step 7: Add a Remote Repository for Backups
Push your history to a private repository so you have a copy outside your own machine. Create an empty repository on GitHub, GitLab or Codeberg first — no README, no .gitignore, or the first push will refuse to go.
git remote add origin https://github.com/you/my-first-project.git
git remote -v
git push -u origin main
origin is just a nickname you give the remote URL. Rename it or add a second one — a backup host, say — with git remote add backup https://.... The -u flag records the upstream, so later pushes are just git push and later updates are git pull with no arguments.
You should see your branch name and a progress line ending in something like main -> main. Reload the repository page in your browser and your files are there, along with every commit message you wrote. That is the moment local Git becomes a backup system rather than just a history.
Step 8: Build a Repeatable Personal Git Workflow
Settle into a routine that takes about a minute at the start of a session and about a minute at the end.
git pull              # start: pick up anything already pushed
git status            # see what you were in the middle of
# ... work ...
git add -p             # end: stage deliberately
git commit -m "Short description of the change"
git push               # copy it off-machine
Commit whenever the project still works, not whenever you finish a feature. A useful personal rule is one commit per working state, with a message that says what the state is rather than what you typed — “Fix date parsing for archive posts” beats “fixed stuff”.
Read your own history every couple of weeks with git log --oneline --graph --decorate --all. It is a record of how the project actually progressed, including the week you spent on the wrong approach, which is genuinely useful information six months later. When the project reaches a state worth keeping, mark it:
git tag -a v1.0 -m "First version I would show someone"
git push --tags
Two optional extras once the basics are boring: git config --global alias.st "status -sb" shortens your most-used command, and a pre-commit hook that runs a formatter or linter stops broken code from ever entering history. Neither matters on day one.
Common Mistakes
These are the ones that actually bite solo developers, each with the fix.
Committing secrets. A .env file with an API key or a database password ends up in history the moment you commit it, and history is hard to scrub from a public repository. Write a .gitignore before your first commit:
# Secrets and local settings
.env
.env.*
*.pem

# Dependencies and build output
node_modules/
dist/
build/
__pycache__/
*.pyc

# Editor and OS noise
.DS_Store
Thumbs.db
.idea/
.vscode/
If something sensitive was already committed, remove it from tracking with git rm --cached, add it to the ignore file, and rotate the key. The key rotation is the part people skip, and it is the part that matters.
Committing generated output. Build folders, dependency directories and compiled files create enormous diffs that bury the change you actually made. Ignore them as above, and git status will stop filling up with noise. On macOS, scmpuff makes selecting a few real files from a long list painless.
Vague commit messages. “stuff”, “wip” and “asdf” turn your history into a wall of nothing. The message is the only note future you gets, so write it in imperative mood — “Add pagination to the archive” — and keep the subject under about 50 characters.
Committing everything at once. One commit containing a week of unrelated work is impossible to review, revert or bisect. Commit in small logical units instead, and use git add -p to split a mixed working tree into sensible pieces.
Force pushing out of habit. git push --force overwrites the remote with your local history, which is fine on a private solo repo and bad the moment a second machine or a second person is involved. If you rebase a branch you already pushed, use git push --force-with-lease, which refuses when the remote has moved since you last fetched.
Running destructive commands without reading them. git reset --hard discards uncommitted work and git clean -fd deletes untracked files and directories. Both are correct tools occasionally. Neither should be a reflex, and pasting a command you found in a forum thread without reading what it does is how projects get lost.
Skipping branches entirely. Working directly on main is fine for small edits, but one bad afternoon spent refactoring can leave you with nothing that works and no clean version to return to. A branch costs one command.
Frequently Asked Questions
Do I need Git if nobody else sees my code?
You need it more than most people expect. Your real risk is not a teammate overwriting your work, it is you, six months from now, with a version that worked. Git gives you a searchable timeline of every state the project has been in, one-command rollback when a change breaks something, a safe branch to try ideas on, and free off-machine backup. Solo maintainers on Reddit and Hacker News consistently describe their commit history as the thing that saved them.
Should I use branches and issues when working alone?
Yes, both, and the reason is not process for its own sake. A branch lets you try something risky and abandon it with one command instead of a mess of undo. GitHub Issues works as a personal backlog and a written record of what you planned, which is more useful than the mental list most solo developers carry. Teams add review and coordination on top; you get the version tracking without any of the overhead.
What is the difference between Git and GitHub?
Git is software you install, it runs on your machine, and it records snapshots of your files. GitHub is a website that stores those snapshots on someone else’s computer so you have a backup and a place to share links. You can use Git for years without an account anywhere. The moment you run git push, though, the history leaves your laptop, and that off-machine copy is the part a local repository cannot give you.
What should I put in .gitignore for a personal project?
Start with secrets and generated output. Ignore .env, .env.* and *.pem, then your dependency folder (node_modules, vendor, .venv) and build output (dist, build, __pycache__). Add editor and OS noise like .DS_Store and .idea. Ignore the build output before you ever create it, not after, because a large ignored folder still slows status and diff. GitHub’s own gitignore templates cover every language if you want a starting list.
How do I undo a commit I already pushed?
Run git revert with the commit hash, which adds a new commit that undoes the old one and leaves the history intact. If nobody has pulled yet, git commit u002du002damend replaces the tip commit instead. For work you lost rather than work you want undone, git reflog lists every position HEAD has held, including commits you reset or rebased away, and you can return to one with git reset u002du002dhard and that hash. Keep a copy of anything important before experimenting.
How often should I commit when working alone?
Commit at every state where the project still runs. That gives you a dense history of working versions, and it keeps each commit small enough to describe in one line. A practical rule is to commit before any risky refactor, and at least once or twice a day while actively building. Do not wait for a feature to be finished, because unfinished features drag three unrelated changes into one commit that you can only revert as a lump.
Start with the smallest version that works. Install Git, set your name and email, run git init in one project folder, write a .gitignore, and make your first commit today. That is the whole foundation, and it takes about fifteen minutes.
Then add exactly one thing per week: a private remote and a first push, a branch for your next experiment, or a tag when the project hits a state worth keeping. Learning how to use Git for personal projects is not about memorizing commands — it is about having git log and git restore available the next time something breaks at midnight.