Linux software RAID is redundancy built entirely in the kernel with mdadm, no RAID controller and no special hardware. You point mdadm at two or more block devices, it combines them into a single /dev/mdX device, and you format and mount that like any ordinary disk. This guide shows how to set up software RAID in Linux end to end: picking a RAID level, preparing disks, creating the array, making it survive a reboot, checking that it is healthy, and replacing a failed drive. Commands below assume Ubuntu or Debian, Rocky Linux or AlmaLinux, Fedora, and Arch. The package install step differs by distribution; everything after it does not.
Two warnings before you type anything. Creating an array writes metadata across every member disk, so anything already on them is gone. And RAID is not a backup. It keeps a volume readable when a disk dies; it does not keep it readable when you delete a file, a script wipes the wrong mount point, or ransomware walks the filesystem.
Table of Contents
- What You Need
- Step-by-Step
- How to Choose the Right RAID Level in Linux
- Prepare the Disks and Filesystem
- Create the RAID Array with mdadm
- Create, Mount, and Persist the Array
- Verify the RAID Configuration
- Common Mistakes
- Maintain and Recover the Array
- Frequently Asked Questions
- Is software RAID in Linux as fast as hardware RAID?
- Can I create Linux software RAID in a virtual machine?
- How many disks do I need for RAID 5 or RAID 10?
- Should I use mdadm or LVM to create a software RAID array?
- How do I check whether a Linux RAID array is healthy?
- Does Linux software RAID protect my data if I accidentally delete a file?
- Conclusion
What You Need
You need at least two block devices of equal size, root access, and roughly thirty minutes if nothing surprises you. The disks can be partitions or whole drives; dedicated partitions are the cleaner choice because the partition table documents what the disk was for.
Match the drives by model and capacity where you can. Mixing a 4 TB drive with an 8 TB one does not break the array, but usable capacity collapses to the size of the smallest member, and mixed sector sizes (512e versus 4Kn) can stop an array from assembling at all. The same warning applies to mixing metadata versions, which you will read more about in the mistakes section.
Back up anything on the target disks before you start, even if you believe the disks are empty. It is the single cheapest insurance in this whole procedure.
Software RAID differs from hardware RAID in one important way: the array exists only as metadata on the member disks. A hardware controller keeps its configuration in controller memory or on a dedicated flash module, and disks stay attached to that controller. With mdadm you can pull a member disk out of a dead machine, plug it into any other Linux box, and assemble the array from the metadata alone. That portability is the main reason home lab and self-hosting communities default to software RAID, and it is why monitoring is a software problem you solve yourself rather than a feature you buy.
The trade-off is that you own the failure notification. A decent hardware controller emails you when a disk dies. With mdadm, the array silently runs one disk short until something tells you, which is why the monitoring section matters.
Step-by-Step
How to Choose the Right RAID Level in Linux
RAID 0 stripes data for speed and has no redundancy at all. RAID 1 mirrors every write to two or more disks. RAID 5 stores block-level parity across all members and survives one failure. RAID 6 uses two parity blocks and survives two. RAID 10 stripes first, then mirrors, giving good performance and one-disk tolerance per mirror pair.
| Level | Minimum disks | Redundancy | Can survive | Capacity cost | Best for |
|---|---|---|---|---|---|
| RAID 0 | 2 | None | Nothing | None | Scratch space, media transcode |
| RAID 1 | 2 | Full mirror | 1 disk per mirror | Half | Root disks, small critical servers |
| RAID 5 | 3 | One parity block | 1 disk | One disk | Read-heavy archives on a budget |
| RAID 6 | 4 | Two parity blocks | 2 disks | Two disks | Larger arrays, large consumer disks |
| RAID 10 | 4 | Mirrored stripes | 1 disk per pair | Half | Databases, VM hosts, general servers |
For most home servers and labs, RAID 1 with two disks is the sensible starting point, and RAID 10 if you want more capacity and more throughput. For anything larger than four or five drives, choose RAID 6. With large consumer drives you are statistically likely to hit read errors during a rebuild, and RAID 5 has no second failure to fall back on.
Two levels I would push back on. RAID 0 has no redundancy whatsoever, so it is a throughput choice for regenerable data, not a storage layout. And if you need snapshots, checksumming, or automatic scrubbing across the whole filesystem, stop here: mdadm gives you parity, not a modern filesystem. ZFS and Btrfs bundle their own redundancy with checksums and snapshots, which is why they have largely replaced md RAID on self-hosted storage.
Prepare the Disks and Filesystem
Start by identifying what is actually attached. Never assume /dev/sda1 is the partition you want; on installed systems and VMs the enumeration order frequently differs from the physical order.
lsblk
lsblk -f
ls -l /dev/disk/by-id/
The lsblk -f output shows mount points and existing filesystems, which is how you spot the disk holding your root filesystem before you wipe anything. The by-id listing gives you stable names based on the drive serial number. Use those paths in every command below. If you build an array from /dev/sdX paths and the disks are enumerated in a different order next boot, mdadm can assemble a mirror from the wrong pair, and you end up with an array that looks healthy and holds garbage.
Clear old filesystem and RAID signatures off each target partition:
sudo wipefs -a /dev/disk/by-id/ata-DISK2-part1
sudo wipefs -a /dev/disk/by-id/ata-DISK3-part1
Then create the partition. With GPT, flag the partition type as Linux RAID so installers and rescue tools recognise it:
sudo parted /dev/disk/by-id/ata-DISK2 mklabel gpt
sudo parted /dev/disk/by-id/ata-DISK2 mkpart primary 1MiB 100%
sudo parted /dev/disk/by-id/ata-DISK2 set 1 raid on
Repeat for every member and keep the layout identical on each disk. A mismatch in partition size means mdadm uses the smallest usable region and silently wastes the rest.
Create the RAID Array with mdadm
The create command is one line per level. These are copy-ready templates: substitute your own by-id paths.
# RAID 1 mirror of two disks
sudo mdadm --create /dev/md0 --level=1 --raid-devices=2
  /dev/disk/by-id/ata-DISK2-part1
  /dev/disk/by-id/ata-DISK3-part1

# RAID 5 across three disks, 512 KiB chunks
sudo mdadm --create /dev/md0 --level=5 --raid-devices=3 --chunk-size=512K
  /dev/disk/by-id/ata-DISK2-part1
  /dev/disk/by-id/ata-DISK3-part1
  /dev/disk/by-id/ata-DISK4-part1

# RAID 6 across four disks
sudo mdadm --create /dev/md0 --level=6 --raid-devices=4
  /dev/disk/by-id/ata-DISK2-part1
  /dev/disk/by-id/ata-DISK3-part1
  /dev/disk/by-id/ata-DISK4-part1
  /dev/disk/by-id/ata-DISK5-part1

# RAID 10 with two mirrors and a spare held in reserve
sudo mdadm --create /dev/md0 --level=10 --raid-devices=4 --spare-devices=1
  /dev/disk/by-id/ata-DISK2-part1
  /dev/disk/by-id/ata-DISK3-part1
  /dev/disk/by-id/ata-DISK4-part1
  /dev/disk/by-id/ata-DISK5-part1
  /dev/disk/by-id/ata-DISK6-part1
Add --metadata=1.2 if you plan to boot from the array, since it keeps the superblock at the end of the device instead of the start, out of the way of the bootloader. Use --verbose to see what mdadm is about to do. Skip --assume-clean unless you are deliberately assembling disks from another machine: it tells mdadm the data already matches, which on mismatched disks gives you a corrupt array that reports clean.
For data volumes, adding one or two spare devices with --spare-devices is cheap insurance. When a member fails, the array fails over to a spare immediately and rebuilds onto it without waiting for you to fetch a disk.
Create, Mount, and Persist the Array
Format the new device. ext4 is the safe default; XFS handles large files and parallel I/O well and is the usual choice for media libraries and VM images.
sudo mkfs.ext4 /dev/md0
# or
sudo mkfs.xfs /dev/md0
Get the filesystem UUID, not the md device name. Names shift if the array is recreated; UUIDs do not.
sudo blkid /dev/md0
# /dev/md0: UUID="a1b2c3d4-5e6f-7890-abcd-ef1234567890" TYPE="ext4"
Create the mount point and add the entry. nofail matters on a data volume: without it, an array that fails to assemble leaves the machine sitting at an emergency shell instead of booting.
sudo mkdir -p /mnt/storage
echo 'UUID=a1b2c3d4-5e6f-7890-abcd-ef1234567890 /mnt/storage ext4 defaults,nofail,x-systemd.device-timeout=30 0 2' | sudo tee -a /etc/fstab
Now make the array itself known to the bootloader sequence. Append what mdadm detects and rebuild the initramfs image:
mdadm --detail --scan | sudo tee -a /etc/mdadm/mdadm.conf
sudo update-initramfs -u        # Debian, Ubuntu
sudo dracut -f --regenerate-all  # RHEL, Rocky, Fedora, Arch
If /etc/mdadm/mdadm.conf does not exist, create it before appending. This step is what tells mdadm which devices make up the array at boot, and skipping it is the most common cause of an array that works fine until the next restart.
Verify the RAID Configuration
Check what you built before you trust it:
cat /proc/mdstat
sudo mdadm --detail /dev/md0
A healthy four-disk RAID 6 shows all four members as [4/4] and a clean state line. RAID 1 on two disks shows [2/2] and [UU]. During a rebuild you see a progress figure that climbs toward 100 percent, which is normal.
Then test the pieces you just wrote:
sudo mount -a
findmnt /mnt/storage
sudo touch /mnt/storage/.raidtest && sudo rm /mnt/storage/.raidtest
A write and delete succeeding proves the filesystem mounted read-write on the array, which is the useful check. Do not reach for a disk-filling benchmark as a routine test on a fresh array. The honest verification is the reboot: restart, confirm the array assembles, confirm the mount point is populated, and check mdadm --detail again. If you want to prove redundancy works, pull one member while the system runs and watch it drop to degraded rather than stopping.
Common Mistakes
Built from /dev/sdX names and the array assembles wrong members. This shows up as a mirror pair that changes between boots, or an array that assembles in degraded mode after adding a disk. Fix it by recreating with /dev/disk/by-id or by-partuuid paths and checking mdadm --examine --scan output matches what you intended.
Array is fine, then missing after reboot. Either mdadm.conf was never updated or the initramfs image was not regenerated. Run the scan-and-append command again, rebuild the initramfs, and check that the array appears in cat /proc/mdstat early in boot.
A RAID 1 member gets kicked out every reboot. This is usually a stale mdadm.conf combined with unstable sdX naming rather than a real disk fault. Add the array by UUID to mdadm.conf instead of by device path and regenerate the initramfs.
Mixed metadata versions. Arrays imported from NAS appliances often carry older metadata. mdadm --examine /dev/sdX shows the version per member, and members must agree. Force assembly with --assume-clean only when you are recovering data and understand the risk.
Boot fails after a firmware update. The EFI System Partition is FAT32 and cannot live on mdadm. Firmware cannot read a mirror, so keep the ESP on a plain disk and mirror /boot only if your bootloader supports it. This trap catches a lot of people on modern distros.
Deleted the wrong device. Before any destructive step, confirm the path with lsblk -f and mdadm --detail. To retire an array cleanly and reuse the disks, zero the metadata on every member first, otherwise the next mdadm --create sees stale superblocks and refuses:
sudo mdadm --stop /dev/md0
sudo mdadm --zero-superblock /dev/disk/by-id/ata-DISK2-part1
sudo mdadm --zero-superblock /dev/disk/by-id/ata-DISK3-part1
Rebuild takes forever. The default speed limits protect your other I/O. Check cat /proc/sys/dev/raid/speed_limit_min and speed_limit_max; they are expressed in KiB per second, and the minimum value acts as a floor the rebuild will not fall below.
Maintain and Recover the Array
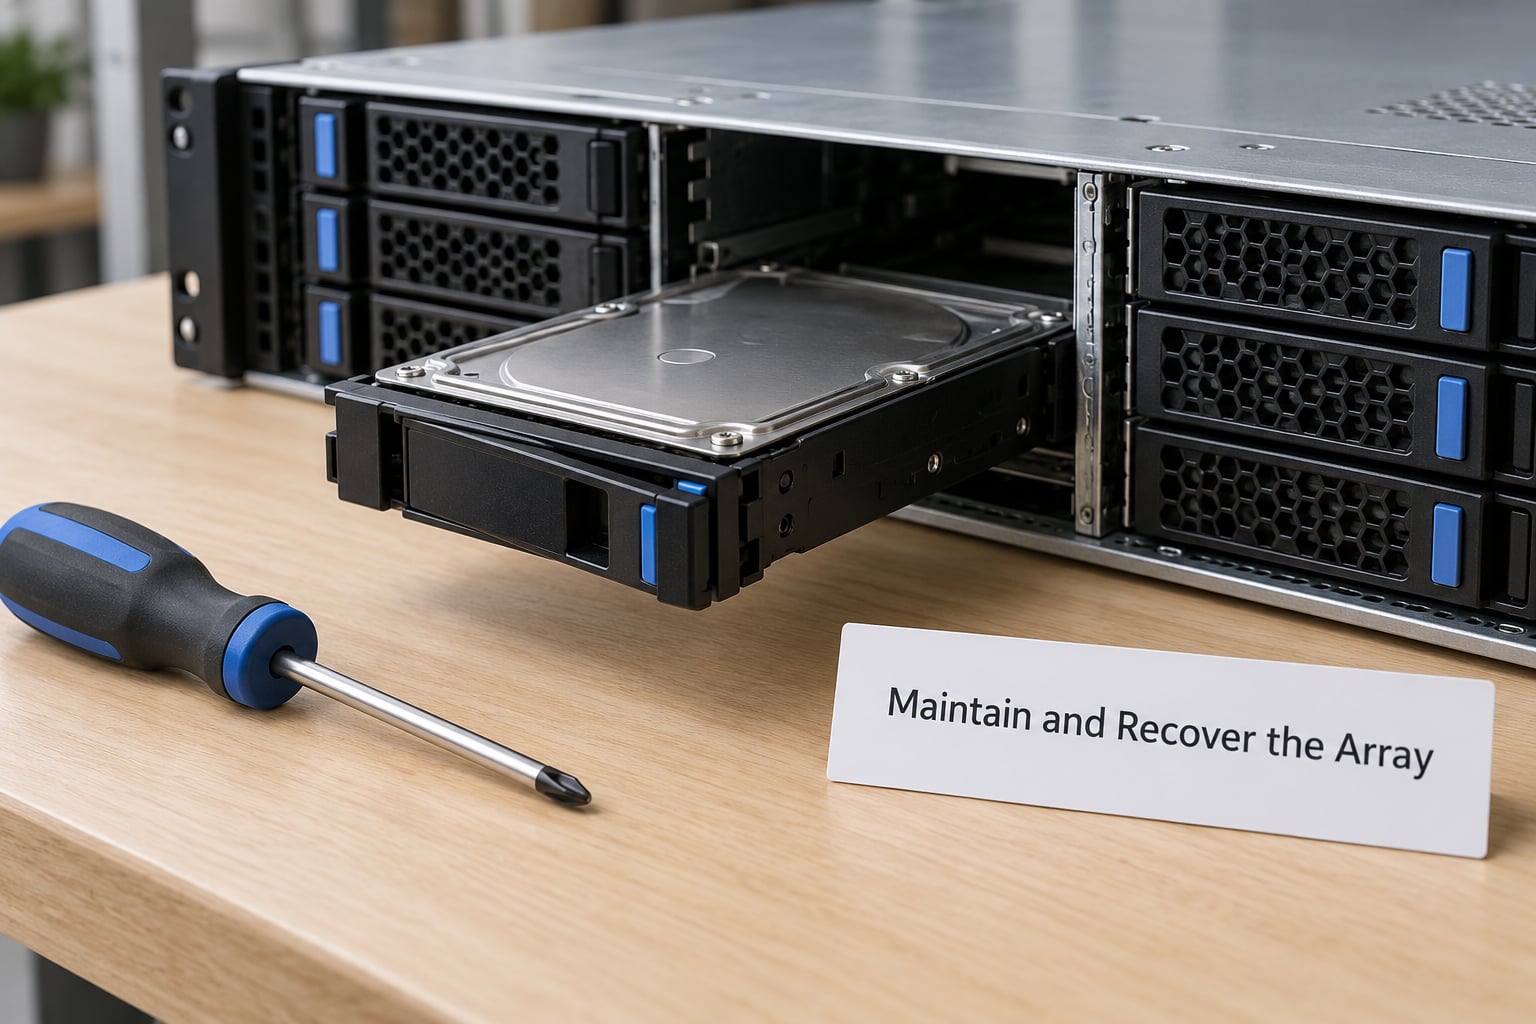
Monitor the array rather than waiting for it to break. A weekly consistency check and a failure mail are both a few lines:
echo 'MAILADDR [email protected]' | sudo tee -a /etc/mdadm/mdadm.conf
printf '*/5 * * * * root /usr/sbin/mdadm --monitor --scan --oneshotn' | sudo tee /etc/cron.d/mdadm-monitor
For a deliberate scrub, trigger a full consistency read yourself rather than waiting on an event. Writing check to the array’s sync action makes the kernel read every block and verify it against the parity data:
echo check > /proc/md0/sync_action
cat /proc/mdstat
That scrub matters on large consumer drives because it finds read errors before a rebuild hits them, when you can still act on them. Pair it with SMART polling on each member; mdadm notices a disk that has vanished, not one whose reallocated sectors have quietly grown.
Adding capacity works, but with rules. You can add a spare at any time. Growing an existing array requires --grow with the new device count, then mdadm --zero-superblock on the new member before adding it, and RAID 0 or RAID 1 are the practical targets. Converting a two-disk RAID 1 into a RAID 10 with the same disks is not possible; that needs new hardware.
Replacing a failed member is the sequence people search for most often. Mark it failed, remove it, swap the physical disk, mirror the partition layout, then add the new disk and let it rebuild:
sudo mdadm --manage /dev/md0 --fail /dev/sdb1
sudo mdadm --manage /dev/md0 --remove /dev/sdb1
# replace the physical disk, then recreate the identical partition
sudo mdadm --manage /dev/md0 --add /dev/disk/by-id/ata-NEWDISK-part1
cat /proc/mdstat
The rebuild runs in the background. You can keep working, but the array is degraded until it finishes, which is exactly the window to get a second replacement ready. On RAID 1 that rebuild is a full disk copy and can take hours; RAID 5 and RAID 6 read and rewrite as they go, so expect longer than the raw capacity suggests.
Frequently Asked Questions
Is software RAID in Linux as fast as hardware RAID?
For read-heavy workloads the difference is small, because a modern hardware controller adds little beyond the cache and battery it provides. On RAID 5 and RAID 6 writes software RAID pays a read-modify-write penalty without a write-back cache, so a controller with BBU or non-volatile cache wins clearly. On RAID 1 and RAID 10 with SSDs the gap mostly disappears. If speed is not your reason, the portability and monitoring benefits usually decide it.
Can I create Linux software RAID in a virtual machine?
You can, and it works, but you are stacking redundancy on top of whatever the hypervisor already provides. If the virtual disks sit on shared storage with its own replication, mdadm adds little. Where it earns its place is a VM with raw passthrough or locally attached disks, or a lab where you want the same layout as physical hardware. Avoid software RAID on a single virtual disk file, where both layers fail together.
How many disks do I need for RAID 5 or RAID 10?
RAID 5 needs three disks minimum, giving you the usable capacity of two. RAID 10 needs four disks minimum, because mirrors are built in pairs, and gives you the usable capacity of two. Both tolerate exactly one disk failure. In practice, RAID 10 is the better choice at four disks and RAID 6 is the better choice once you are at five or more, especially with large consumer drives that are likely to return read errors during a rebuild.
Should I use mdadm or LVM to create a software RAID array?
They solve different problems and are often stacked. mdadm provides redundancy across physical devices; LVM provides flexible capacity management, snapshots, and a layer for encryption. Use mdadm alone for a straightforward data volume that does not need resizing. Use LVM on top of mdadm when you want to grow volumes, snapshot them, or encrypt the array with LUKS without rebuilding it.
How do I check whether a Linux RAID array is healthy?
Run cat /proc/mdstat first. A healthy array shows the full member count in brackets, for example four of four, and no missing members. Then run sudo mdadm u002du002ddetail /dev/md0 to read the state line, which reports Clean, Degraded, or actively rebuilding with a progress percentage. Anything other than Clean deserves attention, and a rebuilding array means a disk already failed.
Does Linux software RAID protect my data if I accidentally delete a file?
No. mdadm provides availability against disk failure, not recovery from mistakes. A deleted file is deleted on every member, and an fsck or scrub will happily confirm the array is clean while your data is gone. That is what backups and snapshots are for, and it is why I treat a separate backup target as a prerequisite rather than an optional extra when setting up software RAID.
Conclusion
Start by backing up whatever is on the target disks, then confirm with lsblk -f that you are pointing at the right devices. Choose the level from the redundancy you actually need: RAID 1 for two disks, RAID 10 at four, RAID 6 beyond that. Create the array with by-id paths rather than /dev/sdX, format it, mount it with a UUID in fstab, and update mdadm.conf and the initramfs. Reboot once and confirm it comes back healthy before you move any real data onto it.