A RAW drive can usually be fixed without losing its data, but the order of operations decides the outcome. Stop using the drive, image it sector by sector, copy your files out, and repair the file system only after everything important is safe somewhere else. Formatting first is how most people lose data they thought they were saving.
Not every RAW drive is recoverable, though. If the hardware is dying, no software rescues it, and the honest move is to stop before you make it worse. The workflow below covers Windows 11 and Windows 10, works for internal drives, external HDDs, SSDs and USB flash drives, and tells you where to bail out to a professional lab.
First, the definition that trips people up. A RAW drive is not a file format, and it has nothing to do with RAW image files. It is Windows saying: I can see this partition and its capacity, but I cannot read the file system structures on it, so I will show it as unformatted and refuse to open it. The files are usually still physically sitting there.
Table of Contents
- What You Need
- Step-by-Step: How to Fix a Raw Drive Without Losing Data
- 1. Confirm the Drive and Protect It from Further Damage
- 2. Create a Sector-Level Image of the Raw Drive
- 3. Recover Files From the Image or Failing Drive
- 4. Repair the Filesystem Only After Recovery
- 5. Test the Repaired Drive and Restore Normal Use
- Common Mistakes
- Frequently Asked Questions
- Can I repair a raw drive without losing its data?
- Should I run chkdsk on a raw drive first?
- What is the best software to recover files from a raw drive?
- Can a raw SSD be recovered?
- Why does my drive show as unallocated instead of RAW?
- Is it possible to change a RAW drive back to NTFS?
What You Need
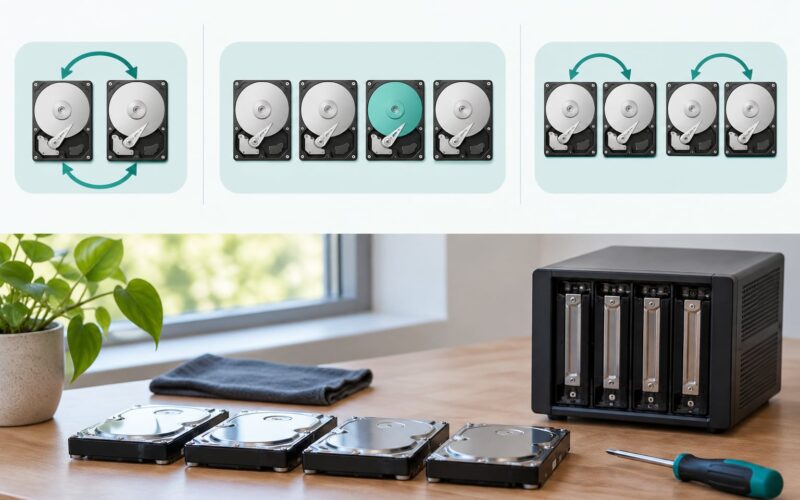
You need somewhere to put a copy before you touch anything, and that destination must be a different physical drive.
- A second healthy drive with equal or greater capacity. Imaging a 1 TB drive needs a 1 TB destination. Add headroom for a couple of failed sectors if the drive is already complaining.
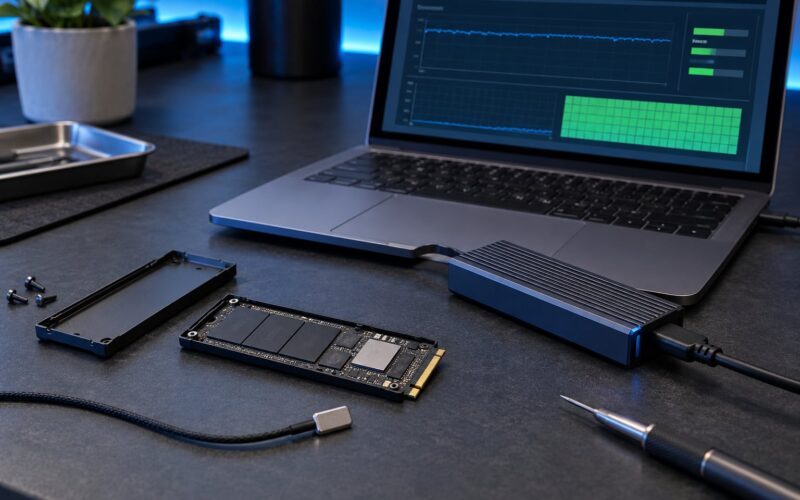
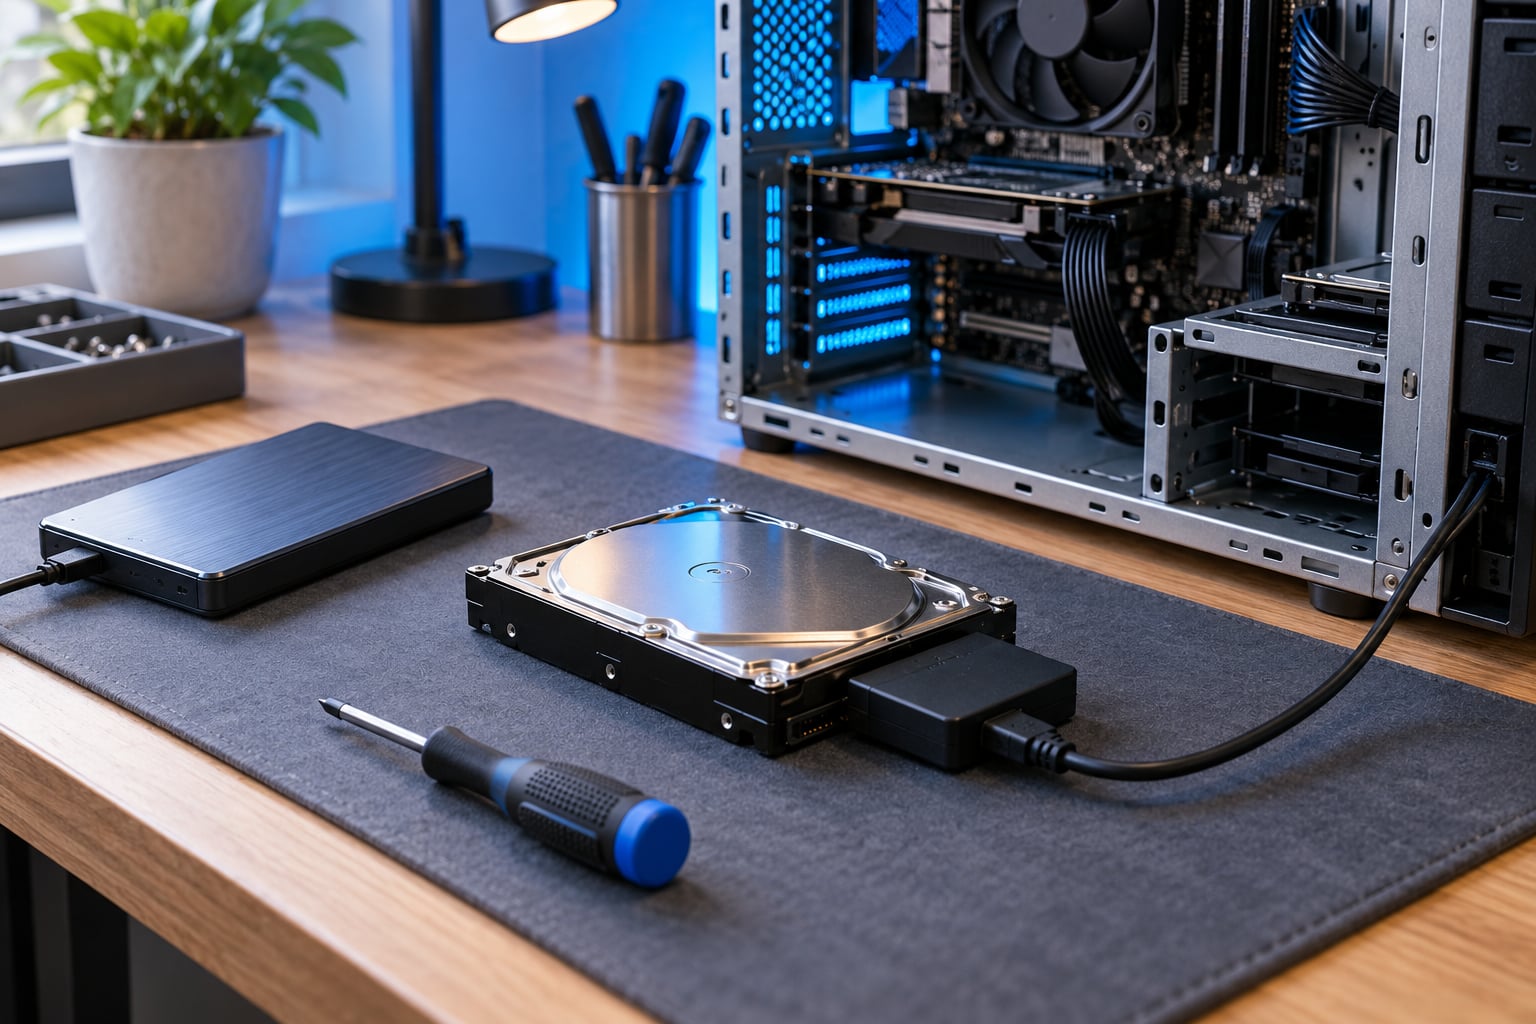
- A USB-to-SATA or USB-to-NVMe adapter if the failing drive is internal. This lets you image it from another machine without taking the whole PC apart.
- Free recovery software. TestDisk and PhotoRec from CGSecurity, or HDD Raw Copy Tool for imaging. Windows File Recovery is available from the Microsoft Store if you are on a current Windows release.
- A USB stick with a bootable recovery environment if the RAW drive is your boot drive and Windows will not start. Acronis True Image, a Strelecs boot disc, or any live Linux image handles this case.
- Your BitLocker recovery key if the volume was encrypted. An encrypted volume that lost its file system may present as RAW or as a locked volume, and the key changes what is recoverable.
- Free space for the image file and a second folder for recovered files. Both belong on the healthy drive, never on the failing one.
Read that list again and notice the pattern: every artifact lives somewhere other than the RAW drive. That is the whole idea. If you only take one habit from this guide, make it that one.
Step-by-Step: How to Fix a Raw Drive Without Losing Data
1. Confirm the Drive and Protect It from Further Damage
Start by proving which disk you are dealing with. Press Win+R, type diskmgmt.msc, and open Disk Management. Write down the disk number, the size in GB, and whether each volume reports RAW or unallocated. Those two states look similar and get fixed in very different ways.
Open an elevated Command Prompt and use DiskPart to confirm the same numbers from the command line:
diskpart
list disk
list volume
exit
Note the disk number that matches the capacity of the drive you pulled from your bag. This is the number that appears in forum posts about people wiping the wrong disk, so slow down here.
While Disk Management is open, do not right-click into New Simple Volume, do not click through the format prompt, and do not initialize a disk that shows as uninitialized. Every one of those writes to the disk. If Windows is offering to format, close the dialog.
Two hardware checks are worth doing before you go further. Reseat the SATA or power cable, or try a different USB port, because a marginal connection can make a healthy drive report a corrupted file system. One Microsoft Q&A thread resolved a RAW drive with no data recovery at all by switching the BIOS SATA mode between AHCI and IDE, which is worth a ten-minute look if the drive reads fine on another machine.
Finally, look at the drive’s health. CrystalDiskInfo reads SMART attributes without writing to the disk, so it is safe on a failing drive. Pay attention to Reallocated Sectors Count, Current Pending Sector, and the overall SMART status. If the drive clicks, grinds, or drops off the bus intermittently, stop here and go to a lab. Software cannot fix a mechanical failure.
2. Create a Sector-Level Image of the Raw Drive
This is the step most guides skip, and it is the one experienced users on r/datarecovery and level1techs push hardest. An image is a full copy of every sector, including the damaged ones, and it lets you run recovery attempts repeatedly without the failing drive degrading further.
On Windows, HDD Raw Copy Tool does this from a GUI. Choose the failing drive as SOURCE, choose a file on the healthy drive as DESTINATION, set the transfer mode to a sector-by-sector read, and start. The process is slow, often several hours for a large drive, and that slowness is normal.
On Linux, GNU ddrescue is better because it survives unreadable regions:
ddrescue -f /dev/sdc /mnt/backup/rawwrite.img /mnt/backup/rescue.log
ddrescue -d /dev/sdc /mnt/backup/rawwrite.img /mnt/backup/rescue.log
The first pass copies everything it can and logs failures. The second pass retries only the bad sectors, skipping the ones that never read. The log file is what tells you which parts of the drive are physically damaged.
You will know the image worked when the file size matches the source capacity and you can mount it read-only in a virtual disk tool or run TestDisk directly against the image file. If the source keeps reporting read errors, that is not an imaging failure. It is the drive telling you the truth about its condition.
3. Recover Files From the Image or Failing Drive
Now recover, and copy the results to a different physical drive. If you have an image, point your recovery tool at the image instead of the hardware. You get to attempt recovery as many times as you like without touching the original again.
Windows File Recovery works from an elevated Command Prompt. The general form is:
winfr D: E:Recovery /regular /n *.docxSwap the source drive letter, the destination folder, and the filters for what you actually need. The /regular mode is the one that works on a file system Windows still partly recognizes; /extreme is the deeper, much slower scan for badly damaged volumes.
TestDisk is the better choice when the partition table or MBR is the problem. Run it against the image, pick the correct partition by size, and use the rebuild options to rewrite the MBR or restore the partition table. This is frequently the difference between recovering everything and recovering nothing, because it repairs the structures rather than carving past them.
PhotoRec is the fallback when the file system is too damaged for TestDisk to interpret. It recovers by file signature, so it pulls your documents, photos and archives back intact, but you lose filenames, folder structure and dates. Forum users describe the result exactly as it is: the files come back, and then you have a huge unnamed pile to sort through.
If the drive was BitLocker-encrypted, unlock it before anything else. Without the recovery key, no recovery tool sees anything, and you will waste hours on a drive that was never really RAW.
4. Repair the Filesystem Only After Recovery
Repair comes after recovery, never before. chkdsk needs a file system it can read, which is why a RAW volume gets the message that CHKDSK is not available for RAW drives. If a tool can run chkdsk /f on a volume, the file system is already partly readable, and the risk is that chkdsk rewrites metadata and overwrites the structures a recovery tool needed.
Once your files are verified on the healthy drive, you can work on the filesystem. Assign a drive letter in Disk Management by right-clicking the volume and choosing Change Drive Letter and Paths, then run a repair pass:
chkdsk X: /f
chkdsk X: /r
The /f flag fixes file system errors. The /r flag adds a scan for bad clusters and is far slower on a degraded drive. On a system volume, add /f to the scan-on-next-boot prompt Windows gives you.
If chkdsk cannot help and rebuilding the MBR with TestDisk did not either, the drive gets reformatted. Do that with DiskPart, and note that these commands destroy every file on the selected disk:
diskpart
list disk
select disk 1
attributes disk clear readonly
clean
create partition primary
active
format fs=ntfs quick
assign
exit
Replace 1 with the number you confirmed in step 1, never a drive letter. One correction worth stating plainly: converting RAW to NTFS is not a Windows operation. There is no convert command for a volume whose file system Windows cannot read. Anything claiming to do it in place is either restoring the file system with a recovery tool or formatting and recovering afterward, and you should be suspicious which one you are being offered.
5. Test the Repaired Drive and Restore Normal Use
Treat a repaired RAW drive as suspect hardware, not as a fixed drive. Copy a folder of noncritical files across and compare the results. Re-open CrystalDiskInfo and watch whether the pending and reallocated sector counts have climbed since the first reading, because a rising count means the drive is still losing surface.
If BitLocker was on, re-enable it now while the volume is clean and healthy. If the drive had SMART warnings, keep monitoring it, and keep a real backup somewhere else. The safest role for a drive that has been RAW once is a secondary drive for downloads and scratch files, never the only place anything important exists.
Common Mistakes
Every one of these has destroyed somebody’s data. Read them before you start rather than after.
Formatting the RAW drive first. This is the big one. A quick format writes a new file system across the volume and makes the old allocation tables unrecoverable. It feels like a fix because the drive mounts instantly and the error disappears. Save the data first, then format, and the drive is still usable either way.
Running chkdsk before recovering. chkdsk /f writes to the volume. On a filesystem-damaged drive it can rebuild structures in a way that makes file recovery worse rather than better.
Saving recovered files back to the same disk. Recovery tools write every file they find. Point the destination at a different physical drive, or you will overwrite the sectors holding the files you have not found yet.
Using the wrong disk number in DiskPart. Disk 0 is usually your boot drive. A mistyped number in a select disk or clean command hits the wrong hardware instantly, with no undo.
Assuming a clean chkdsk run means the drive is healthy. chkdsk repairs logic, not hardware. A drive that passes and then fails a month later was probably showing you pending sectors all along.
Clicking through the format prompt. Windows offers to format an unrecognized volume the moment you open it. This is one of the most common real causes of the panic, and a fast, graceful abort still leaves the data intact.
Assuming the clone proves the drive is sound. The disk may present the same raw bytes to the OS and still be physically failing, so image it before repair, not after.
A few habits prevent most of this. Keep two copies of anything you cannot replace, on drives that are not the same model from the same batch. Eject drives properly instead of yanking them. Back up before a major OS upgrade, and never treat a SMART warning as something to check next month. When a drive does go RAW, take the first step of this guide seriously: stop, protect, image, and only then repair.
Frequently Asked Questions
Can I repair a raw drive without losing its data?
Often yes, as long as the files are still readable and you work in the right order. Stop writing to the drive, image it, recover your files to a different drive, and only then attempt a file system repair or format. A clean chkdsk run is not proof the drive is healthy, so back up before and after.
Should I run chkdsk on a raw drive first?
Usually not. chkdsk /f and /r write to the volume, and on a RAW drive they can overwrite the metadata a recovery tool needs. The message that CHKDSK is not available for RAW drives is a symptom, not a bug. If the drive is readable enough to image, make that image first, then repair the copy.
What is the best software to recover files from a raw drive?
It depends on the damage. TestDisk rebuilds partition tables and restores files with their names and folders intact. PhotoRec recovers by file signature, so contents come back but names and folders do not. Windows File Recovery is convenient on current Windows systems, and DiskGenius offers a free tier with file preview. Recovered files must go to a different drive.
Can a raw SSD be recovered?
Sometimes, but an SSD is less forgiving than a hard disk. A RAW state on an SSD can come from firmware, translation layer, wear or connection problems, and the symptoms can escalate quickly. Stop repeated repair attempts, avoid any power-on cycle you do not need, and if the drive was BitLocker-encrypted, find the recovery key first. Some SSD failures are unrecoverable.
Why does my drive show as unallocated instead of RAW?
Unallocated usually means Windows can see the disk but cannot find a partition in its partition table, which points at the MBR or GPT rather than the file system. RAW means the partition exists but its file system cannot be read. TestDisk is the right first tool for unallocated space, since it can often rewrite the partition table and bring the volume back with no formatting at all.
Is it possible to change a RAW drive back to NTFS?
There is no in-place conversion, because Windows cannot read a file system it cannot identify. Your real options are restoring the file system with TestDisk, which can bring the original NTFS volume back intact, or formatting to NTFS and then recovering files onto another drive. Never use format with a drive letter, since that syntax does not convert anything.
Do this first: unplug the drive, note the disk number and capacity in Disk Management, and make an image before running a single repair command. Everything else in the workflow can wait an hour. The files cannot.