Most files on a corrupted USB drive are still sitting on the flash memory when Windows first complains about it. The fix is to stop writing to the drive, work out whether the file system or the hardware is at fault, and copy what you can onto a different physical drive. If you want to know how to recover files from a corrupted USB drive, the whole process runs about 30 to 90 minutes for a typical 64 GB stick, and you do not need any paid software for most cases.
The single rule that decides whether you get your files back is what you do in the first ten minutes. So here is that short list before anything else.
- Stop using the drive. Unplug it and do not copy anything else onto it.
- Do not format it, initialize it, or accept the “you need to format the disk” prompt when it appears.
- Plug it into a different USB port on a different computer, and check whether it is detected there.
- Open Disk Management on Windows and note the exact state of the volume: RAW, unallocated, or a drive letter with missing files.
- Recover files to a separate drive, never back onto the failing one.
If the drive is physically bent, wet, or has a cracked connector, stop at step one and skip straight to professional recovery. Software cannot fix crushed NAND flash.
Below is the full process, in the order that keeps your data safest.
Table of Contents
- What You Need
- Step-by-Step: How to Recover Files From a Corrupted USB Drive
- 1. Stop Using the USB Drive and Protect the Original Data
- 2. Check the Connection and Test a Different Port
- 3. Determine Whether the Partition or Filesystem Is Damaged
- 4. Try Built-in Filesystem Repair Tools
- 5. Use File Recovery Software to Copy Files
- 6. Recover From a Created Volume Image
- 7. Know When to Stop and Use Professional Recovery
- Common Mistakes
- Formatting to make the error go away
- Running CHKDSK before scanning
- Recovering files back onto the same drive
- Scanning a drive that keeps disconnecting
- Treating a zero-byte folder or empty partition as proof the files are gone
- Unplugging during an imaging run
- Frequently Asked Questions
- Can I recover files from a corrupted USB drive without formatting it?
- Is it possible to recover files from a corrupted USB drive?
- Can I use CHKDSK on a RAW drive?
- How can I tell if the file system is broken or the hardware has failed?
- How much does it cost to recover data from a flash drive?
- Can I fix my USB flash drive online?
- Conclusion
What You Need
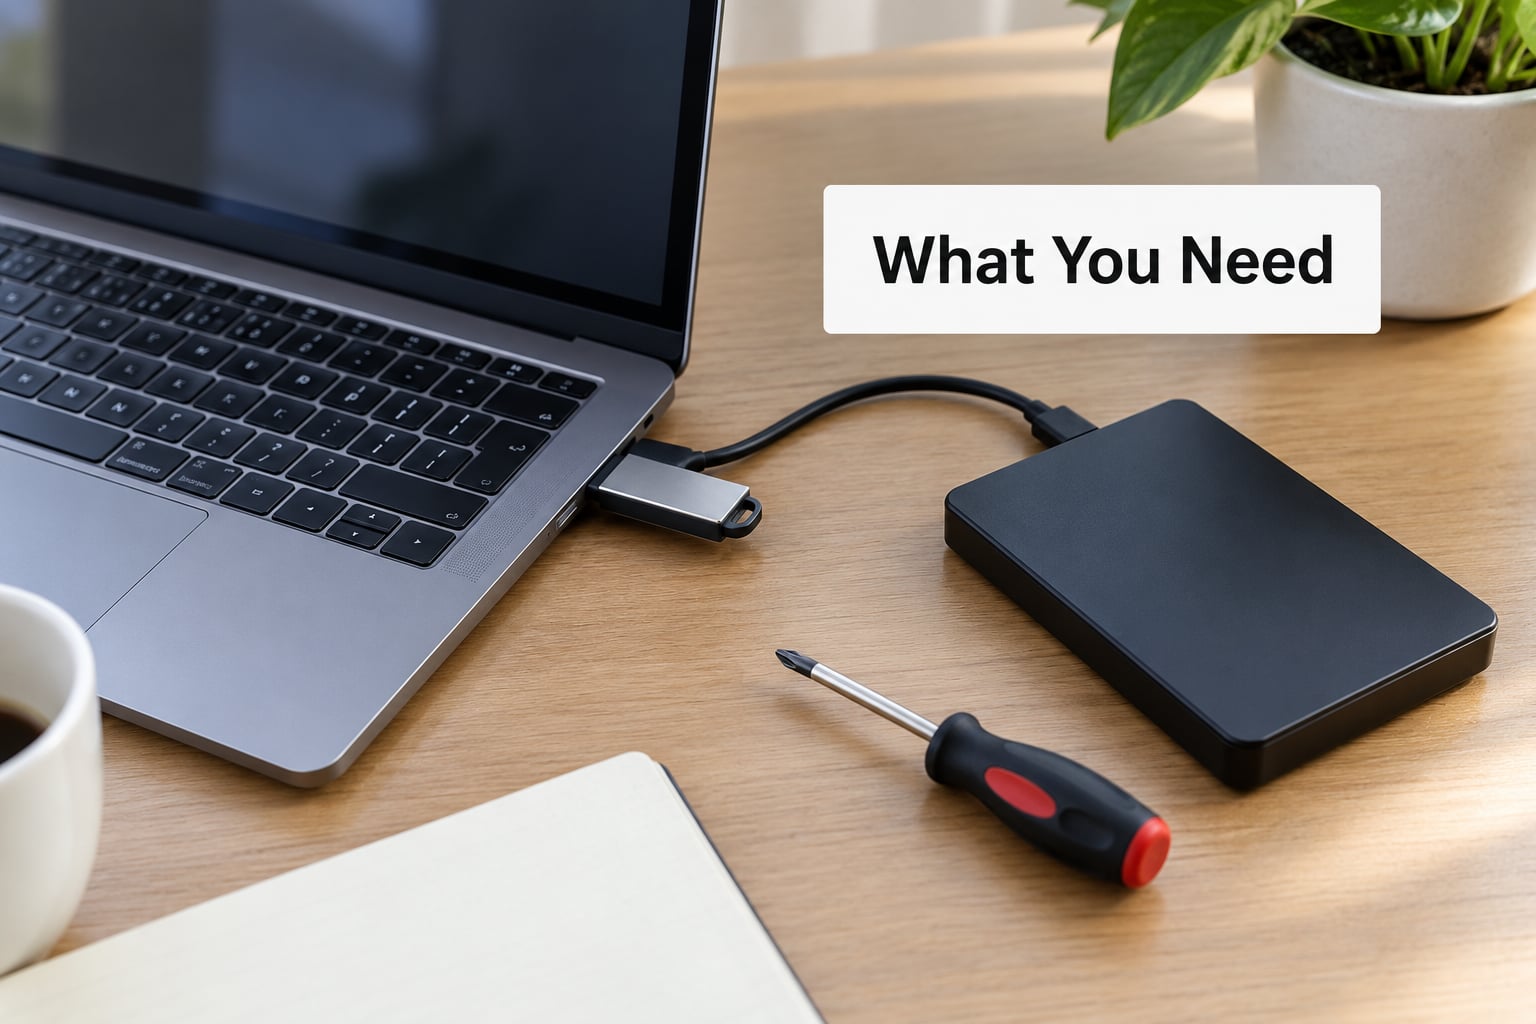
You need four things, and one of them is more important than the rest.
- A computer with a known-good USB port. Test the port first with a different stick you know works. Ports on the back of a desktop and ports on a powered hub are more reliable than the ones on the front of a laptop.
- A second storage destination that is large enough to hold everything. An external hard drive is best. Rule of thumb: buy or free up at least the full advertised capacity of the broken stick, because file system damage often inflates the reported file count.
- Administrator access on Windows for Disk Management, CHKDSK, and diskpart. On Linux, root access via sudo. On macOS, your own password for anything that touches a disk.
- A copy of your important data elsewhere, if one exists. If the files on the stick exist nowhere else, treat every step after this section as a step where damage is possible.
The fourth item is really the first. If you already have a backup of the irreplaceable files, this whole exercise becomes relaxed. If you do not, then stop using the drive today and take your time with the steps below.
One more practical note: stop writing to the drive from the moment it misbehaves. A stick that shows as RAW in Disk Management still has a working controller and will happily accept new data, overwriting the very directory entries your files depend on. Copies of a family photo library from 2014 turn into a folder of zero-byte shortcuts within minutes.
Step-by-Step: How to Recover Files From a Corrupted USB Drive
1. Stop Using the USB Drive and Protect the Original Data
Files do not vanish when a file system is damaged. The partition table goes unreadable, the master file table or FAT goes inconsistent, and the operating system refuses to mount the volume even though every byte of your data is still sitting there.
Recovery tools rebuild the folder structure from metadata on the drive. When that metadata is gone, they fall back to file signature scanning, which recognises a JPEG or an MP4 by the bytes at the start of the file and rebuilds the whole thing from raw flash. Both approaches work far better on a drive that has not been written to since the damage occurred.
Here is what to do instead of guessing:
- Unplug the device instead of clicking through error dialogs.
- Do not run a format, a quick format, or an initialize-disk action.
- Do not use the drive to move any file off it with the file manager.
- Make a byte-to-byte image onto the healthy drive if the drive behaves at all, even if it is slow.
Imaging matters most on a drive that disconnects mid-scan. Every retry forces the controller to retry unreadable sectors, which wears NAND flash out. One clean image read costs the drive a single pass.
2. Check the Connection and Test a Different Port
Before diagnosing corruption, rule out the boring causes: a connector with lint packed into it, a dead port, a hub that cannot supply enough current, or a controller driver that lost its device node.
On Windows, open Disk Management (right-click the Start button, select Disk Management) and look for your device under either the disk list or the volume list. Then work through Device Manager: expand Portable Devices and Universal Serial Bus controllers, right-click the entry for your drive, and choose Uninstall device. Unplug, plug back into a different port, and let Windows reinstall the driver fresh.
Different behaviour across machines is the most useful diagnostic signal you will get. A drive that works on one computer and not another points at the host, not the stick. A drive that behaves identically on three computers points at the stick.
On macOS, open Disk Utility (Command-Space, then type Disk Utility) and select the drive in the sidebar. System Information under Apple menu, then Storage gives you a second view if the disk does not even mount. On Linux, lsblk -f prints the device, its file system type, and mount points, and it works whether or not the file system is readable.
| What you see | What it usually means | Next move | Risk |
|---|---|---|---|
| Windows reports a drive letter and folders open, but the files inside are gone | Directory entries damaged or files marked hidden and system | Try the ATTRIB command first, then a deep scan | Low |
| Volume shows as RAW, or Windows asks you to format the disk in drive letter colon | File system structures unreadable, data usually intact | Image the drive, then scan the image | Low if imaged, high if you format |
| Disk appears in Disk Management as unallocated space, with no volume | Partition table damaged | Scan for lost partitions, or use signature scanning | Medium |
| Nothing appears in Disk Management at all, or it vanishes during a scan | Controller or NAND failure | Stop. This is a hardware problem | High if you keep retrying |
| Drive disconnects every few seconds and the machine freezes | Failing flash cells drawing too much current | Stop immediately, or image with ddrescue once | High |
One real case worth knowing about comes from a Microsoft Q&A thread. A 256 GB stick started disconnecting about every 30 seconds while its LED kept blinking. CHKDSK ran for two hours and returned “Cannot open volume for direct access,” with the disk check reporting “The disk check could not be performed because Windows can’t access the disk.” Every Windows repair path, including the driver reinstall, diskpart, and a format attempt, failed identically on multiple PCs. The verdict there was a failed device, and a blinking LED means nothing at all. That error combination, a repair tool that cannot open the volume at all, is your cue to stop.
3. Determine Whether the Partition or Filesystem Is Damaged
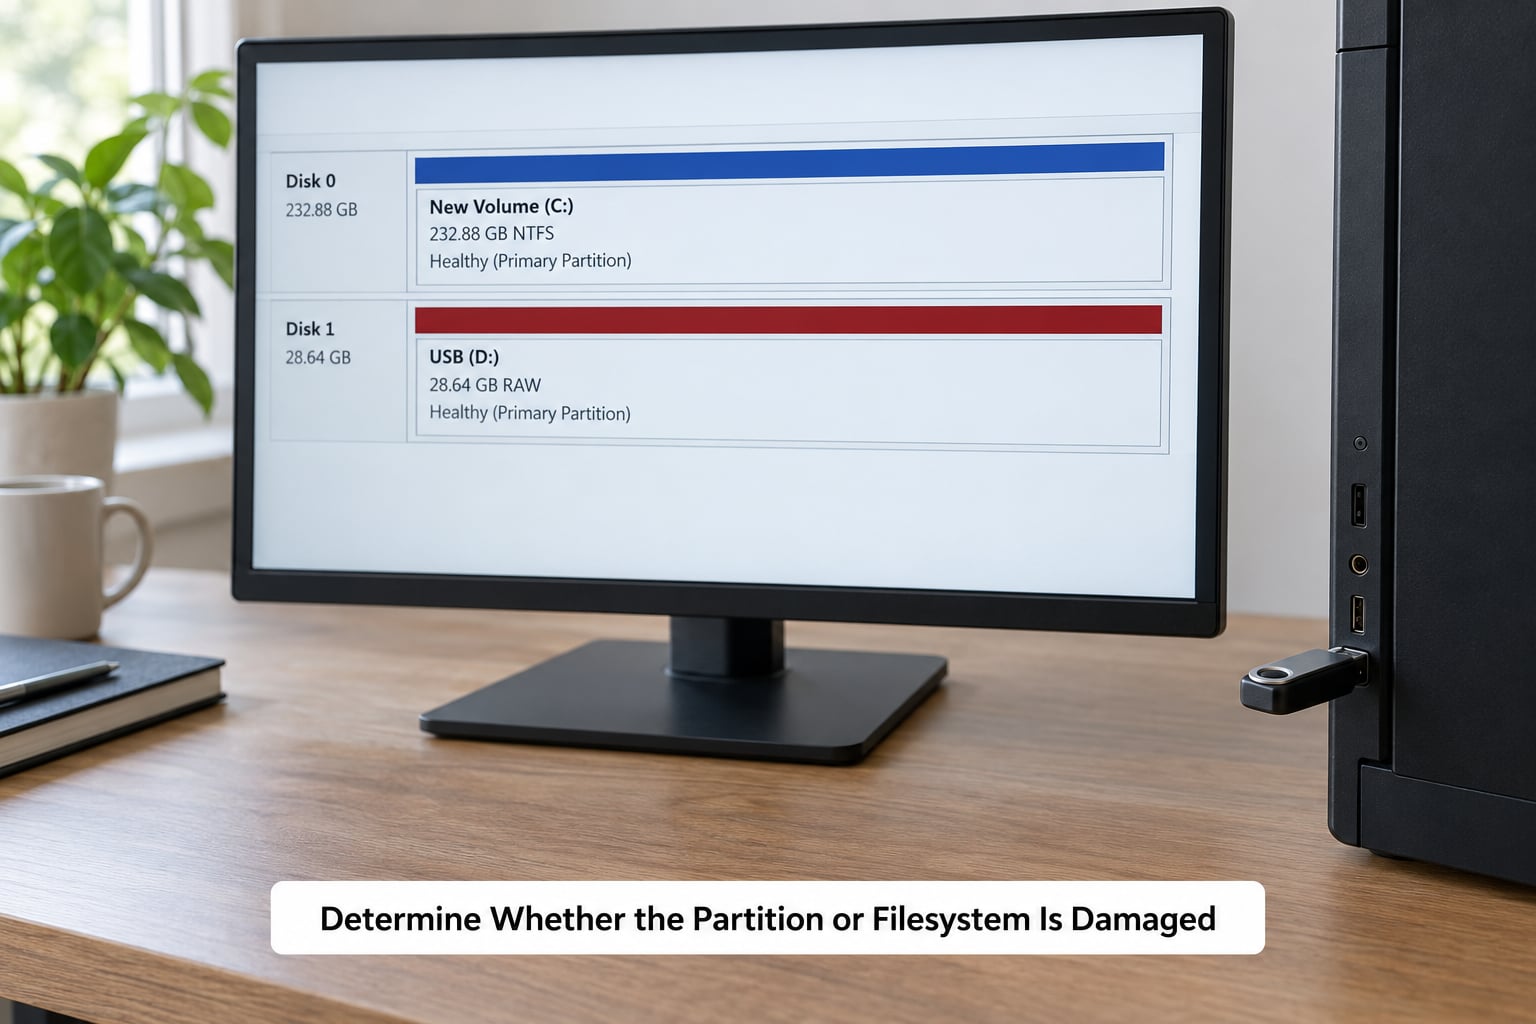
Corruption is a word people use for at least four different situations, and each one needs a different tool.
Missing or hidden files. The drive mounts fine, the capacity looks right, and folders appear empty or files are invisible in File Explorer. Often nothing is damaged at all; the files just carry the hidden, read-only, and system attributes, and they will reappear with a single ATTRIB command in Step 4.
RAW or unallocated. Windows says “The volume does not contain a recognized file system” or “You need to format the disk before you can use it.” The partition is visible and its capacity is correct, but the file system cannot be parsed. This is the most recoverable state you are likely to meet, because the data is intact and only the structures describing it are damaged.
Corrupted file system with errors. The drive mounts but throws “The file or directory is corrupted and unreadable” on specific folders, or a folder opens and closes at once. FAT32 and exFAT sticks report this a lot after being pulled out during a write.
Failing controller. The device enumerates but reports zero capacity, an invalid capacity, or a capacity larger than any real flash part. Bad blocks multiply on each read. This is physical failure wearing a logical costume, and no software repairs it.
Check your drive’s real capacity against what the label claims before you invest an afternoon. A counterfeit stick that reports 128 GB often holds 8 GB of real NAND and then starts returning garbage. On Windows, h2testw writes a known pattern across the whole advertised capacity and verifies it on the way back; a mismatch confirms faking. On Linux, f3write then f3read does the same job. A drive that fails this test is not recoverable, and everything past the first few gigabytes was never stored.
Inspect everything read-only. Do not initialize, do not create a new volume, and do not let any tool write a repair action. Note down the exact error text; the wording decides which tool you use next.
4. Try Built-in Filesystem Repair Tools
Built-in tools fall into two groups, and the difference matters enormously. Repair tools fix a file system and may discard damaged structures to do it. Recovery tools copy files out. On a drive whose metadata is damaged, repair can destroy the only map of your data.
On Windows: the ATTRIB command clears the hidden, read-only, and system flags across the drive without touching content. Open Command Prompt or Windows Terminal as administrator and run:
attrib -h -r -s X:*.* /s /d
Replace X with the drive letter. If your files were only flagged, they reappear in File Explorer right away. Nothing has been rewritten, so this is safe to try first.
CHKDSK repairs file system structures. The switches decide how aggressive it is: chkdsk X: only scans and reports, chkdsk X: /f fixes errors and marks bad sectors, chkdsk X: /r adds a full surface scan for bad sectors and can run for hours on flash, and chkdsk X: /x dismounts the volume first so nothing holds files open.
Run CHKDSK without /f first. If the report says it found errors and asks to schedule a fix, close the prompt and go to Step 5 instead. Only accept the fix if the file system reads cleanly enough that your files are visible, or if you have a full image and nothing else left to lose.
On macOS: Disk Utility has two modes. First Aid runs fsck against the live volume and is the built-in equivalent of CHKDSK /f. Restore, sometimes called Restore Disk, rebuilds the file system from Apple’s templates. Neither is guaranteed, and Restore can be the more destructive of the two because it replaces structures wholesale. Run First Aid first, expect a report of errors found and fixed, and treat that report as a signal rather than a victory.
On Linux: unmount read-only and check without writing, using sudo fsck -n /dev/sdX1 where the partition number comes from lsblk. If you decide the repair is worth it, remount and run without the -n flag. On an exFAT volume the tool is usually exfatprogs; on FAT32 it is dosfsck.
A repair tool that reports “unclean file system” or a handful of orphaned clusters is describing a recoverable situation. A repair tool that cannot open the volume is describing a hardware problem, and no amount of extra flags will change that.
5. Use File Recovery Software to Copy Files
This is the step that actually gets files back, and the order of operations matters: choose the source, choose the destination, then scan.
Start with the free tools. TestDisk and PhotoRec come from the same open-source project and run on Windows, macOS, and Linux. TestDisk rebuilds partition tables and file systems, which is the right first stop when your volume shows as unallocated or RAW. PhotoRec ignores the file system entirely and scans for file signatures, carving each file out of raw sectors. That makes it slower and it loses your folder structure and original filenames, but it works when metadata is gone.
Recuva offers a guided Windows interface with a preview pane, filter by file type, and a deep scan mode that hunts file signatures after the normal file system walk comes up short.
Windows File Recovery is a free Microsoft Store command-line tool. It does not restore files to their original names and has a dry-run mode that shows what it can recover before committing. The command shape is winfr source-drive: destination-drive: /mode, with /r for a thorough scan of a RAW volume, /e for a file-extension filter, and /x for FAT/exFAT partitions.
DMDE is a commercial tool that handles the awkward cases well: broken partitions, damaged file systems, and recovering individual files from a raw image when a free tool finds nothing.
Whatever you use, three habits keep you safe:
- Select the failing USB as the source and the healthy external drive as the destination. Reverse those and you will write your own files over the originals.
- Filter by type first. Recovering a few hundred targeted documents is quicker and less error-prone than carving every fragment on the drive.
- Preview before recovering where the tool allows it. An MP4 preview that loads and plays tells you far more than a filename.
A drive that keeps disconnecting mid-scan will keep doing that. Some tools handle this by writing a recovery log and resuming, but the cells being read are already degrading, so repeated passes lose ground. Either reduce the work by recovering one folder at a time, or move to the imaging approach.
After copying, verify. Try opening three or four recovered files, not just one. Run a checksum or SFC verification on a folder of Office documents, and check that video files play through to the end rather than stopping at the first dropped frame. A file recovered from carved fragments is often partially intact, and you want to know which ones before the stick dies.
6. Recover From a Created Volume Image
A drive image is a byte-for-byte copy of the whole device stored on your healthy drive. Once you have it, every scan, repair, and analysis runs against that image instead of the failing hardware.
Why bother? Because the original is only touched once. If a scan goes wrong or the drive drops out mid-run, you make another image attempt rather than another damaging read. And if the image is good, the recovery software sees a clean block device with no dropouts.
On Linux or macOS with GNU dd, a plain read-only image looks like this:
sudo dd if=/dev/sdb of=/mnt/backup/usb.img bs=4M status=progress conv=noerror,sync
For a drive that disconnects, use ddrescue instead. It skips bad regions and can resume from a log file, so you run it repeatedly and it improves the image each pass:
sudo ddrescue /dev/sdb /mnt/backup/usb.img /mnt/backup/usb.log -f
On Windows, ddrescue ships as a portable binary you can run from a command prompt, or you can use a tool such as HDD Raw Copy Tool to image to a file. Always select the source drive in read-only mode if the software offers the option, and point the output at the external drive.
Two practical warnings. Write the image to a device that is physically different from the source; writing a 32 GB image back onto a failing 32 GB stick is pointless and damaging. And never unplug during imaging. A partial image with no log file means starting over, and ddrescue logs exist precisely so an interrupted run can pick up where it stopped.
Once you have usb.img, point TestDisk, PhotoRec, Recuva, or DMDE at the image file. You now have unlimited passes over a static copy, and you can try aggressive tools that you would never risk on the original.
7. Know When to Stop and Use Professional Recovery
There is a point past which your own attempts cost you data. Stop when you hit any of these signals:
- The drive disconnects repeatedly, or the whole computer freezes when it is plugged in.
- The capacity reported changes between connections, or it suddenly reports a size no real flash part could have.
- Disk Management shows the physical disk but no partition and no capacity at all.
- A repair tool reports it cannot open the volume for direct access.
- CHKDSK or a scan runs for hours with no progress and returns nothing.
- The device makes any clicking, buzzing, or repeated re-enumeration noise.
- The connector is bent, cracked, corroded, or the plastic shell is swollen.
That last one matters more than most guides admit. A swollen or delaminated flash drive is a small lithium polymer battery bonded to a board, and swelling means the drive is being pulled apart from the inside. Every hour it stays plugged in makes the eventual outcome worse.
Professional recovery works in one of two ways. For logical damage with a healthy controller, a lab images the device in a controlled environment and recovers from the image, usually with a better-controlled version of the same software you would use yourself. For physical damage, they remove the NAND chips, read them off-board, and reconstruct the data, which requires cleanroom work and costs far more.
Expect the fee to scale with the damage, not the file count. A logical image-and-recover job is usually the cheaper end of the range. Chip-off reconstruction on a physically broken device runs substantially higher, and some labs quote a diagnostic fee up front that comes off the final price if recovery succeeds. Ask for that structure before you hand the device over, and ask what happens to the drive after recovery, because many labs return or destroy it.
On cost versus DIY: the honest answer from recovery forums is that the free tools are genuinely capable and recover a large share of logical cases, and that professional fees are justified when the data is irreplaceable or the hardware is failing. r/datarecovery is blunt about the other half, declining to fix cheap storage devices that would be unreliable even if repaired. That is sound judgement. A recovered wedding video from a stick that keeps corrupting your files every month is not much of a rescue.
One more case from the forums worth knowing: users on r/datarecovery report running Recuva, Disk Drill, and a commercial tool over the same drive and finding nothing on older deletions. Overwriting is usually the real cause. If files were deleted months ago and the drive has been in use since, nothing will bring them back.
Common Mistakes
Most lost recoveries come down to one of these six.
Formatting to make the error go away
Formatting rebuilds the file system and erases the directory entries the recovery tools were going to read. A drive that prompted you to format on connection, showing RAW, can often be recovered completely. The same drive after a quick format is usually just deleted. The error dialog is the drive asking for help, not ordering you to destroy anything.
Running CHKDSK before scanning
CHKDSK repairs, and repair means deciding that damaged metadata is unrecoverable and removing it. On a drive with a corrupted file allocation table, that decision can throw away the pointers to files that are perfectly readable on the flash. Run chkdsk X: with no flags to see the report, then recover copies first and repair afterwards if the drive still needs to be usable.
Recovering files back onto the same drive
Recovered files have to land on a different physical drive. Writing them back to the failing stick overwrites the sectors the recovery tool is still reading, and you watch a good recovery turn into a partial one in real time. If you have no second drive, buy a cheap external one before you start.
Scanning a drive that keeps disconnecting
Every disconnect-and-retry cycle stresses the controller and the failing cells. On r/techsupport this is the most common description of a dying stick, and the honest advice from that community is to stop and get it imaged or serviced rather than running scan number five. One ddrescue run with a log file is the exception, because it is designed to resume instead of restarting.
Treating a zero-byte folder or empty partition as proof the files are gone
An empty folder means the directory entry no longer resolves. It does not mean the bytes are missing. File signature scanning works precisely because of this: the content sits in unallocated space with nothing pointing at it. Empty folders are actually a hopeful sign.
Unplugging during an imaging run
You will lose the run. A partial image with no log file cannot be appended to safely, and you have also spent another pass over the failing hardware. Let ddrescue or a copy tool finish, or kill it cleanly, and only then disconnect.
Two smaller habits worth building while you are in here. Eject drives properly instead of yanking them, since a write interrupted mid-metadata-update is the single most common cause of a corrupt FAT32 table. And keep a real backup, not a second copy of the same stick; the file that matters is the one with three copies on three kinds of storage.
Frequently Asked Questions
Can I recover files from a corrupted USB drive without formatting it?
Yes, and that should always be your first instinct. Formatting rewrites the file system structures and typically wipes the directory entries that point to your files. Recover by stopping writes to the drive, checking its state in Disk Management, then running signature-based tools like PhotoRec, TestDisk, Recuva, or Windows File Recovery, and saving the recovered files to a different physical drive.
Is it possible to recover files from a corrupted USB drive?
In most logical cases, yes. The files normally stay on the flash memory after a file system is damaged, so tools that scan for file signatures can carve them out even when the partition shows as RAW or unallocated. Physical failure is different: a bent connector, swollen battery, or flash that drops out mid-read usually means a professional lab, and sometimes means no recovery at all.
Can I use CHKDSK on a RAW drive?
Technically yes, but it is a repair tool, not a recovery tool, so it can discard damaged metadata that recovery software would otherwise read. Run chkdsk with the drive letter only to get a report first. If you decide to proceed, image the drive beforehand so you still have a copy of the original state to work from.
How can I tell if the file system is broken or the hardware has failed?
If Disk Management lists the disk with a capacity and a volume, even a RAW one, the hardware is reading sectors and the problem is logical. If the disk is missing entirely, its capacity changes between connections, or repair tools report they cannot open the volume for direct access, the hardware has failed. A drive that disconnects every few seconds and freezes the machine is also a hardware failure.
How much does it cost to recover data from a flash drive?
Doing it yourself costs nothing, because TestDisk, PhotoRec, Recuva, DMDE in part, and Windows File Recovery all have free options that handle a large share of logical failures. Professional recovery is priced by damage type rather than file count: imaging a healthy controller and recovering from that image is the cheaper end, while chip-level reconstruction on a physically broken device costs considerably more. Ask about diagnostic fees before committing.
Can I fix my USB flash drive online?
No, there is no online fix. Corruption happens on the flash memory inside the stick, not on any server, so nothing remote can repair it. What online services can offer is file recovery after you have already copied data off another drive, which is a different service from salvaging the stick itself.
Conclusion
Recovering files from a corrupted USB drive comes down to three decisions, in order. Stop writing to the drive, then test it on another port and another machine, then decide whether you are dealing with a damaged file system or dying hardware. From there, recover with signature-based tools onto a different physical drive, or image the drive first with ddrescue so the hardware is read only once. If the drive disconnects on its own, changes capacity, or cannot be opened by a repair tool at all, professional recovery is the safer next move than another scan.