Updated October 2026
Booting, short for bootstrapping, is the sequence a computer runs between receiving power and showing you a login screen. In order, it wakes the hardware, tests it, picks a boot device, loads the operating system kernel, and starts the services that make the machine usable. Knowing how a computer boots step by step is also the fastest way to work out why one refuses to start.
I have opened more cases than I care to admit, and the first question is always the same: what did it actually get through? Each stage of the boot process leaves a distinct symptom, from a black screen with no beep to a logo that appears and then hangs. Map the symptom to the stage and you have a diagnosis. Here is the whole path, from the power button to the desktop.
Table of Contents
- What Happens When You Press the Power Button?
- The Boot Process Step by Step: From Firmware to Desktop
- How to tell which stage you are looking at
- Step 1: Power, Reset, and Hardware Initialization
- Step 2: BIOS or UEFI Firmware Starts
- BIOS vs UEFI: the fork that decides everything after firmware init
- Getting into firmware: the keys vary by brand
- Step 3: The Bootloader Locates and Loads the Kernel
- Step 4: The Kernel Initializes the Operating System
- Step 5: Drivers Bring Devices Online
- Step 6: Services and Startup Programs Prepare the System
- How a Computer Boots Step by Step on Linux and Windows
- How Each Boot Stage Can Fail
- Cold Boot, Warm Restart, Resume, and Fast Startup
- Cold boot
- Warm boot, or restart
- Hard reset and soft reset
- Suspend and hibernation
- Fast Startup and BIOS Fast Boot
- Frequently Asked Questions
- What is the first thing that happens when a computer boots?
- What is the difference between BIOS and UEFI?
- What does a bootloader do during startup?
- Why does my computer reach the operating system but not the desktop?
- What is the difference between a cold boot and a restart?
- How can I diagnose where a computer’s boot process failed?
What Happens When You Press the Power Button?
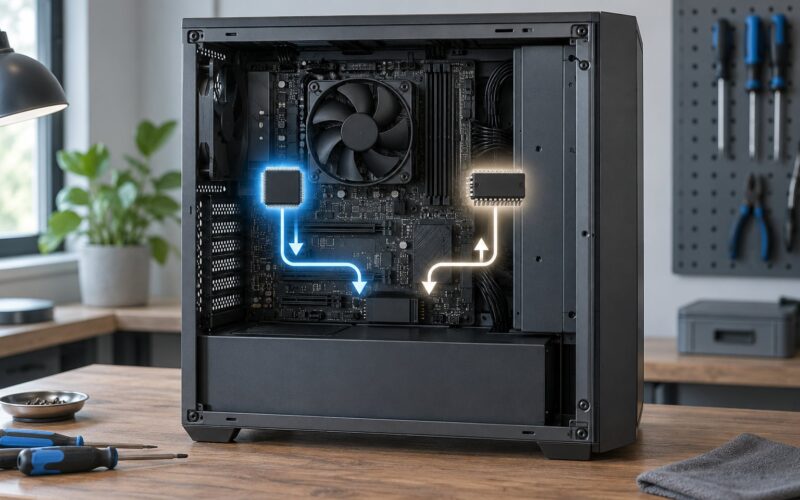
Pressing the power button does not start Windows. It tells the power supply to wake the motherboard, and from that moment the machine runs a fixed chain of hardware checks and software loaders. The correct boot sequence order is always the same, whether the machine ends up running Windows 11, Linux, or FreeBSD.
- Power and reset: the power supply starts its rails and signals power-good to the motherboard.
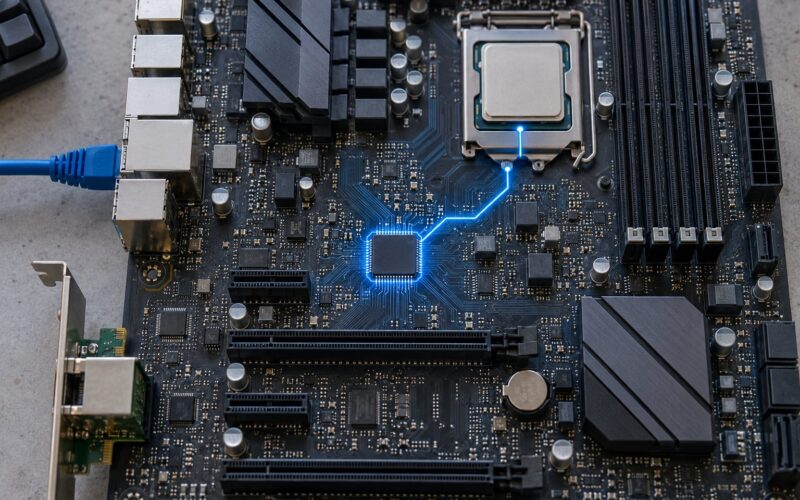
- Firmware starts: the CPU runs the BIOS or UEFI, stored in a chip on the board.
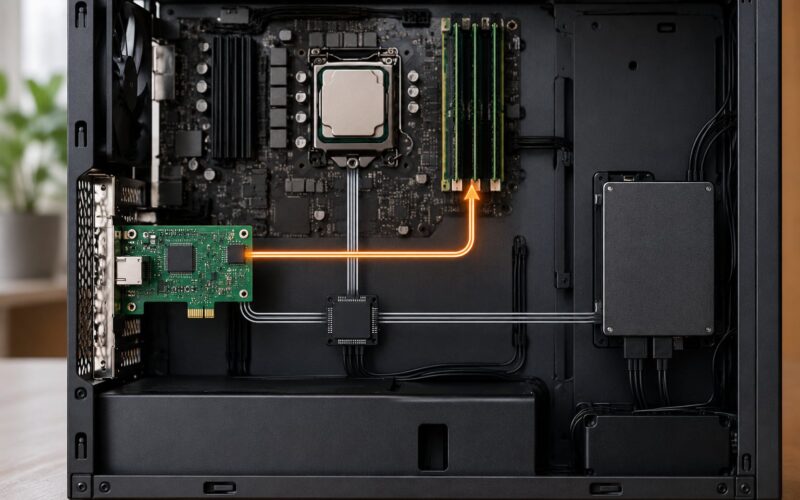
- POST runs: the firmware tests the CPU, memory and core hardware, then beeps once if all is well.
- Boot device selected: firmware looks down its boot order and picks a hard drive, SSD or USB stick.
- Bootloader runs: a small program such as GRUB or Windows Boot Manager loads the kernel into memory.
- Kernel and drivers start: the operating system initialises memory, interrupts, processes and hardware drivers.
- Services and login: startup programs run, your user session loads, and the desktop appears.
That seven-item list is the skeleton. The rest of this guide walks each stage in order, including the hundred milliseconds nobody ever sees.
The Boot Process Step by Step: From Firmware to Desktop
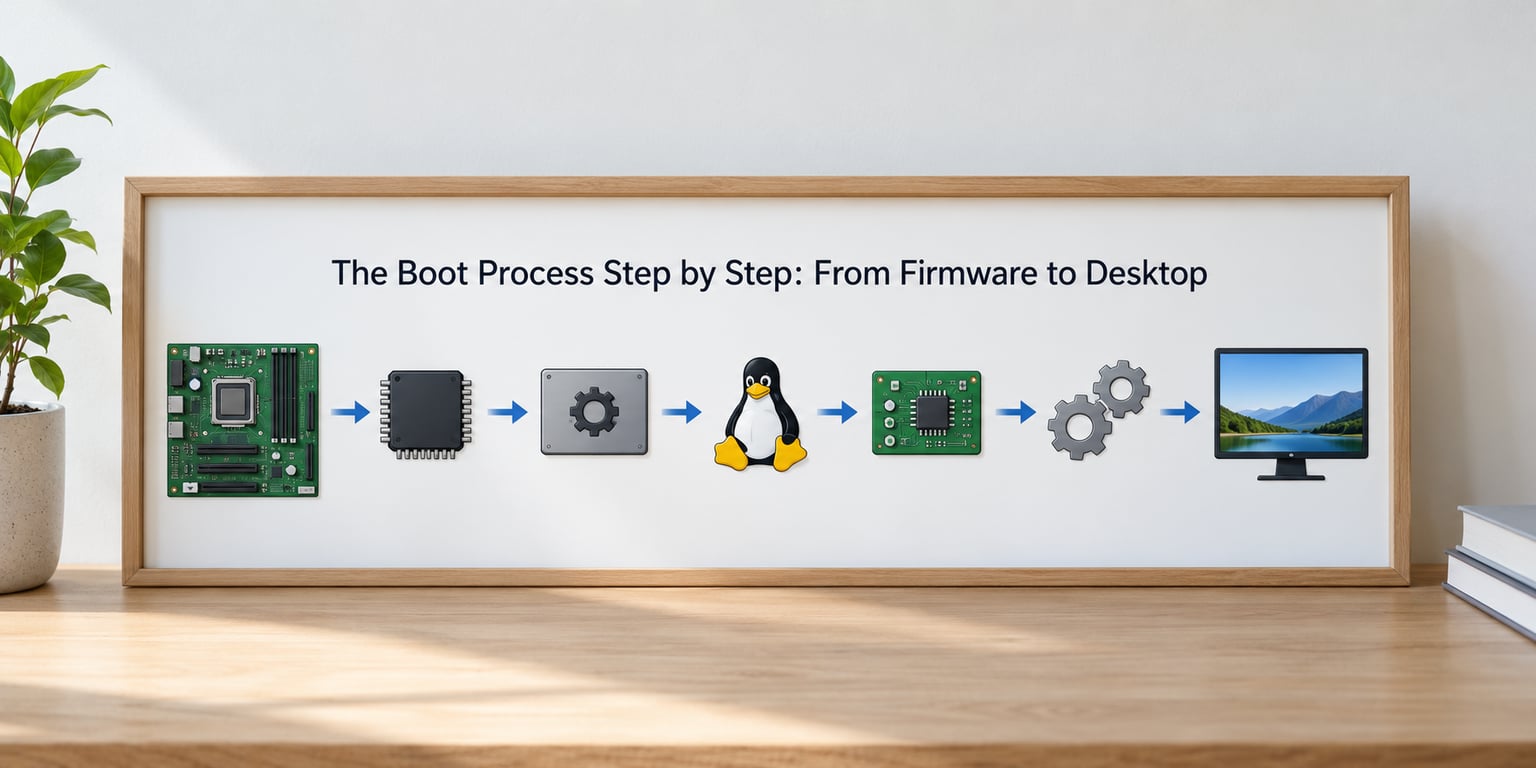
The boot process is a relay race, and each runner only starts once the one before it has handed over control cleanly. Power hands to firmware, firmware hands to the bootloader, the bootloader hands to the kernel, and the kernel hands to the init system and finally to a display manager. Nothing runs in parallel that could have run sooner, because each stage depends on data the previous stage produced.
What makes it teachable is that you can see most of the stages on screen. A firmware banner, a logo, a spinner, a login screen: each one is a marker telling you the machine got that far and no further. The troubleshooting table later in this guide is built entirely around those markers.
How to tell which stage you are looking at
Watch the first ten seconds carefully on the next boot and note the last thing that appeared before the trouble. A black screen with no beep means the failure happened in hardware or POST. A logo that shows and then freezes means firmware, the bootloader, or the operating system. A repeated logo, or a restart loop after a progress spinner, is almost always a driver or update problem rather than a hardware fault. That single observation removes most of the guesswork before you open anything.
Step 1: Power, Reset, and Hardware Initialization
Step 1 is pure electricity, and it happens in well under a second. When you press the button, the power supply unit starts, brings its output rails up to tolerance, and then pulls a power-good line high to tell the motherboard that the voltages are stable. Until that signal arrives, the motherboard deliberately holds the processor in reset so the CPU does not start running on unstable power.
Once reset is released, the CPU begins fetching instructions from a fixed address at the top of its address space, the reset vector. On x86 that address is 0xFFFFFFF0, and the first instructions there jump into the firmware’s entry point. In practice you will never see this, but it explains why the boot process starts on the CPU rather than on some separate boot chip.
At the same moment the board begins to establish its own state: clock signals are generated and distributed, memory controllers come up, and the reset lines to every device are asserted and released so everything starts from a known condition. No operating system code exists yet. This stage is why a machine that does nothing when you press power is a power supply, cable or switch problem, not a Windows problem.
Step 2: BIOS or UEFI Firmware Starts
Step 2 is firmware execution: the BIOS or UEFI chip on the motherboard runs its own program and takes charge of the hardware. The firmware is a very early operating system, written by the board vendor, and it exists so that the CPU has something to run before any disk driver exists.
Its first real job is the Power-On Self Test, or POST. POST checks the processor, counts the installed memory, verifies a set of core devices such as the timer, interrupt controllers and basic storage controller, then enumerates what else it can find. If everything critical passes, a single short beep usually means success on an AMI or Award-style board, and the firmware banner or manufacturer logo appears. Vendor beep codes differ, so a desktop that beeps but shows nothing is worth a lookup against the board manual rather than a guess.
After POST, firmware reads its stored boot order, locates the boot device, and loads the first stage of the bootloader from it. With UEFI the bootloader usually lives in a FAT32 EFI System Partition and runs as a .efi application, with boot entries stored in non-volatile memory. With legacy BIOS it reads the 512-byte master boot record at the start of the disk.
BIOS vs UEFI: the fork that decides everything after firmware init
| Feature | Legacy BIOS | UEFI |
|---|---|---|
| Boot code mode | 16-bit real mode | 64-bit, long before the OS loads |
| Default partitioning | MBR, up to 2 TB, four primary partitions | GPT, effectively no practical size limit |
| Boot entries | Read from disk each time | Stored in firmware and editable from a menu |
| Secure Boot | Not supported | Supported, verifies signed bootloaders and drivers |
| Typical time to hand over | Slower on large disks | Faster, thanks to direct disk access and driver caching |
| Found on | Machines made before roughly 2012 | Everything current, and most Windows 11 hardware |
Legacy BIOS is a 16-bit real-mode environment with a hard 2 TB ceiling imposed by the MBR partition table, which is why GPT and UEFI travel together. UEFI replaces that with 64-bit code and the GUID partition table, which is what allows large disks and Secure Boot. UEFI is the better option on anything modern; legacy mode exists for old hardware and for the rare operating system that will not install otherwise.
Firmware also supports USB and network boot, which is how installer sticks and PXE boot work. If the firmware cannot find a bootable device on its own, it hands control to a USB device if you tell it to, which is exactly what you want when installing an operating system.
Getting into firmware: the keys vary by brand
The key that opens firmware setup or the one-time boot menu is set by the manufacturer and the model, and pressing it too late does nothing because the machine is already past that point. Check the manual or the label on the case rather than trusting a general web answer.
| Brand | Firmware setup | One-time boot menu |
|---|---|---|
| Dell | F2 | F12 |
| HP | F10, or F10 after Esc | F9, or F9 after Esc |
| Lenovo | F1, or Fn plus F1 | F12, or Fn plus F12 |
| ASUS | F2, or Del on some boards | F8, or F12 |
| MSI | Del | F11 |
| Acer | F2 | F12 |
| Gigabyte | Del | F12 |
These are the common defaults, not guarantees, and laptops often need the Fn key held down. Tap the key repeatedly from the moment you press power rather than holding it, since the firmware only listens for a short window early in POST.
Step 3: The Bootloader Locates and Loads the Kernel
The bootloader is the stage between firmware and the operating system, and its whole job is to find a kernel, put it in memory, and hand over. Because it must run before any disk driver exists, it reads a fixed location that it can find with the same small set of instructions every time. In legacy BIOS mode that is the first sector of the disk, the master boot record, which contains a 446-byte program stub plus a partition table.
On a UEFI system the equivalent is an EFI System Partition, a small FAT32 partition holding .efi applications. The firmware reads its own list of boot entries and starts the one named first, which is why a UEFI machine can boot a Linux stick without any change to the disk at all.
On Linux the usual bootloader is GRUB, the Grand Unified Bootloader. It loads the kernel and an initial RAM disk, shows a menu if you have more than one kernel or operating system, and passes parameters such as quiet, root device and init path. Alternatives exist, rEFInd and systemd-boot among them, and the chain of ideas is the same. On Windows, the firmware starts the Windows Boot Manager, BOOTMGR, which reads its Boot Configuration Data store, then loads the Windows Boot Loader, WINLOAD.EXE, which in turn loads the kernel NTOSKRNL.EXE and the Hardware Abstraction Layer. Older systems used NTLDR instead of BOOTMGR.
This is also where Secure Boot does its work. If Secure Boot is enabled, the firmware checks that the bootloader and the kernel are signed by a trusted key before running them, which is what stops a bootkit from taking control before the operating system starts.
Step 4: The Kernel Initializes the Operating System
The kernel is the first program with full control of the machine, and it immediately turns a collection of parts into a usable system. Memory management comes first, because nothing else can be trusted until the kernel knows which memory is safe to use. It then sets up the interrupt handling and system call mechanisms that let the outside world reach it, builds the process and thread scheduler, and starts the first process, which is the init system.
Everything else hangs off those foundations. Filesystem support, networking, and the driver loading mechanism all come later, but the process table has to exist first since drivers themselves run as processes or kernel threads. A failure at this stage shows up as a kernel panic on Linux, or a stop screen on Windows, because the operating system is running but cannot operate safely.
From a troubleshooting point of view, a kernel panic is good news in a small way. It means firmware, POST, the boot device and the bootloader all worked, and the failure is in the operating system itself, usually a bad kernel update or a hardware fault the kernel noticed.
Step 5: Drivers Bring Devices Online
Drivers are the translators that let the kernel talk to real hardware. The kernel knows how to issue a command to a disk controller, and the driver knows how that specific controller expects the command encoded. Storage, graphics, network adapters, keyboards, audio and USB all depend on one, and the kernel loads them as it discovers the devices, either compiled in or from a driver store on disk.
Some drivers are essential and the kernel refuses to continue without them. The disk controller driver is the obvious one: without it the kernel cannot read the file system it was loaded from, so a machine with a failed drive or a missing controller driver will halt early. On a Windows machine, an unsigned or corrupted driver can be refused outright under Secure Boot, which is a common cause of a screen that goes dark immediately after the manufacturer logo.
On Linux the same job is done by modules loaded by the kernel, with hardware described in files under /lib/modules or the init RAM disk. Failure here tends to look like a degraded system rather than a dead one: no network, a low-resolution display, no sound, or a machine that sits at a fixed percentage of the boot progress bar while it retries a device.
Step 6: Services and Startup Programs Prepare the System
The kernel alone leaves you with no usable system, so the last stage builds a user-facing machine. Filesystems are mounted and checked, the storage stack is readied, security software starts, the network stack comes up, and scheduled tasks are registered. The first user process is started, which mounts your profile, runs whatever programs are configured to launch at sign-in, and puts a shell or desktop environment on screen.
On Windows that chain is fairly literal: the Session Manager, smss.exe, comes up, then wininit.exe starts the Service Control Manager, which brings up services in dependency order, then the user session begins and explorer.exe draws the desktop. On Linux, systemd runs as process number 1, mounts the remaining filesystems, reaches a target such as graphical or multi-user, and launches a display manager such as GDM, SDDM or LightDM, which starts the Xorg or Wayland session.
This stage is where a machine can be technically alive and still useless. A failing service, a full disk, a broken profile or a network share that blocks sign-in will happily leave you staring at a login screen that never completes, with every hardware stage already behind you.
How a Computer Boots Step by Step on Linux and Windows
The stages are the same on both, and only the middle parts differ. Firmware, POST, kernel, drivers, services and a login screen behave much the same, but the bootloader and the init system are entirely different implementations. A useful mental model is that Linux and Windows agree on the first three steps and then diverge for the rest.
| Stage | Windows | Linux |
|---|---|---|
| Firmware | UEFI on current hardware, legacy BIOS on older | Same firmware, same POST |
| Bootloader | BOOTMGR reading the BCD store, then WINLOAD.EXE | GRUB, rEFInd or systemd-boot, reading its own config |
| Kernel | NTOSKRNL.EXE with the HAL | Linux kernel with modules |
| Init system | Service Control Manager, starting from smss.exe and wininit.exe | systemd or another init as process 1 |
| User session | Winlogon, then explorer.exe | Display manager, then the desktop session |
macOS and Apple Silicon follow a different shape again, since the firmware is unified across hardware and the boot chain is a separate volume rather than a conventional bootloader. The order of concepts still holds: firmware, a first-stage loader, a kernel, drivers, user space.
One practical consequence of the difference is dual booting. A Windows install and a Linux install normally share the disk and each has its own bootloader, so installing Linux after Windows can rewrite the boot entries and leave the Windows option missing. That is a bootloader stage failure, and it is fixed from a live environment rather than by reinstalling Windows.
How Each Boot Stage Can Fail
Almost every boot failure produces one of a handful of visual symptoms, and the symptom tells you the stage. Work down this table and you can usually skip straight to the right fix instead of replacing parts at random.
| What you see | Likely stage | What to check | Fix |
|---|---|---|---|
| Nothing at all, no lights or fans | Power supply | Wall socket, PSU cable, power switch | Test a known-good cable, then the PSU |
| Fans spin, screen stays black, no beep | POST, or no display output | Monitor input, graphics card seating, RAM | Reseat the card and RAM, try one DIMM at a time |
| Beeps, or a POST error code on screen | POST | Beep code table for the board vendor | Decode the code, test the named component |
| Logo appears, then nothing or a spinner forever | Bootloader, kernel, or a device driver | Boot device detection, recent hardware or updates | Enter the one-time boot menu, check the boot entry |
| No bootable device message | Firmware boot order | Boot order in setup, MBR or GPT state | Restore the bootloader or re-order devices |
| Boot loop, logo repeats | Operating system, or a failing update | Recent updates, system restore points | Boot into Safe Mode or Startup Repair and roll back |
| Login screen appears but sign-in hangs | Services and user session | Disk space, failing service, network profile | Start in Safe Mode, check free space, disable startup items |
| Kernel panic or stop screen | Kernel | Recent kernel or driver update, memory fault | Boot the previous kernel, test memory |
| Machine powers on by itself when the cable is reconnected | Power restoration settings | BIOS AC power-loss behaviour, USB wake | Set AC recovery to stay off, disable wake on LAN and USB |
The last row comes up constantly on support forums, and the explanation is simple. Motherboards have a setting that says what to do when mains power returns, and many default to powering on. It can also be a device waking the machine over USB or the network, so check both before assuming a fault.
Once you know the stage, you can also look at what the machine wrote down. On Windows, the bootrec /fixmbr and bootrec /fixboot commands repair the boot sector and boot files from the recovery environment, bcdedit /enum lists the configured boot entries, and sfc /scannow checks system files. On Linux, systemd-analyze and systemd-analyze blame report how long each unit took, dmesg shows the kernel ring buffer, and journalctl -b shows the log for the last boot. These are all read-only checks, so they are safe to run while diagnosing. Repair commands change the machine, so back up first.
Cold Boot, Warm Restart, Resume, and Fast Startup
Not every startup runs the whole chain, which is why a restart is quicker than a cold start and why Fast Startup is not really a boot at all. The terms get mixed up constantly, so here they are, precisely.
Cold boot
The machine has no power and starts from nothing. Every stage runs, hardware is re-initialised from scratch, and this is the baseline comparison for boot speed.
Warm boot, or restart
The system resets itself while still powered. The CPU and much of the core hardware are reset and firmware runs again, but the power supply never switches off and some cached state survives, which is why a restart is faster than a cold start.
Hard reset and soft reset
A hard reset is cutting power or holding the power button until the machine stops, then starting it again. A soft reset is the operating system restarting itself through the reset vector without the power going off. Forum advice that says press and hold the power button is prescribing a hard reset, which clears memory and can rescue a machine stuck early in POST.
Suspend and hibernation
Suspend, or sleep, keeps the machine powered in a low-power state and resumes the session instantly, so the boot process barely runs. Hibernation writes the whole memory contents to a file on disk, usually hiberfil.sys on Windows, and powers the machine down. Resuming from hibernation reloads that image rather than booting normally.
Fast Startup and BIOS Fast Boot
Windows Fast Startup is a form of hybrid shutdown: it closes user applications, hibernates the kernel session to disk, and on the next power-on restores that session instead of running a real cold boot. That is why a machine with Fast Startup enabled can seem to boot faster and why updates that need a genuine restart behave strangely until you shut down fully or turn the option off in the power settings. BIOS Fast Boot is a different, lower-level shortcut that skips some firmware and USB enumeration steps, and turning it off is a sensible first move when a machine is failing early POST or a USB device is not detected.
Two honest caveats. Fast Startup is a real trade: it trades correctness after updates for a few seconds, and dual-boot setups are better without it. And whatever the mode, a machine that takes twenty seconds one start and ten the next is usually doing device retries, a mechanical drive spinning up, or a background update, not booting badly.
Frequently Asked Questions
What is the first thing that happens when a computer boots?
The first thing that happens is electrical, not software. Pressing the power button starts the power supply, which brings its output rails up to tolerance and then raises a power-good signal to the motherboard. Only then does the motherboard release the CPU from reset, and the processor begins fetching instructions from its reset vector, which hands control to the BIOS or UEFI firmware. No operating system code runs at this point.
What is the difference between BIOS and UEFI?
BIOS and UEFI are two generations of motherboard firmware, and UEFI is the modern one. BIOS runs in 16-bit real mode and uses the MBR partition table, which caps disks at 2 TB and allows four primary partitions. UEFI runs in 64-bit mode, uses the GPT partition table, stores boot entries in firmware, and supports Secure Boot verification of signed bootloaders and drivers. Current Windows 11 hardware requires UEFI.
What does a bootloader do during startup?
A bootloader is the small program that runs between firmware and the operating system. It locates the kernel on the boot device, loads it into memory, passes boot parameters such as the root filesystem, and hands control over. Legacy BIOS systems read it from the master boot record, while UEFI systems load it from the EFI System Partition. On Linux it is usually GRUB; on modern Windows it is the Windows Boot Manager, BOOTMGR, followed by WINLOAD.EXE.
Why does my computer reach the operating system but not the desktop?
If a login screen or a spinner appears but the desktop never does, firmware, POST, the bootloader and the kernel have all worked and the failure is in services or the user session. Common causes are a full system drive, a failing service, a damaged user profile, or a network share that blocks sign-in. Booting into Safe Mode or Startup Repair loads a minimal service set, which usually lets you free disk space, disable startup programs or roll back a recent change.
What is the difference between a cold boot and a restart?
A cold boot starts from a machine with no power at all, so the power supply, chipset and every device initialise from scratch and the full boot chain runs. A restart, sometimes called a warm boot, resets the system while it stays powered, so the power supply never switches off and some cached state survives. That is the only reason a restart is usually a few seconds quicker than powering on from cold.
How can I diagnose where a computer’s boot process failed?
Start from the last thing you saw on screen. No lights means power, fans with a black screen and no beep points to POST or display, a missing boot device means firmware could not find the bootloader, and a logo that freezes or repeats points to the operating system, drivers or a failing update. From there, read-only tools confirm it: bcdedit /enum and bootrec on Windows, systemd-analyze and journalctl -b on Linux. Repair commands change the machine, so back up first.
When a machine will not start, the first move is to read the screen rather than the manual: the last thing that appeared tells you the stage, and the stage tells you the fix. Start there, change one variable at a time, and back up before you run anything that writes to disk.