A good README gets a stranger from an empty repository to a working install in about five minutes. It says what the project does, who it is for, how to install it, how to run it, and where to go when something breaks, all in a file anyone can read without opening the source. This guide covers how to write a good README for your project one section at a time, with a verification step attached to each one so the document stays true as the code changes.
I write these for a living and I have deleted more READMEs than I have kept. The pattern is always the same: someone writes a two-paragraph description of a feature they are proud of, and forgets the one command a stranger needs. Fix that first, everything else is decoration.
Whether you are publishing an open-source library, handing a script to a new teammate, or putting a learning project on your profile, the structure below holds. Budget about an hour the first time and twenty minutes per release after that.
Table of Contents
- What You Need
- Step-by-Step
- 1. Define the Project and Its Audience
- 2. Add Installation and Setup Instructions
- 3. Document Basic Usage with Copyable Examples
- 4. Explain Configuration, Options, and Advanced Usage
- 5. Add Troubleshooting, Limitations, and Project Context
- 6. Test the README and Keep It Current
- Common Mistakes
- Frequently Asked Questions
- How long should a README file be?
- How do I create a README.md file using the terminal?
- How should I format a README file?
- Where can I find a GitHub README template?
- What should I write in a README file on GitHub?
- Should a personal or portfolio project have a README?
What You Need
You cannot document what you have not collected. Before you type a heading, gather these things and keep them in one place.
- The purpose in one sentence. If you cannot finish this, the project is not clear in your own head yet.
- The intended reader. Someone evaluating the repo, someone running it for the first time, or someone changing it next month. All three need different detail.
- Supported platforms. Operating systems, language versions, runtime versions, and anything you have deliberately not supported.
- The real install path. The exact commands you ran on a clean machine, not the ones you remember running.
- Dependency files.
requirements.txt,package.json,Cargo.toml,go.mod,Gemfile— whatever your toolchain uses. The README points at them, it does not restate them. - One working usage example. Input, command, output. Screenshots of real output beat aspirational mockups.
- Environment variables. Names, whether they are required, defaults, and where they are read.
- The license. A name and a link. Its absence reads as a warning, not a neutral.
- Known limitations. The unfinished parts, the platform you skipped, the scale you never tested past.
Step-by-Step
Work through these in order. Each step ends with a way to check it, because a README you cannot verify is a README that will rot.
1. Define the Project and Its Audience
Open with what the project is and what problem it removes. Three to five sentences, plain language, no internal codenames and no roadmap promises. If you would not say the same sentence out loud to a user, rewrite it.
A useful opening looks like this:
ArchiveBox takes a list of bookmarks and pulls down readable,
permanent copies so the links still work in five years. It runs on
your own machine against a headless browser, and it is the tool I use
to keep a reading list that search engines cannot erase.
Say who it is for and what it is not. One line about what it deliberately does not handle saves an hour of wrong expectations.
How to verify: read the opening out loud to someone who did not build it. If they cannot repeat the value back to you, cut a sentence and try again.
Create the file in the repository root so GitHub renders it on the landing page:
mkdir archivebox && cd archivebox
git init
touch README.md
nano README.md        # or: code README.md on Windows
git add README.md && git commit -m "Add README"
2. Add Installation and Setup Instructions
This is the section people actually read, and the one most often written for the author’s machine. List prerequisites with versions, name the platforms you support, then give the shortest path from a clean machine to a running program.
# Python example, tested on Ubuntu 24.04 and macOS 15
python3 -m venv .venv
source .venv/bin/activate        # Windows PowerShell: .venvScriptsActivate.ps1
pip install -r requirements.txt
Prefer one reliable line over five clever ones. If a Makefile exists, make install beats a paragraph of manual steps, and you can still show the manual steps underneath for people without make.
State what success looks like. After the install block, add one line: Run archivebox --version; you should see the release number on stdout. That single sentence removes most first-run confusion.
How to verify: open a clean virtual machine or container, paste your install block top to bottom, and confirm the program runs. Anything you had to do from memory belongs in the README.
3. Document Basic Usage with Copyable Examples
Show the smallest example that produces a real result. Not the full feature list — the one command a new user needs to see output. Put it in a fenced code block with the language named so the syntax highlighting works.
# Archive a list of bookmarks into ./archive
archivebox add urls.txt --output ./archive --format readability
Follow the block with the output the reader should expect, in a second code block. When you cover options, explain only the two or three that matter for the common path, then link deeper material instead of dumping it here.
How to verify: run each example exactly as printed, character for character. Copy-paste failures are the fastest way to lose a reader’s trust, and they are entirely avoidable.
4. Explain Configuration, Options, and Advanced Usage
Configuration belongs in a table, not prose. One row per option with the default value visible and the effect stated in a few words. Readers scan tables; they do not read them.
| Option | Default | What it does |
|---|---|---|
--output | ./archive | Directory where archived copies are written |
--format | readability | Extraction mode: readability, singlefile, or raw |
--timeout | 30 | Seconds to wait per URL before skipping it |
--concurrency | 2 | Parallel fetches; higher values need more memory |
Then list environment variables separately, because that is where configuration actually lives in most tools. Mark each one required or optional and show a safe default.
ARCHIVEBOX_DB=./archivebox.sqlite   # optional, defaults to ./archivebox.sqlite
ARCHIVEBOX_TOKEN=                 # required only when ARCHIVEBOX_API=https://example.com
Deep material, long command reference, API details, and architecture notes belong in a docs/ folder with a link from the README. Keep the landing page for orientation and the first successful run.
How to verify: diff the documented defaults against the code or the --help output. Mismatched defaults are the most common documentation bug I see.
5. Add Troubleshooting, Limitations, and Project Context
Anticipate the errors a newcomer will hit and give the fix inline. A short list beats a support ticket.
ModuleNotFoundError: archivebox— the virtual environment is not active. Runsource .venv/bin/activateagain in the same shell.- Chromium download fails behind a proxy — set
HTTP_PROXYbefore running, then retry. - Empty output on a single page — the site blocks headless browsers. Try
--format rawto confirm the URL is reachable.
Then state the limitations plainly: the platforms you never tested, the scale you never measured, the features that are half-built. Maintainers on open-source forums say honest scope is one of the strongest trust signals in a README, and I would put it above any badge.
Close the context section with links, not scavenger hunts. Point at CONTRIBUTING.md for how to help, LICENSE for reuse terms, CHANGELOG.md for what changed, and docs/ for depth. If the project has no changelog yet, linking to release history is better than nothing.
How to verify: click every link. Broken anchors and renamed files are the fastest way to make a document untrustworthy.
6. Test the README and Keep It Current
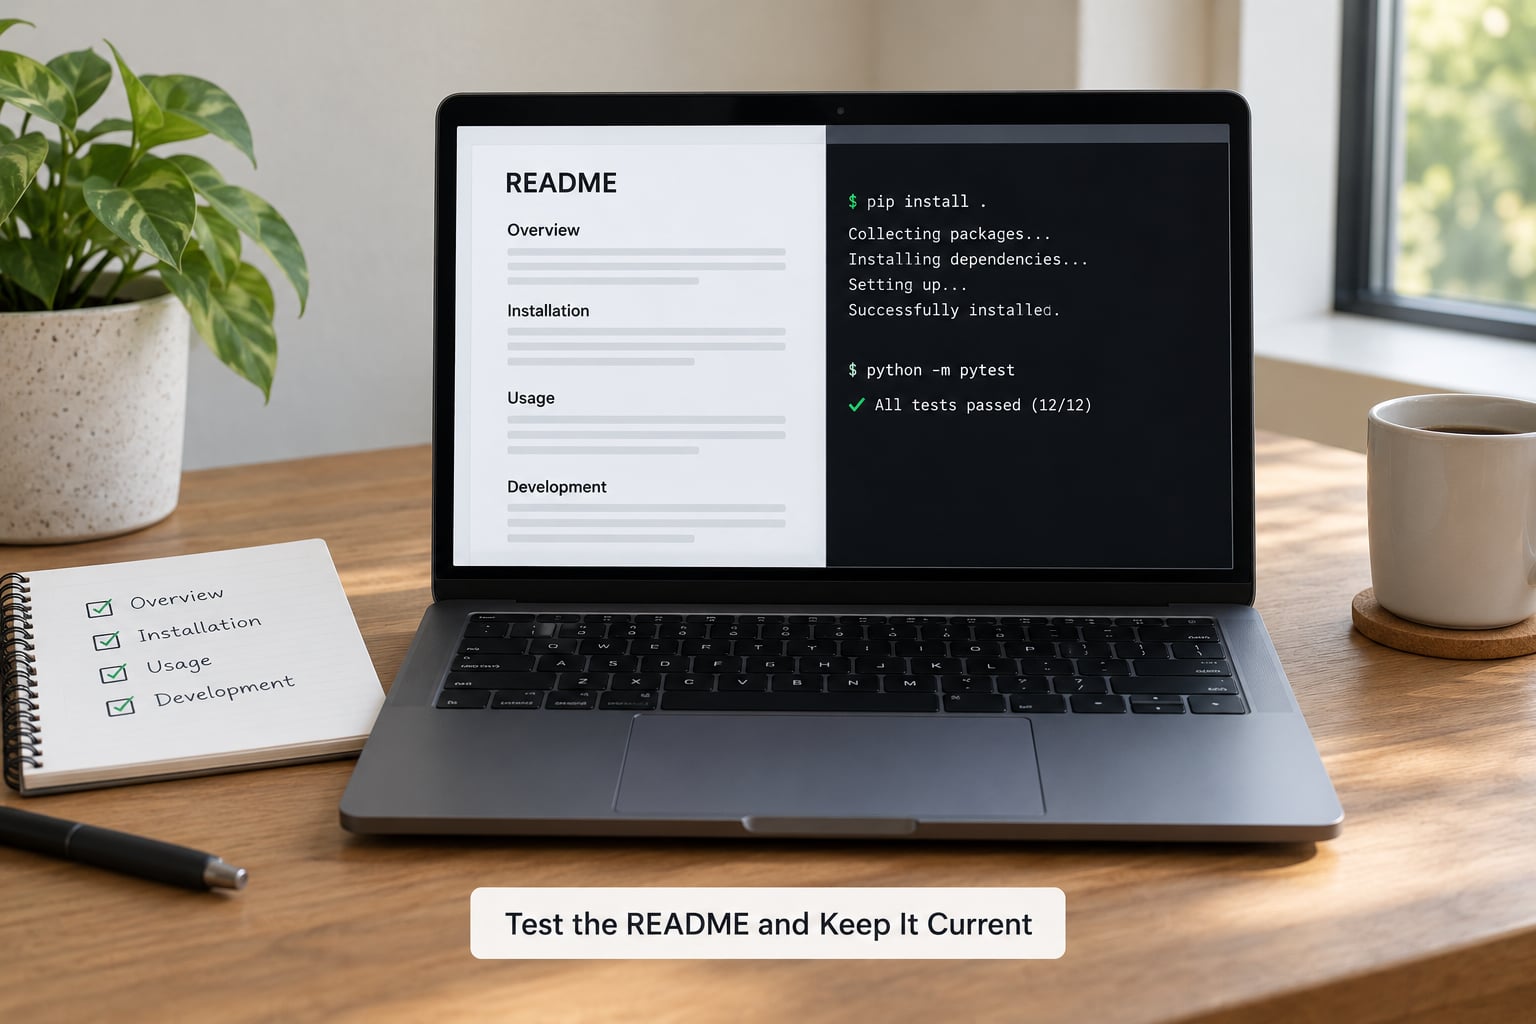
Give the file one full review pass from the outside, as if you had never seen the code. Work down it and ask four questions at each section: does it say what this is, does it tell me what to type, does it tell me what I should see next, and does it tell me what to do when it fails?
Then run the mechanical checks. Every code block should execute as printed. Every image should load and carry alt text that describes the picture rather than repeating the project name. Every heading should be a real sentence a person might search for. Long sections benefit from a table of contents, and GitHub generates one for you with anchors like #installation as long as every heading is unique.
Staleness is the real enemy. Tie updates to a moment that already happens: every release, every rename of a command, every new required variable. A README touched in the same commit as the code it describes stays correct far longer than one rewritten in a cleanup sprint twice a year.
How to verify: hand the README to someone outside the project and ask them to get to a working install without asking you a question. The questions they ask are the sections you failed to write.
Common Mistakes
Almost every weak README fails the same way, and each failure has a blunt fix.
- Vague description. “A powerful and lightweight solution for modern workflows.” Fix: say what it does in one sentence a stranger could verify today.
- Missing prerequisites. Jumping straight to
pip installwithout version requirements. Fix: list language and runtime versions before any command. - Stale commands. The install block was copied from a post two years old. Fix: run it from a clean environment every release and paste the fresh output.
- Unexplained errors. Sample output shown with no follow-up. Fix: after each output block, write the one line a user should read.
- Feature parade. Thirty bullets, no way to start. Fix: lead with the smallest useful example, then move depth into
docs/. - Undocumented platform differences. Instructions written for one operating system with no warning. Fix: name the tested platforms and add one line about where the steps differ.
- Badge decoration. Six shields that say nothing about health. Fix: keep a build status, a license, and a version. Delete the rest.
- No license. Readers treat a missing license as a red flag for reuse. Fix: add the
LICENSEfile and link it. - Screenshots without alt text. Fix: describe what the screenshot shows in plain words so it is usable with a screen reader.
- Everything in one file. A README grown to several thousand words. Fix: keep the landing page short and split depth into
docs/,CONTRIBUTING.md, andCHANGELOG.md.
A few habits pay off quickly. Keep the first screen of the README answering what it is, who it is for, and how to install it. Prefer real command output to marketing screenshots. Add a table of contents once you pass about six sections, and generate it from the headings rather than hand-writing anchors. Most of all, write for the person who finds the repository at midnight with no context and no one to ask.
Frequently Asked Questions
How long should a README file be?
Most good READMEs land between 300 and 800 words, plus code blocks and images. A small utility needs closer to 300; a framework or platform service can justify 1,500 or more. Past that, the landing page has outgrown itself and the depth belongs in a docs folder with a link from the top.
How do I create a README.md file using the terminal?
Create the folder, initialize the repository, then make the file with touch: mkdir my-project and cd my-project, then git init, then touch README.md. Open it with nano README.md or code README.md depending on your editor, write your content, and commit it with git add README.md and git commit.
How should I format a README file?
Use one H1 for the project name, H2 for major sections like Installation and Usage, and H3 for anything nested below them. Put every command in a fenced code block with its language named, use relative links for images, and add a table of contents once you pass six sections. Keep lines readable rather than wrapping prose to a fixed width.
Where can I find a GitHub README template?
When you create a new repository on GitHub, the setup page offers a few starting templates including one for an MIT-licensed open-source project, and you can pick README.md plus a license from the Add a README file dropdown. For anything more complete, build your own template once and reuse it, since no stock template covers prerequisites, configuration tables, and troubleshooting.
What should I write in a README file on GitHub?
Write what the project does, who it is for, what it does not do, prerequisites with versions, install commands, one working usage example with expected output, a configuration table, common errors with fixes, the license, and a link to contribution guidelines. That set gets a stranger to a running program without asking anyone a question.
Should a personal or portfolio project have a README?
Yes, and it doubles as the explanation of your decisions, which is what a hiring reader is actually looking for. Say what you set out to build, what you learned, what you would change, and what is still unfinished. For a portfolio piece, screenshots of real output and honest limitations do more for you than a feature list.
If you do one thing today, open the README you wrote last, paste your install block into a clean machine, and fix whatever breaks. Everything else on this list is easier once that single command works. Get that one command right and you are most of the way to knowing how to write a good README for your project that stays true after the next release.