Migrating from Windows to Linux comes down to four moves: back up your data, write a Linux ISO to a USB stick, boot the live desktop to test your hardware, then install Linux alongside Windows or onto a clean disk. The install itself takes about 20 to 40 minutes. The preparation takes longer, and it is the part that decides whether the whole thing goes smoothly.
This guide walks the full path in order, including the two Windows settings that most often derail a first attempt: Fast Startup and BitLocker. It is written for someone who has never opened a terminal and does not intend to.
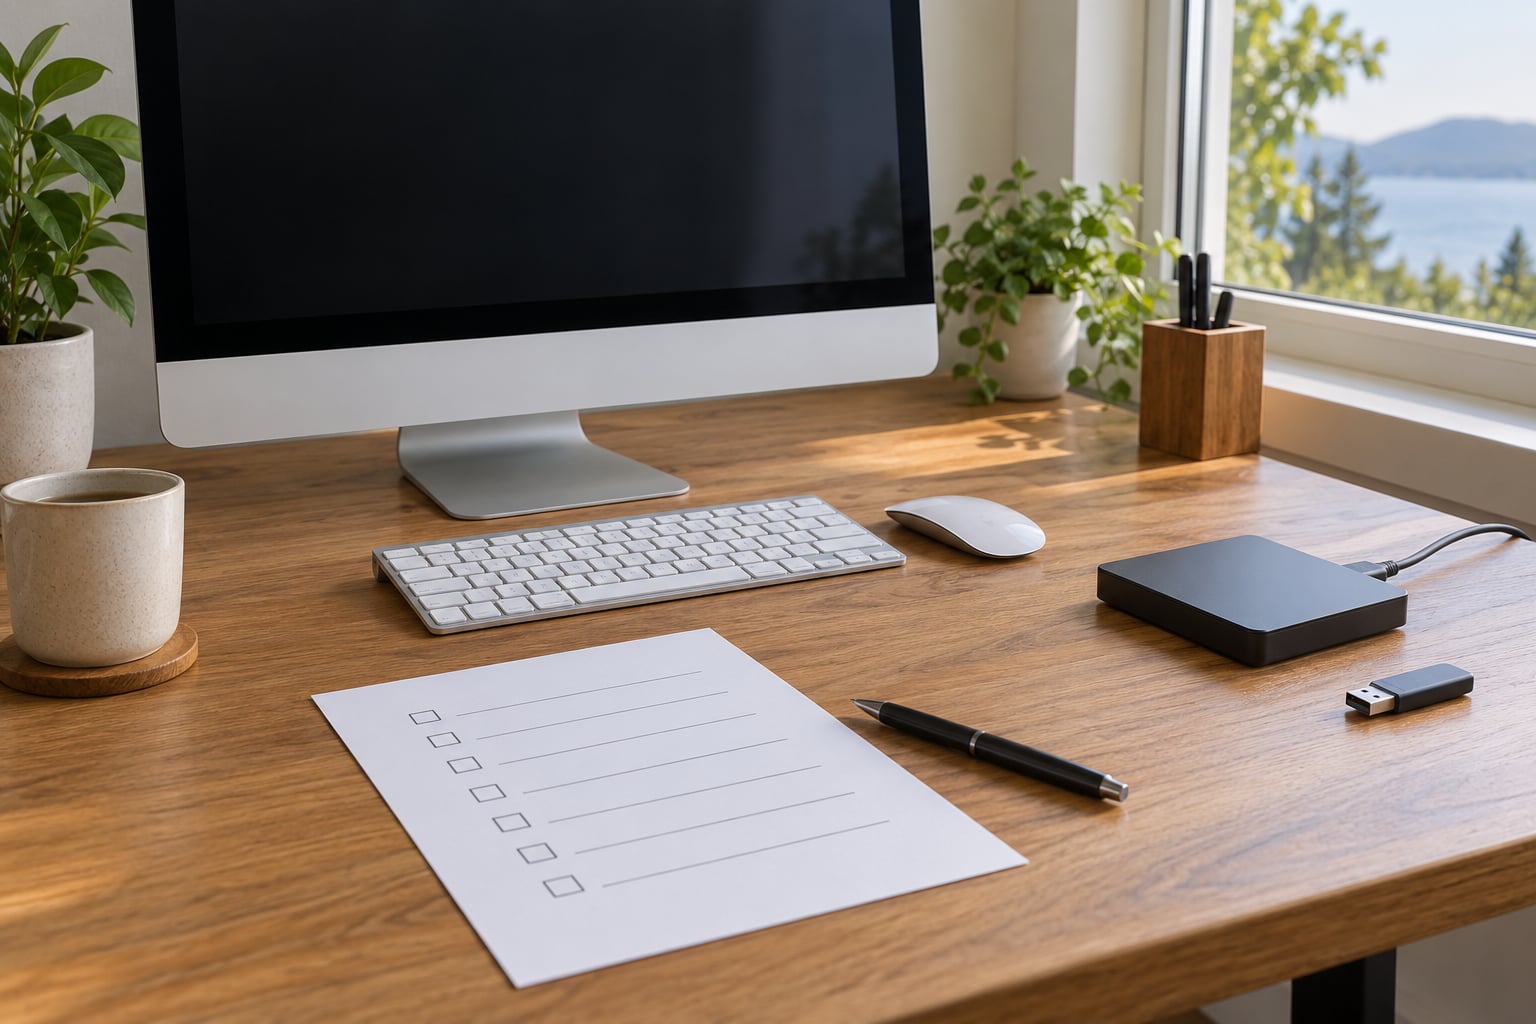
The short version, if you want the whole plan on one screen:
- Back up your files twice, and open the copies to prove they work.
- Write down every app you use, and find a Linux replacement for anything with no port.
- Pick a distribution — Linux Mint, Ubuntu or Zorin OS for most Windows users.
- Download the ISO from the official site and write it to a USB stick with Rufus.
- Boot the live USB and test Wi-Fi, audio, keyboard, touchpad and disk detection.
- Install Linux, then restore your files and reinstall your apps.
If you only read one section, read the one on backups. Everything else is recoverable; a disk with no backup is not.
Table of Contents
- What You Need
- Step-by-Step: How to Migrate from Windows to Linux
- 1. Back Up Your Files and Verify the Backup
- 2. Inventory Your Software, Licenses and Hardware
- 3. Choose a Linux Distribution and Desktop Environment
- 4. Create a Bootable Linux Installation USB
- 5. Test Linux Before You Change the Windows Installation
- 6. Move Your Data Across Without Losing Windows Access
- 7. Install Linux Alongside Windows or Replace It
- 8. Complete the First Boot Configuration
- 9. Keep a Recovery Route and Test the Migration
- Common Mistakes
- Frequently Asked Questions
- Can I migrate from Windows to Linux without losing my files?
- Is it safer to install Linux alongside Windows or replace it?
- Can Linux run the same software I use on Windows?
- Should I use NTFS or ext4 for a shared Linux partition?
- Do I need to erase Windows before installing Linux?
- How long should I keep my Windows installation after switching?
- Conclusion
What You Need

You need six things ready before you touch the disk, and most people already own five of them.
Free storage. An external drive of at least as much capacity as the data on your Windows drive. If your C: drive is a 500 GB SSD with 300 GB used, a 500 GB external drive is the safe minimum, not a generous choice.
A second USB stick, 4 GB or larger. This is the installer. It gets erased, so do not reuse your backup drive.
A verified backup. Two copies in two places is the standard advice and it is not superstition here. Migration is one of the few operations where a mistake can take a whole partition with it.
A list of your software. Open Windows Settings, then Apps, then Installed apps, and sort by date or size. Export or photograph the list. This is the single document that tells you whether migration is easy or hard for you.
Your account credentials and license keys. Passwords live in a browser password manager, Office and Adobe keys live in an email thread, and hardware keys sometimes live on a sticker or in the device manager.
Your Windows product key and BitLocker recovery key. Both are recoverable from Microsoft account pages. Find them now, not after you need them.
A phone camera is genuinely useful here. Photograph the Windows licence key, the BitLocker recovery key and the list of installed software, and store the images somewhere that is not on the PC you are about to wipe.
Step-by-Step: How to Migrate from Windows to Linux
Here is the whole migration in nine steps. Each one has an obvious signal that it worked, so you can stop at the first place something looks wrong instead of pressing on and compounding it.
1. Back Up Your Files and Verify the Backup
Back up everything before anything else, and then verify the copy by opening files from it.
The obvious targets are your Documents, Desktop, Pictures, Videos and Downloads folders, plus anything you keep outside them: a projects folder on a second drive, a game library, photos on an old external disk.
Less obvious targets cause more regret. Your Outlook mail archive, if you still have one stored as a .pst file. Your OneDrive or Google Drive sync folders, which are only as useful offline as their last sync. SSH keys in C:Usersyourname.ssh. Browser bookmarks and, critically, exported passwords. Email archives from a mail client you have not opened in a year. Photos that only exist inside a chat app.
Copy the lot to the external drive, then take a second copy to cloud storage or a second physical drive. If you have a large photo library, a cloud upload takes hours, so start it early and let it run while you do everything else.
Now verify. Open the backup drive in File Explorer and open a dozen files from it: a spreadsheet, a photo, a video, a document from a few years back. Try opening the exported password CSV in a text editor and confirm the rows are there. A backup you have not opened is a hope, not a backup.
Consider a system image as well, if you have the disk space and the patience. A file backup gets your documents back. A system image gets a working Windows back, which matters if your Windows install is damaged and you want the option of reinstalling rather than rebuilding everything by hand.
2. Inventory Your Software, Licenses and Hardware
Write down every application you actually use, then sort them into three piles: Linux has it, Wine or a virtual machine can run it, or nothing on Linux will do.
The second pile is where migration projects go to die, so be honest about it. Most everyday Windows software has a solid Linux equivalent: Microsoft Office has LibreOffice and OnlyOffice, Photoshop has GIMP and Krita, Illustrator has Inkscape, AutoCAD has FreeCAD and LibreCAD, Outlook has Thunderbird, and media players have VLC.
The third pile is the problem: line-of-business tools with a Windows-only vendor, some professional audio and video plugins, certain kernel-level anti-cheat games, and school or work software locked to an institutional licence. For these, your options are a virtual machine, Wine or Bottles, or keeping Windows on a second drive.
Record the account sign-ins too. Passwords, two-factor authenticator apps, SSH keys, database connection strings, VPN profiles, and licence servers. Signing in fresh on a new system is the tedious part people underestimate.
Note the hardware while you are in Windows. Open Device Manager and photograph the list, or run msinfo32 and save the report. Wi-Fi adapter, graphics card, touchpad, audio codec, scanner, printer, docking station, and any card-reader or specialty device. If you use a docking station, treat it as the make-or-break item and test it in the live desktop first.
Find your Windows product key with wmic path softwarelicensingservice get OA3xOriginalProductKey if you have not already saved it, and pull your BitLocker recovery key from Settings, Privacy and security, Device encryption.
3. Choose a Linux Distribution and Desktop Environment
For someone coming from Windows, choose Linux Mint, Ubuntu or Zorin OS. All three install cleanly, all three have large communities, and all three run the same huge software catalogue underneath.
| Distribution | Desktop | Best for | Support |
|---|---|---|---|
| Linux Mint | Cinnamon | The lowest-friction switch; the layout, start button and familiar file manager feel closest to Windows | Based on Ubuntu LTS, so a long support window |
| Ubuntu | GNOME | The most documentation, the most tutorials and the widest app support | LTS releases carry about five years of updates |
| Zorin OS | GNOME | People who want Windows’ visual language with a Linux core | Follows Ubuntu LTS |
| Fedora Workstation | GNOME | Newer software and a more up-to-date kernel, useful on very new hardware | Around 13 months per release |
| Linux Mint Cinnamon | Cinnamon | Older machines with modest memory, where GNOME feels heavy | Same as Linux Mint |
Version numbers move fast, so take the numbers from the distribution’s own download page rather than from a tutorial pinned to a release that has since been superseded. Mint, Ubuntu and Zorin all build on Ubuntu LTS underneath; Fedora ships a new number roughly every year.
The desktop environment matters more than most guides admit. Cinnamon behaves like Windows: a taskbar at the bottom, a start button in the corner, familiar right-click menus. GNOME moves the dock to the left, uses a different right-click menu, and throws away the desktop icons some people rely on. Both are fine. Coming from Windows, Cinnamon usually means less friction on day one.
One note on hardware. If your machine cannot run the current version of Windows because it lacks TPM 2.0, Secure Boot or 4 GB of RAM, Linux does not care. That mismatch is one of the strongest practical reasons people make this move.
4. Create a Bootable Linux Installation USB
Download the ISO from the distribution’s official site, then write it to a USB stick with Rufus, which runs on Windows and does the job in about five minutes.
Go to the official download page for your chosen distribution. Avoid third-party download sites and torrents from people you do not know; a modified ISO is exactly the kind of thing you do not want running on your machine.
After the download completes, verify the checksum the project publishes. In PowerShell, run Get-FileHash .linuxmint-iso.iso -Algorithm SHA256 and compare the output against the checksum on the download page. They should match exactly. This takes ten seconds and rules out a corrupted or altered download.
Insert the USB stick and launch Rufus. Choose the drive, choose the ISO file, then set the partition scheme. If your PC booted from UEFI, select GPT; for an older machine that booted in legacy BIOS mode, select MBR. Rufus usually detects this correctly on its own. Set the file system to the default for your scheme, then click Start.
Rufus may offer to download missing files from the internet when the ISO needs them. That is normal for some distributions. Allow it if you trust the source.
When Rufus finishes, the stick is bootable. Open File Explorer, right-click the USB drive and choose Eject. Do not yank it out while it is still being written, because the boot sectors at the start of the drive are the first thing corrupted by an unsafe removal.
If you would rather not install Rufus, Balena Etcher does the same job with fewer options, and it runs on Linux and macOS too, which helps if you have already made the move on another machine.
5. Test Linux Before You Change the Windows Installation
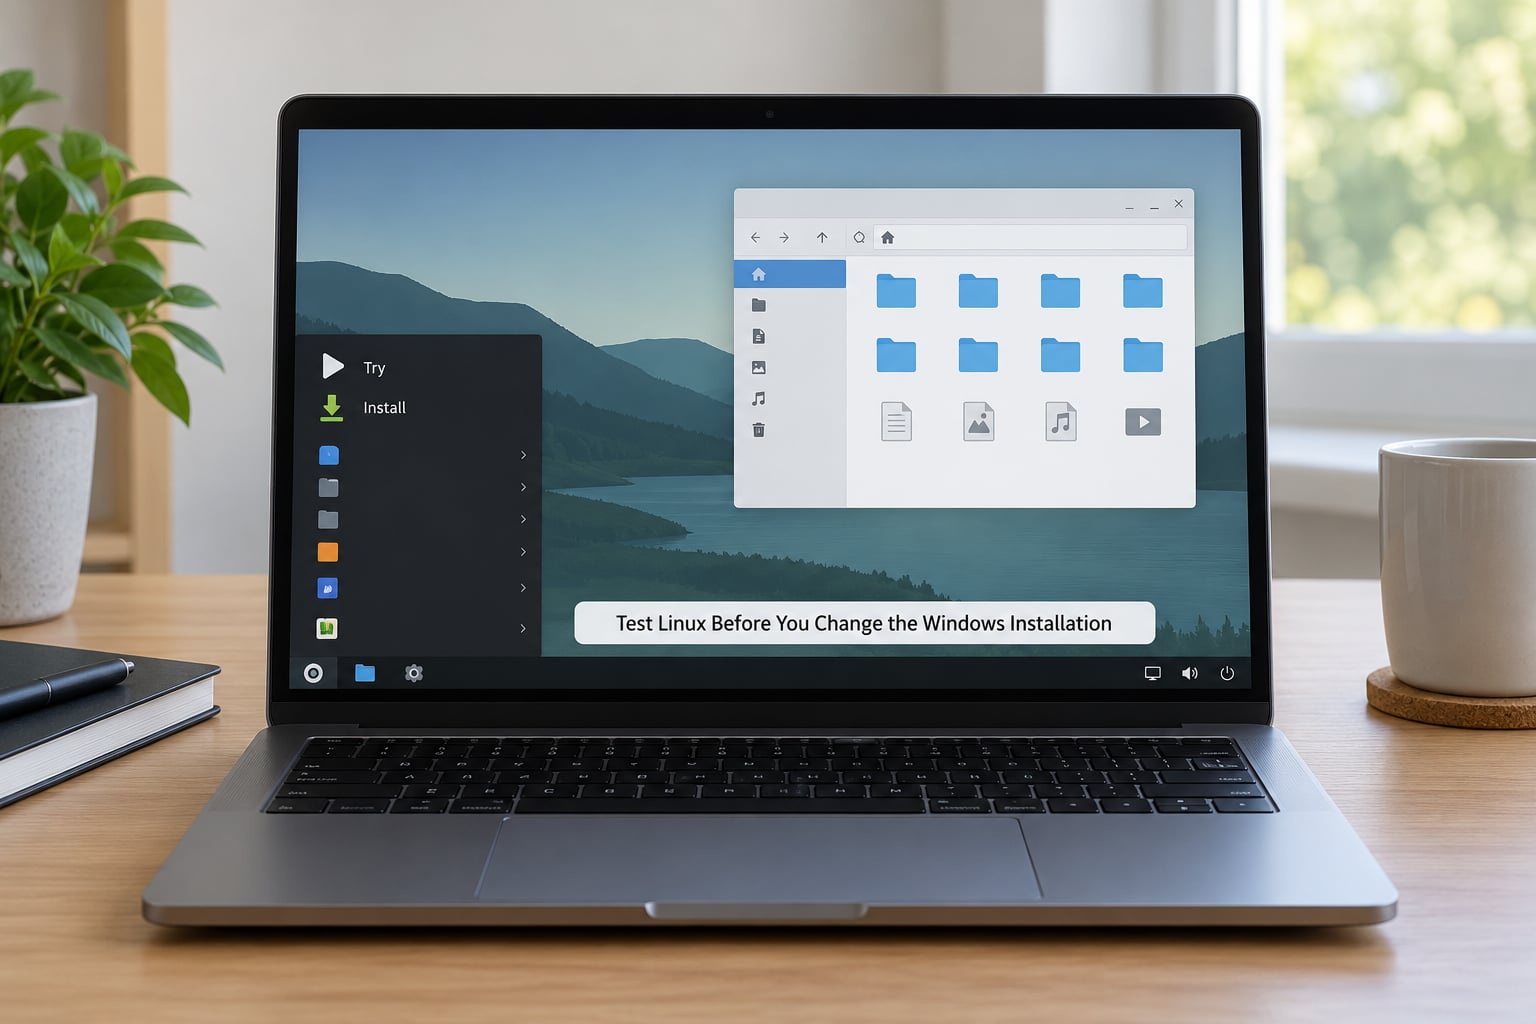
Boot the live USB and try Linux before installing anything. A live session runs entirely from the USB stick, changes nothing on your hard drive, and tells you in ten minutes whether your Wi-Fi, sound and graphics work.
Reboot with the USB stick inserted. Open the boot menu with the key your manufacturer uses — F12 on most Dell and Lenovo machines, F9 on HP, F11 on Acer, Esc on some others, or Option on an older Mac. Alternatively hold Shift while clicking Restart in Windows, which puts most modern machines straight into the UEFI boot menu.
Pick the USB drive from the list. You will see the distribution’s boot menu, where the live session is usually the first option. Choose it and wait for the desktop to appear. First boots are slow because the whole system is being read from a slow stick. That slowness is the stick, not Linux.
Now work through the checklist that actually predicts whether the install will go well:
- Wi-Fi: click the network icon and connect. If your adapter is not listed, this is the moment to find out, not after installing.
- Audio: play a video and check the output device in Settings, Sound.
- Keyboard and touchpad: test two-finger scroll, tap-to-click, and any function keys that change brightness or volume.
- Display: check the resolution is offered natively and the scaling looks right.
- Storage: open the file manager and confirm your Windows partition and internal drive both appear.
- Suspend and resume: close the lid and wake it. This catches a whole category of driver problems.
- External devices: connect your docking station, printer, scanner or USB audio interface.
- Your applications: check the Software Manager for the handful you cannot live without.
If Wi-Fi is missing, plug in a phone or use an Ethernet cable for the live test. It is not worth installing a distribution that cannot see your wireless adapter.
6. Move Your Data Across Without Losing Windows Access
Keep Windows working until Linux is proven, and move your files across in a way you can verify rather than hope for.
External drive. The simplest route. Copy the files in Windows, boot the live USB or the installed Linux, and copy them back. Linux reads and writes NTFS, the Windows file system, so a Windows-formatted external drive works in both directions with no conversion. This is the option most beginners should pick, because both systems can open the same disk.
A shared data partition. Give Linux its own ext4 partition for system files, and keep your documents on the existing NTFS partition. Both operating systems can then read the same documents. The trade-off is real: Linux cannot repair an NTFS volume, and NTFS has no native Linux ownership model, so anything needing file permissions still needs ext4.
Network share. If both machines can see the same router, copy over the network instead of shuttling a drive. Faster with gigabit and large libraries, and it leaves no extra hardware behind.
Cloud sync. OneDrive, Google Drive and Dropbox all have Linux clients. Useful for documents and photos, poor for large media libraries, which upload slowly.
Whichever route you take, verify after copying. Open a spreadsheet and check that the formulas survived. Open a photo. Check that a video plays rather than just appears in the file list. Forum threads about moving data from Windows to Linux are full of people who discovered a broken copy weeks later.
There is one data warning worth reading twice. If you use Plex or Jellyfin as a media server, moved files can lose the metadata that identifies movies and episodes, so the library rebuilds as a mess of unnamed files. Export the library or note down the naming before you move anything.
7. Install Linux Alongside Windows or Replace It
This is the decision point. Dual boot keeps Windows and Linux on one machine and is fully reversible. A clean install replaces Windows entirely and is not, so choose it only when you are certain.
| Option | Disk space needed | Reversible | Best when |
|---|---|---|---|
| Dual boot on one drive | About 40 to 60 GB is comfortable, 25 GB is workable | Yes, as long as you do not reformat the Windows partition | You want a safety net, or one program has no Linux version |
| Linux on a second SSD | A 500 GB drive is plenty | Yes, easily | You want the cleanest option and can spare the hardware |
| Clean install, Windows erased | Whatever you give it | No, without reinstalling Windows from scratch | You are confident and want maximum performance and disk space |
A second physical drive is the safest arrangement and the one experienced users recommend most often. Windows updates have a well-earned reputation for rewriting the EFI boot partition on the drive Windows itself is installed on, which can leave Linux unbootable. Separate drives, with each system using its own bootloader, largely sidestep that.
If you dual boot on one drive, shrink the Windows partition from inside Windows first. Search for Create, format and manage volumes in the Start menu, right-click the C: drive, choose Shrink Volume, and give Linux the space you want. Windows can shrink itself while booted; doing it from a Linux installer is where beginners run into trouble.
Before you boot the installer, handle three Windows settings that cause most failures:
Turn off Fast Startup. Search for Power Options, then Choose what the power buttons do, then Change settings that are currently unavailable. Untick Turn on fast startup. Fast Startup hibernates the NTFS volume, and a hibernated volume is a locked volume. The installer will either refuse to resize it or offer to force it, and forcing it is how data gets lost.
Save or turn off BitLocker. Search for Device encryption. Save the recovery key first, then decrypt the drive and let it finish before you touch the disk. An encrypted Windows volume can be invisible to the installer, and a machine that cannot decrypt it at boot will lock you out of your own files.
Decide about Secure Boot. Modern distributions support Secure Boot with its own signed bootloader, so you can usually leave it on. If an older machine’s Secure Boot implementation causes trouble during install, you can disable it in the BIOS. UEFI settings are reached with the same key as the boot menu, usually Del or F2.
Boot the USB again, choose Install, and work through the installer. Most installers ask three things: your language and keyboard, whether to install third-party software for video and Wi-Fi drivers, and where to put it. Tick the third-party software option unless you have a reason not to; it installs codecs and drivers that otherwise need doing by hand.
On the destination screen, choose Install alongside Windows for dual boot, or Erase disk and install for a clean install. The word erase means every partition on that disk goes away. If you have two drives and want to keep one, use Something else and pick the partitions yourself, carefully. Check the size of each partition on the list against what you know is there before you confirm.
If you use disk encryption, decide now. Full-disk encryption with LUKS protects the data if the laptop is stolen, and it also means a forgotten passphrase means unrecoverable files. On a desktop at home, skipping it is a reasonable choice.
The install runs for 20 to 40 minutes. When it finishes, remove the USB stick before rebooting, or the machine boots the installer again.
8. Complete the First Boot Configuration
Spend the first half hour on updates, drivers and your applications, in that order, before you start moving files.
Create your user account during the installer if you did not, and make it an administrator. Then connect to the network and let the updater run its full cycle. On Ubuntu and Mint the Update Manager is in the menu; on Fedora, GNOME Software has the updates. Some distros offer to install updates as they download, which is fine to accept.
Reboot once the updates finish, because a kernel update does not take effect until you do. Expect to reboot a second time if the distribution installed a new kernel and its matching drivers together.
Now check hardware again in the installed system rather than assuming the live test carried over. Settings, Printers to confirm your printer is detected. Settings, Sound for the output device. Settings, Network for a stable Wi-Fi connection. Settings, Displays for the native resolution.
Reinstall your applications from the Software Manager, Flatpak or Flathub rather than downloading installers from websites one by one. That last habit is the biggest thing people carry over from Windows and it is a bad one on Linux, where the curated stores carry signed packages with dependencies handled.
Restore your data from the backup drive, and import the extras:
- Browser: sign in to your browser account and let bookmarks, passwords and history sync.
- Thunderbird: point it at your existing mail account, and import an old Outlook profile or .pst file if you had one.
- VS Code: sign in and use Settings Sync for your extensions and settings; copy
~/.config/Code/Useracross if you prefer. - SSH and Git: copy
~/.sshand~/.gitconfig, then check the file permissions on the keys. - Font and language packs: install the extras you need for documents written in other scripts.
Finally, set up snapshots. Mint includes Timeshift, which takes scheduled system snapshots you can roll back to. Snapshots are not a backup, but they turn a bad update or a botched config change into a five-minute fix instead of a reinstall.
9. Keep a Recovery Route and Test the Migration
Before you delete anything, prove the new system works on a real day of use. Keep Windows, or a way to reinstall it, for at least two to four weeks.
Open every file type you rely on. Work through your normal applications, not just the ones you installed. Connect to the printers, docks and monitors you actually use, from the ports you actually use. Run a full week, including the weekly task you always put off.
Check the recovery options. If you dual booted, confirm the boot menu still offers Windows and that Windows boots cleanly when selected. A dual boot that has quietly broken Windows is the failure people discover at the worst moment. Separately, keep your Windows installation media or a system image somewhere safe, so reinstalling Windows is never a project.
Do not delete the Windows partition during the first month. It costs you disk space, and disk space is the cheapest thing you have. Once you have passed a month with no missing driver, no unexplained error and no software you quietly miss, it is safe to reclaim the space from inside Windows by deleting the Linux partitions.
If Linux genuinely does not work out, you have three ways back, in increasing order of effort: switch to Windows at the boot menu, restore your system image, or reinstall Windows from scratch and recover your files from the backup. All three only exist if you prepared the backup first.
Common Mistakes
Most migration failures are one of a short list, and every one of them has a fix you can apply without re-downloading anything.
| Symptom | What is actually wrong | Fix |
|---|---|---|
| The installer will not start, or the machine boots Windows no matter what you do | Boot order still points at the internal drive, or the USB is not in the list | Enter the boot menu with F12, F9, F11 or Esc and select the USB drive explicitly |
| The installer cannot see the internal drive | BitLocker encryption, or an Intel RST / VMD storage controller | Decrypt the drive in Windows first; if it persists, boot the installer in compatibility or HWE mode, or enable Intel RST in the BIOS |
| Installer says the partition is in use or cannot be resized | Fast Startup hibernated the NTFS volume | Turn off Fast Startup in Windows Power Options, fully shut down, and boot the installer again |
| No Wi-Fi after installing | No out-of-box driver for that wireless chipset | Test in the live session first; if it is missing there too, use an Ethernet cable or a USB Wi-Fi adapter while you look for driver support |
| Windows is missing from the boot menu | A Windows update rewrote the EFI boot entries, usually after a Linux install | Enter the firmware boot menu and boot the Windows boot manager directly, then repair the boot entries from a Windows recovery prompt |
| Wrong date and time, and certificates fail to validate | Both systems read the same firmware clock, and a bad RTC confuses TLS | Set the time zone in Settings, Date and Time, then enable automatic time |
| Screen is black or the desktop will not render | Old NVIDIA driver or an old graphics card | Press Ctrl plus Alt plus F2, or Ctrl plus Alt plus F1, to get a text terminal; boot with the safe graphics option and install the distro’s recommended driver |
| Sound plays through HDMI only | Default output device set by the installer | Settings, Sound, Output, and pick the analogue or headphone device |
| Printer is not detected | No driver package for that model | Settings, Printers, Add Printer. Check the manufacturer database first; most HP, Brother, Canon and Epson models work out of the box |
| Windows boots slower or the clock is wrong inside Windows | Windows and Linux share the firmware clock, and dual boot adds a boot entry | Expected behaviour, and usually a few seconds. The clock disagreement is a known dual-boot quirk |
| Files copied from Windows show as read-only or have odd permissions | NTFS carries no Linux ownership data | Expected. Do not force permissions on a shared NTFS partition; use ext4 for anything that needs them |
| You deleted the Windows partition | Erase disk and install removed every partition | No software fix. This is why the backup and the waiting period exist |
Two habits prevent most of this list. Test the live USB properly before installing, and never skip the backup verification. A ten-minute live test answers the Wi-Fi, audio and disk questions that no amount of forum reading will.
The other habit is writing things down as you go: the Windows product key, the BitLocker recovery key, the list of software, the names of your partitions. During a migration your memory is the worst backup in the room.
Frequently Asked Questions
Can I migrate from Windows to Linux without losing my files?
Yes, as long as you copy your files to an external drive or a shared partition first and verify the copy opens correctly. Linux reads and writes NTFS, so a Windows-formatted external drive works in both directions without conversion. Do not point the installer at your Windows partition, and keep that partition intact until Linux has run a full month without problems.
Is it safer to install Linux alongside Windows or replace it?
Alongside, without much argument. Dual boot keeps every Windows file, program and licence exactly where it is and can be undone in minutes by choosing Windows at the boot menu. The main risks are disk space, slower boot times and Windows updates occasionally rewriting boot entries, which is why a second physical drive is safer than one shared disk.
Can Linux run the same software I use on Windows?
Most everyday software has a direct Linux equivalent: LibreOffice or OnlyOffice for Office, GIMP and Krita for Photoshop, Inkscape for Illustrator, Thunderbird for Outlook, VLC for media, VS Code for development. Some Windows-only tools run under Wine or Bottles, and anything heavy works in a virtual machine. Line-of-business applications and some anti-cheat games have no Linux version at all.
Should I use NTFS or ext4 for a shared Linux partition?
Use ext4 for anything Linux owns, including home folders and mailboxes, because it is the native Linux file system and supports file ownership. Use NTFS only for a shared data partition that Windows also needs to open, such as documents and photos. Linux can read and write NTFS fine, but it cannot repair it and it carries no Linux permission data.
Do I need to erase Windows before installing Linux?
No. If you pick Install alongside Windows, the installer shrinks the Windows partition and creates a Linux one. Only choose Erase disk and install when you are certain, because it removes every partition on that drive, including Windows, with no undo. If you have a second drive, install Linux there and leave the Windows disk untouched.
How long should I keep my Windows installation after switching?
Keep it for at least a month of normal use before you reclaim the space. During that period you will discover missing drivers, an odd hardware accessory, or the one application you actually needed. Deleting the Windows partition afterwards is easy from inside Windows; getting it back beforehand would mean reinstalling it from scratch and restoring from backup.
Conclusion
Migrating from Windows to Linux is safe when you do it in the right order, and the order is short: back up twice and verify the copy, record every application and licence, turn off Fast Startup and save your BitLocker key, test the live USB thoroughly, then install.
Start with the backup and the live USB test. Those two steps cost a couple of hours and they are the only two that cannot be undone afterwards.