To mount a drive automatically at boot in Linux, you add one line to /etc/fstab that points at the drive’s UUID, an empty directory, and the filesystem type. Then you run sudo mount -a to prove the entry works before you restart anything. The whole job takes about five minutes.
The reason UUIDs matter is that device names lie. /dev/sda1 on Tuesday can be /dev/sdb1 on Wednesday after you reseat a cable or add a disk, and a server with that line in fstab will sit there refusing to boot because the disk it wants is not there. A UUID never changes for the life of the filesystem, so it survives reordering, cloning and dual boots.
This guide covers the systemd-based distributions most people actually use: Ubuntu, Debian, Linux Mint, Fedora and Arch. The same commands work on older systems, though the output looks different.
Table of Contents
- What You Need
- How to Mount a Drive Automatically at Boot in Linux: Step-by-Step
- 1. Identify the Drive and Its Filesystem
- 2. Test the Mount Point Manually
- 3. Create a UUID-Based fstab Entry
- 4. Validate and Reload the Configuration
- Common Mistakes
- The system drops into emergency mode right after I edit fstab
- The drive mounts today and not tomorrow
- I commented out the line and it still mounts
- Wrong filesystem type, or a hibernated NTFS volume
- Everything is owned by root
- The drive is sometimes not there
- How to stop a drive from mounting at boot
- Frequently Asked Questions
- What is the easiest way to mount a drive automatically at boot in Linux?
- Should I use a UUID or a device path such as /dev/sdb1 in fstab?
- How do I mount an NTFS drive automatically in Linux?
- Why does my fstab entry fail with an incorrect filesystem type?
- How can I troubleshoot a Linux fstab entry without rebooting?
- What is the difference between fstab and systemd.mount?
- Conclusion
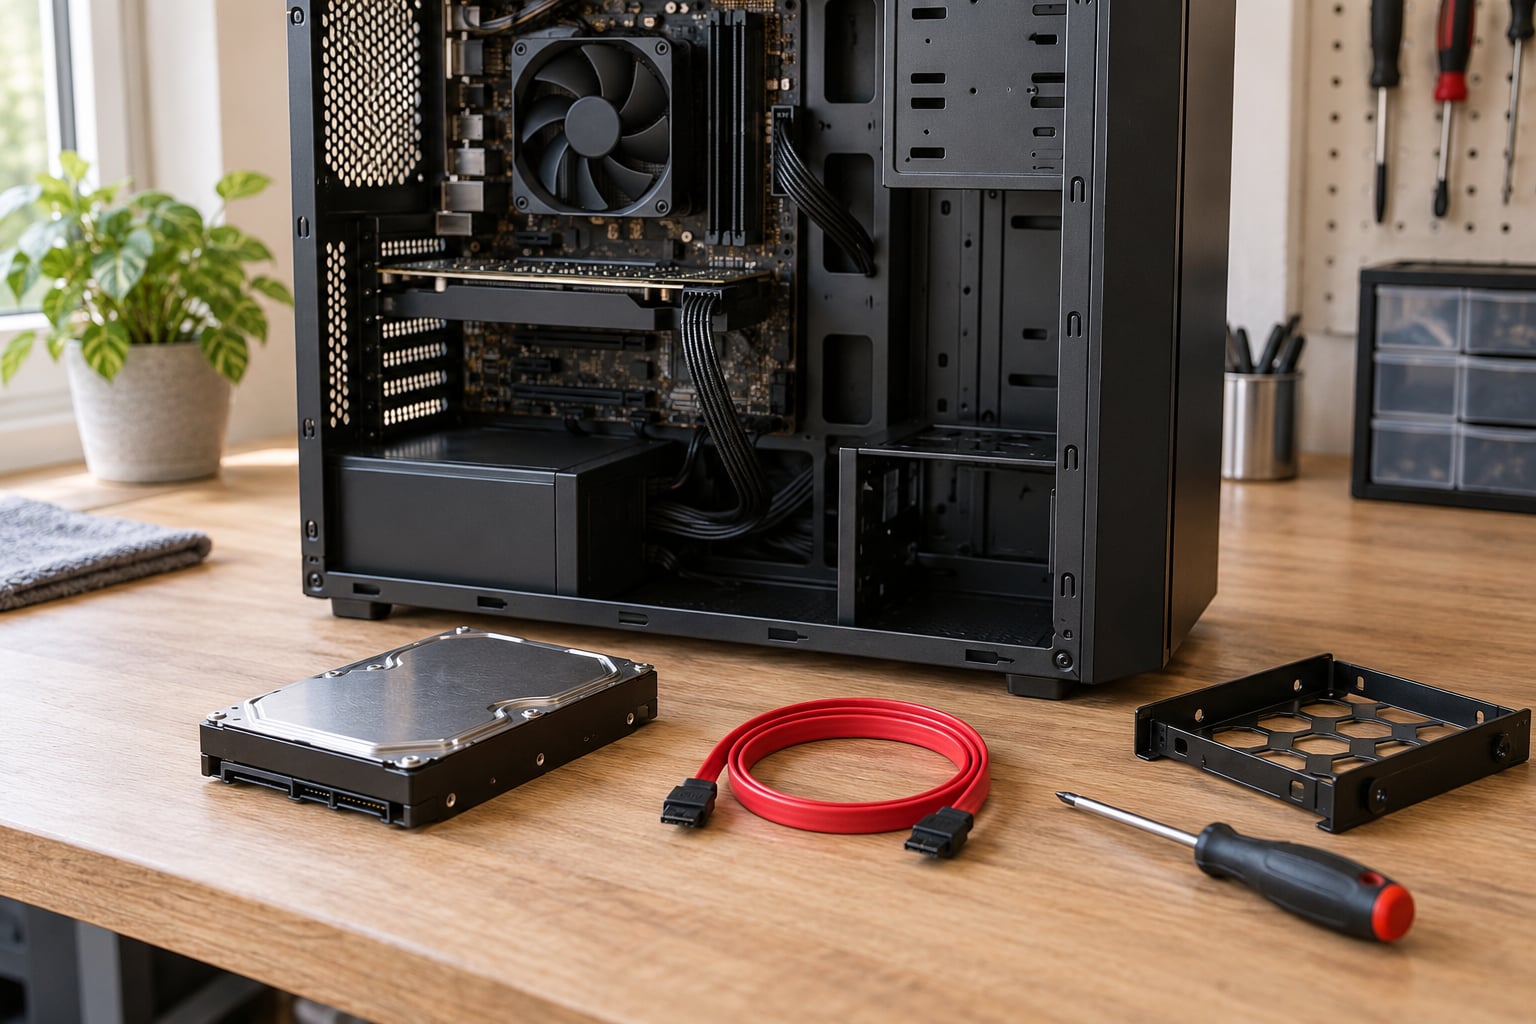
What You Need
- Root access, which means
sudoon desktop and server installs alike. - The drive already attached to the machine, with a filesystem on it already.
- A spare directory for the mount point.
/mnt/datais the conventional spot, though/srvor/mediawork fine too. - A terminal and a plain text editor.
nano /etc/fstabis the path most people take. - Five minutes of uninterrupted time, ideally with the machine plugged in rather than on battery.
If the drive is brand new and has no filesystem on it yet, stop here and create one first. An empty raw disk will not have a UUID for fstab to reference.
How to Mount a Drive Automatically at Boot in Linux: Step-by-Step
1. Identify the Drive and Its Filesystem
Start by asking the system what it can see. This listing prints every block device with its filesystem and mount point, and the filesystem column is where your UUID lives.
lsblk -f
A typical result looks like this, with the new data drive at the bottom:
NAME        FSTYPE  LABEL  UUID                                 MOUNTPOINTS
sda
└─sda1     ext4    root   3f9c1e02-4a5b-4c8d-9e10-7b2d6f0a1c33   /
sdb
└─sdb1     ext4    data   8a7c4d10-2f3e-4b6a-9c1d-5e8f2b7a4d90   /mnt/data
That last UUID is the string you will paste into fstab. If nothing is listed under MOUNTPOINTS, the partition is not mounted yet, which is exactly what you want at this stage.
You can also query the drive directly. The -c /dev/null part stops blkid from caching, which matters when you clone disks and want a genuinely fresh read.
sudo blkid -c /dev/null /dev/sdb1
Read the model, size, filesystem type and UUID together before you continue. Partitions on the same disk share a name prefix, so sdb1 and sdb2 are two halves of one device and confusing them is the single most common mistake here.
2. Test the Mount Point Manually
Make the directory, mount the partition onto it by hand, and look at what shows up. Nothing in the startup configuration is touched at this point, so a mistake here costs you one unmount.
sudo mkdir -p /mnt/data
sudo mount /dev/sdb1 /mnt/data
ls /mnt/data
Your files should be there. If the directory is empty and you expected data, stop and fix the filesystem before going further. If you see an error about the filesystem type, mount it once with an explicit type to confirm the drive is healthy.
sudo umount /mnt/data
3. Create a UUID-Based fstab Entry
Back up the file before editing it. This one command is the undo path if anything goes wrong later.
sudo cp /etc/fstab /etc/fstab.bak
sudo nano /etc/fstab
Add one line at the end of the file. Fields are separated by spaces or tabs, and everything after a hash character is a comment.
UUID=8a7c4d10-2f3e-4b6a-9c1d-5e8f2b7a4d90 /mnt/data ext4 defaults,nofail 0 2
Those six fields are the whole format, and each one causes a specific kind of failure when it is wrong.
| Field | Value here | What it means | Common mistake |
|---|---|---|---|
| Device | UUID=8a7c… | Which filesystem to mount | Using /dev/sdb1 instead, which changes between boots |
| Mount point | /mnt/data | The directory it attaches to | A path that does not exist yet |
| Type | ext4 | The filesystem driver | Copying ext4 onto an NTFS or exFAT line |
| Options | defaults,nofail | Mount behaviour flags | Omitting nofail on a drive that might be absent |
| Dump | 0 | Legacy backup flag, unused on modern systems | Nothing really, but 0 is always safe |
| fsck pass | 2 | Check order at boot: 1 for root, 2 for other checkable disks, 0 for none | Putting 2 on an NTFS or exFAT line and expecting a check that never happens |
The option that deserves a sentence of its own is nofail. Without it, if the drive is missing or unplugged, the boot process waits and then drops into emergency mode. With it, the machine starts normally and the mount point simply sits empty. For an internal SATA disk that is always present it changes nothing; for a USB drive it is the difference between a clean boot and a rescue session.
For FAT32 and exFAT, add ownership options so your user account can write to it. Those filesystems cannot store Linux ownership, so everything lands owned by root otherwise.
UUID=8a7c4d10-2f3e-4b6a-9c1d-5e8f2b7a4d90 /mnt/data exfat defaults,nofail,uid=1000,gid=1000,umask=022 0 0
For NTFS, the filesystem type is ntfs3 on current kernels or ntfs-3g where the driver is installed. windows_names makes Windows-illegal filenames visible instead of hidden, and the fsck pass stays at 0.
4. Validate and Reload the Configuration
This is the step people skip, and skipping it is how a small config change becomes a broken boot. Ask the system to mount everything in fstab, right now, while you can still see a screen.
sudo mount -a
No output means it worked. Any complaint names the file, the line number and the field that failed to parse, which is far easier to fix now than after a reboot.
findmnt --verify --verbose
That command walks every entry and reports what it would do, including what it would do about reachability. Then confirm your entry landed and re-read the live mount table.
findmnt /mnt/data
sudo systemctl daemon-reload
Each fstab line becomes a generated .mount unit, and daemon-reload makes systemd pick up your edit immediately instead of at the next boot. On a machine with no failure, that is the end of the process. Reboot when convenient and check with findmnt /mnt/data or systemctl status mnt-data.mount.
Common Mistakes
The system drops into emergency mode right after I edit fstab
This is the big one, and it is fixable. At the maintenance prompt, run mount -o remount,rw / to get a writable root filesystem, then comment out your new line with a leading hash and run systemctl daemon-reload. If no shell is available, boot live media, mount your root partition, and comment the line there. Restoring sudo cp /etc/fstab.bak /etc/fstab is the clean rollback.
The drive mounts today and not tomorrow
Almost always a device name. Check the line with grep sdb /etc/fstab and swap it for the UUID. A user on r/Ubuntu reported exactly this after an internal SSD shifted from /dev/sda1 to /dev/sdb1 and took the server down with it.
I commented out the line and it still mounts
systemd generated a .mount unit from the entry, and commenting the line does not delete it. Inspect it with systemctl cat mnt-data.mount, then run sudo systemctl daemon-reload. If something else pulls the unit in, systemctl list-dependencies --reverse mnt-data.mount shows which. A confirmed solution on the Linux Mint forums.
Wrong filesystem type, or a hibernated NTFS volume
An incorrect filesystem type fails loudly and names the type it wanted. Hibernated NTFS is quieter: Windows fast startup leaves the volume flagged, and Linux refuses to mount it read-write. Fully shut Windows down before rebooting into Linux, and keep the fsck pass at 0.
Everything is owned by root
FAT32 and exFAT have no ownership fields, so every file is owned by whoever mounted it. Add uid=1000,gid=1000 (check yours with id) or umask=022 to the options field. On ext4 and XFS the fix is sudo chown -R youruser:yourgroup /mnt/data instead.
The drive is sometimes not there
nofail keeps the boot moving but still waits for the device to time out. Adding x-systemd.automount and x-systemd.device-timeout=10 makes the mount lazy, so nothing is touched until you first open the directory.
UUID=8a7c4d10-2f3e-4b6a-9c1d-5e8f2b7a4d90 /mnt/data ext4 defaults,nofail,x-systemd.automount,x-systemd.device-timeout=10 0 2
How to stop a drive from mounting at boot
The inverse problem, and it has its own rule: add noauto to the options field, save, and run sudo systemctl daemon-reload. Without the reload the old unit keeps working and you will think the change failed.
Frequently Asked Questions
What is the easiest way to mount a drive automatically at boot in Linux?
Look up the UUID with lsblk -f, create the mount directory with mkdir, add one line to /etc/fstab using that UUID with the nofail option, then run sudo mount -a to test it. Five commands, no rebooting needed to find out whether it worked. Desktop tools like GNOME Disks can generate the same line for you if you prefer clicking.
Should I use a UUID or a device path such as /dev/sdb1 in fstab?
Use the UUID. Device names are assigned by discovery order, so adding a disk, changing firmware settings or moving a cable between SATA ports can renumber everything. A UUID belongs to the filesystem itself and never changes. The one exception is a network share, which has no local UUID and is addressed by hostname and path instead.
How do I mount an NTFS drive automatically in Linux?
Use type ntfs3 on current kernels, or ntfs-3g where that driver is installed, and set the fsck pass column to 0 because Linux does not check NTFS. Add windows_names so filenames Windows disallows are shown rather than hidden. If the volume was hibernated by Windows fast startup, it will refuse to mount read-write until you fully shut Windows down.
Why does my fstab entry fail with an incorrect filesystem type?
The type field must match what is actually on the partition, and lsblk -f prints it in the FSTYPE column. Reading the wrong partition is the usual cause: sdb1 and sdb2 are different halves of the same disk with different filesystems. Copy the FSTYPE value verbatim rather than assuming ext4, and test with sudo mount -a before restarting.
How can I troubleshoot a Linux fstab entry without rebooting?
Run sudo mount -a to apply every entry and read the error, which names the file and line. Then use findmnt u002du002dverify u002du002dverbose for a full report and findmnt /mnt/data to confirm the result. If the drive still mounts after you commented the line out, run systemctl daemon-reload so systemd drops the generated .mount unit.
What is the difference between fstab and systemd.mount?
fstab is one static text file that lists every mount, while a systemd .mount unit is an individual configuration file for a single mount point. systemd reads fstab at boot and generates .mount units from the entries, so you rarely write units by hand. Hand-written units give finer control, but they do not show up in fstab, which is why most people start there.
Conclusion
Start by identifying the right partition and mounting it by hand: lsblk -f for the UUID, mkdir -p /mnt/data, mount /dev/sdX1 /mnt/data, confirm your files are there, unmount. Only once that manual test succeeds do you write the UUID-based line into /etc/fstab, add nofail if the drive might be missing, and run sudo mount -a to validate.
Keep the /etc/fstab.bak copy you made. That single file is the difference between a two-minute fix and a rescue session, and it costs one command to create. If you are working through this in 2026, the commands above apply to any current systemd-based distribution without changes.