Learning how to safely update your BIOS comes down to three things: match the firmware file to your exact model, keep stable power connected the whole time, and do not touch the machine until the flash finishes on its own. That is genuinely all there is to it, and the reason the process feels scarier than it is.
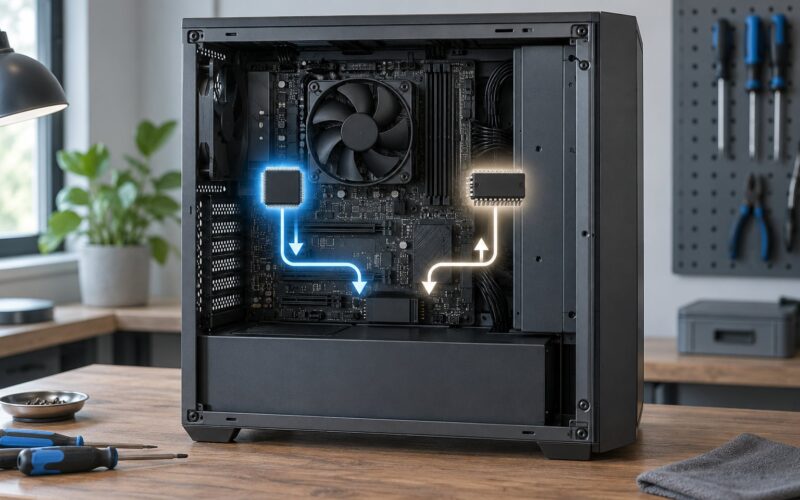
A BIOS update replaces the low-level firmware on your motherboard — most hardware calls it UEFI firmware now, but the boot key is still usually labelled BIOS. This firmware handles power-on self test, detects your CPU, memory and drives, and enforces things like Secure Boot before Windows ever loads. A new revision can add support for a faster CPU, fix memory that refuses to train, or patch a security hole that Windows Update cannot reach.
The risk is real but narrow. Nearly every board sold in the last several years ships with BIOS Flashback or a dual-BIOS chip, and forum reports consistently describe failed flashes as recoverable rather than fatal. Builders over on r/buildapc describe the update as a ten-minute job they do without drama, then admit the reputation is what makes them hesitate.
This guide walks through the whole procedure for a desktop and a laptop, names the built-in utility for each major brand, and ends with an escalation ladder for when something does go wrong. Last reviewed for 2026, and every vendor instruction should be re-checked against your own support page before you flash.
Table of Contents
- What You Need
- Step-by-Step: How to Safely Update Your BIOS
- Step 1: Identify the Exact Computer or Motherboard
- Step 2: Check the BIOS Release Notes and Compatibility
- Step 3: Back Up Settings and Create a Recovery Plan
- Step 4: Download the Update From the Manufacturer
- Step 5: Apply the BIOS Update Without Interruption
- Step 6: Verify the New BIOS Version and Test the System
- Common Mistakes and How to Fix Them
- Frequently Asked Questions
- Is updating my BIOS really risky?
- How do I enter BIOS setup from Windows 11?
- Does a BIOS update delete my files or my Windows installation?
- Is it safe to update the BIOS on a laptop?
- What should I do if my PC does not boot after a BIOS update?
- Do I need to update the BIOS before installing a new CPU?
- Conclusion
What You Need
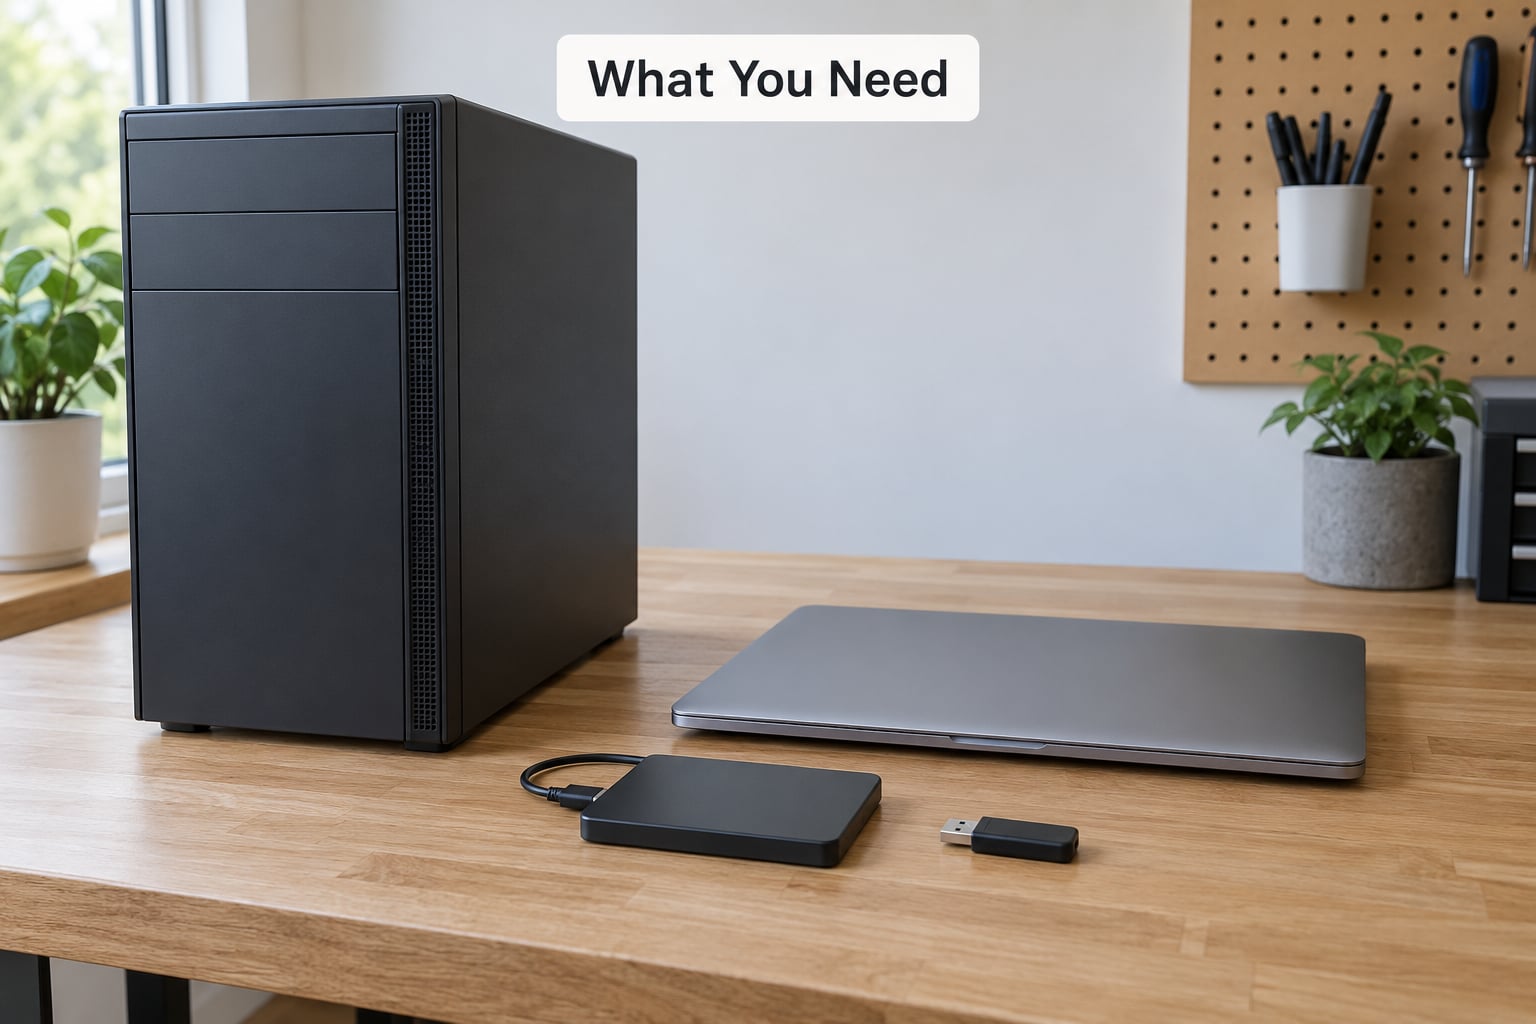
Everything below is a prerequisite. Missing one of these is how a five-minute job turns into an afternoon at a repair counter.
- The exact model number. Not the marketing name, not the series. The full board or system model, including any revision suffix like Rev 1.0 or Rev 2.0.
- Your current firmware version. You need to know what is installed before you decide whether an update exists that you need.
- The manufacturer’s approved method. A Windows vendor app, a built-in flash utility accessed from the firmware setup screen, or a DOS and USB procedure. Whichever your board’s manual names is the one to follow.
- Stable power. A desktop runs on mains power, ideally through a UPS. A laptop needs its AC adapter plugged in and the battery present, above roughly 60 percent charge.
- A full backup of anything you cannot lose. The flash does not erase Windows or your documents, but a backup means recovery does not depend on anything else working.
- A way back in. A FAT32 USB drive loaded with the firmware file, plus knowledge of how to clear CMOS if the board will not POST.
If you skip the backup and the recovery media, every other item becomes optional. If you have those two, the worst realistic outcome is a board that needs a second attempt.
Step-by-Step: How to Safely Update Your BIOS
Check your current version, download the firmware file for your exact model, put it on a FAT32 USB drive, flash it with the built-in utility, then verify the new revision and reapply your settings. The steps below expand each of those in the order they need to happen.
Step 1: Identify the Exact Computer or Motherboard
Your model number is the only thing that keeps you from flashing the wrong firmware, so get it from the machine itself rather than from the box it came in.
On Windows, press Win and R, type msinfo32, and hit Enter. The System Information window shows System Model for a laptop or desktop and BaseBoard Product for a motherboard. PowerShell gives the same values with Get-CimInstance Win32_BaseBoard | Select-Object Product,Version.
Two traps here. Laptop BIOS files are usually tied to the exact system model, because the same board ships in several machines with different EC firmware, battery calibration and OEM customisations. And many motherboards have two hardware revisions that ship with entirely different BIOS files, so a board labelled Rev 1.0 on the corner of the PCB is not the same target as Rev 2.0.
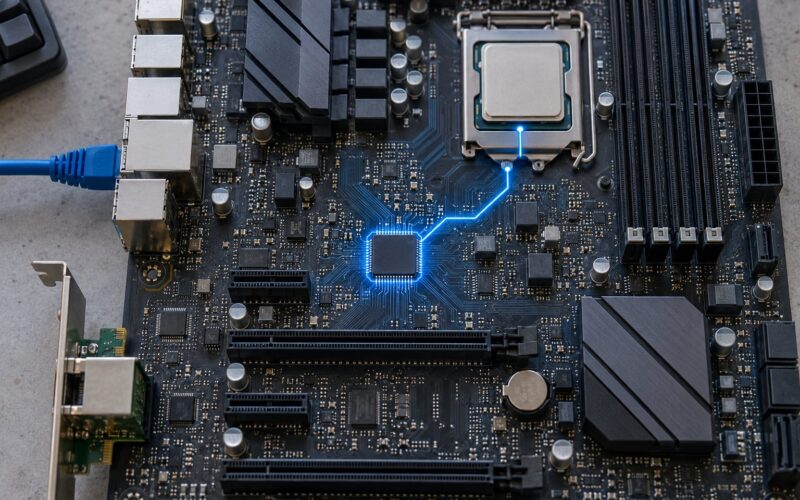
If msinfo32 shows a generic string like To be filled by O.E.M., the label on the board or the underside of the laptop is your source instead. On a desktop, the model is usually silkscreened directly beside the CPU socket or printed on the board’s edge.
Step 2: Check the BIOS Release Notes and Compatibility
Read the release notes before downloading anything. They tell you which board the file is for, what changed, and — critically — whether the vendor has flagged an earlier revision as broken.
What you are usually looking for is a new CPU support entry such as an AGESA or microcode update, a memory compatibility fix, a fix for a drive not being detected at boot, or a security patch. Vendor changelogs also list known issues for a specific revision, so if you see the one you are about to install named as unstable, go back two versions instead.
A BIOS update is not a driver update. Drivers load inside the operating system and can be uninstalled; firmware is written to a chip on the motherboard, which is why a bad file is a far bigger problem.
Two rules from the forums are worth keeping. Never flash a beta revision on a machine you depend on, and if your system is already unstable, the vendor’s own instructions usually say to stabilise it first. An unstable machine that crashes mid-flash is the most avoidable brick there is.
Step 3: Back Up Settings and Create a Recovery Plan
Firmware updates reset BIOS settings to factory defaults. Everything you tuned by hand — and a few things you did not — will be back to stock afterwards.
Write down or photograph your boot order, XMP or EXPO memory profile state, fan curves, CPU voltage and power limits, Secure Boot keys and enrolments, TPM state, virtualisation toggles, and any custom boot entries you created. Most boards have a save-profile feature in the setup utility; if yours does, save to a USB slot before you start.
If BitLocker is on, this is the step people skip and regret. A firmware change alters the TPM measurements Windows uses to validate the drive, and the next boot can demand a recovery key. Save that 48-digit key to your Microsoft account, print it, or export it before you flash, and consider suspending protection for the duration. If the drive then fails to unlock and you have no key, recovery is a data-recovery job rather than a firmware job.
Finish with a real backup of your files. A BIOS flash writes to a firmware chip, not to your storage, so the odds of losing data are very low — but odds are the whole subject of this article.
Step 4: Download the Update From the Manufacturer
Download from the vendor’s own support page for your exact model, and nowhere else. Third-party firmware mirrors are a common source of truncated or modified files, and the vendor cannot be responsible for what you flashed.
On the download page, match the model string character for character against what msinfo32 reported. If the page offers several revisions, take the latest non-beta unless the notes warn against it. Note the file’s checksum or digital signature if the vendor publishes one, and compare it after download before you copy the file anywhere.
Extract the ZIP archive fully rather than dragging the file out of it. Vendor archives often contain a readme, a second BIOS file to fall back on, and sometimes a tool that extracts the ROM from an image. Update files carry a name that matches the board model, which is a useful last check that you are holding the right one: MSI and ASUS ship .cap files, Gigabyte ships .rom or .efi, and several vendors ship a capsule format with a different extension.
Step 5: Apply the BIOS Update Without Interruption
Copy the extracted firmware file to the root of a FAT32-formatted USB drive, then choose one flashing method and stick to it. There are three worth knowing.
The built-in UEFI flash utility lives inside the firmware setup screen: ASUS calls it EZ Flash, Gigabyte Q-Flash, MSI M-Flash, ASRock Instant Flash. This is the safest common route because the file is verified by the firmware itself before it is written, and the machine can restart from the drive’s contents without booting an operating system.
A Windows vendor app — ASUS Armoury Crate, MSI Dragon Center, Lenovo Vantage, HP Support Assistant — is convenient but the least predictable. Forum reports describe these tools reporting success without having written anything, so confirm the version in msinfo32 afterwards rather than trusting the on-screen message.
BIOS Flashback is the lowest-risk option available. A dedicated button on the rear I/O or on the board lets you flash without a CPU, memory or even a working video output, using only power and the USB drive. It is the reason most people stopped fearing updates, and it is also your primary recovery tool later.
| Brand | Setup key | Built-in flash utility | Windows app |
|---|---|---|---|
| ASUS | Del or F2 | EZ Flash (or USB BIOS Flashback) | Armoury Crate |
| Gigabyte | Del | Q-Flash (or Q-Flash Plus) | GCC |
| MSI | Del | M-Flash (or Flash BIOS Button) | MSI Center |
| ASRock | Del or F2 | Instant Flash | ASRock app |
| Dell | F2 | Fxx recovery on USB | SupportAssist |
| Lenovo | F1 or Fn plus F1 | Recovery utility on USB | Lenovo Vantage |
| HP | Esc, then F10 | Fxx recovery on USB | HP Support Assistant |
Once the flash starts, the machine will typically restart two or three times, show a progress bar, and sometimes sit on a black screen for a couple of minutes with no visible activity. That is normal. Do not press the power button, do not press reset, and do not unplug anything — a forced power-off mid-write is the one thing that can genuinely destroy a board.
For laptops, the AC adapter must be connected for the entire procedure, the battery should sit above about 60 percent charge, and the OEM utility is usually the only route the vendor supports. Windows Update may also list a firmware update under optional updates; that path is fine, but treat it like any other flash and keep the charger in.
Step 6: Verify the New BIOS Version and Test the System
When the machine boots, open msinfo32 again and confirm the BIOS Version and Date fields changed to the revision you installed. The firmware setup screen shows the same thing, along with the board’s boot log if you want to see what it detected on POST.
Load optimised defaults first. A new revision often ships with different default values for memory timings, power limits and fan curves, and starting from defaults gives you a clean baseline before you retune anything.
Then reapply your settings one at a time: XMP or EXPO, Secure Boot, virtualisation, boot order, fan curve. Check that every NVMe and SATA drive is still detected, since that is one of the more common post-update surprises. Let the memory run a stability test, and try a sleep-and-wake cycle, because wake problems that surface right after a flash are usually a firmware issue that a later revision fixes.
Reinstall your chipset and GPU drivers afterwards. Some releases ship with a newer ACPI or storage stack that Windows matches to an older driver, which shows up as odd power management behaviour rather than anything dramatic.
Common Mistakes and How to Fix Them
Most failed updates fall into a handful of patterns, and almost all of them resolve before you reach the point of mailing a board back.
You flashed the wrong model file. This is the serious one, and it is the reason step 1 exists. A board that accepts a file for a different revision often refuses to boot, though recovery features usually still work. Prevention is the entire fix: match the model string character for character.
Power was lost during the flash. A mains cut or a yanked power cable mid-write is the most common route to a dead board. A UPS on a desktop removes the failure mode rather than mitigating it.
The download was truncated. A partial file makes the firmware utility refuse the image, which is a safe outcome. Extract the archive again rather than hunting for a workaround.
No POST or a black screen after rebooting. Work down this ladder: reset CMOS by clearing the CLRTC jumper on the board or removing the coin cell for about five minutes; then try BIOS Flashback again with the same file, since the existing firmware may still be intact; then look for a dual-BIOS switch and boot from the backup chip; then contact the vendor. Boards with Flashback or dual-BIOS are usually recovered by the first or second rung. The reported hard bricks in the forums cluster on laptop EC firmware and a handful of older desktop models, which is why vendor repair rather than self-repair is the honest endpoint there.
Windows will not boot after the update. If the machine has a display but the OS does not start, it may be BitLocker demanding a key, or the boot order may have changed. Hold Shift while clicking Restart to reach Advanced Startup, then use Startup Repair or Command Prompt to find your Windows drive and run bootrec /fixmbr and bootrec /rebuildbcd.
Everything works but the settings are gone. Expected, not a fault. Load your saved profile or reapply boot order, XMP or EXPO, Secure Boot and fan curves by hand.
The machine now runs hot or the fans are loud. New default fan curves ship with some revisions. Adjust the curve in the setup utility, or check whether an undervolt or power-limit profile that you had set is no longer applied.
Warranty is worth checking before you start. Flashing the correct file for your own model is a supported action; flashing the wrong one usually is not, and vendors say so plainly in their terms.
Frequently Asked Questions
Is updating my BIOS really risky?
On a modern board, honestly, no. Most updates finish in a few minutes with no trouble, and the ones that fail are usually recoverable through CMOS reset, BIOS Flashback or the second BIOS chip. A true hard brick needs a file for the wrong model or a power cut mid-write, and both are avoidable. Check whether your board has Flashback or dual-BIOS before you decide the risk is worth worrying about.
How do I enter BIOS setup from Windows 11?
Settings, then System, then Recovery, then Advanced startup and Restart now. The machine reboots into the Windows Recovery Environment, where Troubleshoot, Advanced options, UEFI Firmware Settings restarts straight into your firmware setup screen. The traditional route still works too: restart and tap Del, F2 or F10 repeatedly during POST, before the Windows logo appears.
Does a BIOS update delete my files or my Windows installation?
No. The flash writes to a firmware chip on the motherboard, not to your drive, so your files, applications and Windows installation are untouched. One exception in practice: if BitLocker is enabled, a firmware change can invalidate the TPM measurements and trigger a recovery-key prompt on the next boot. Save that key before you update, and everything else is unaffected.
Is it safe to update the BIOS on a laptop?
It is safe, but laptops are less forgiving because the firmware is locked to the exact model. Use the vendor’s own utility, keep the AC adapter plugged in for the whole procedure, and make sure the battery is above roughly 60 percent. Laptop BIOS files are not interchangeable between models, and they often bundle extra embedded controller firmware that the wrong file will damage.
What should I do if my PC does not boot after a BIOS update?
Start by clearing CMOS with the CLRTC jumper or by removing the coin cell for about five minutes, which resets settings held in memory. If that does not help, reflash the same file using BIOS Flashback, which works without an operating system or sometimes without a CPU. Boards with two BIOS chips let you switch to the backup copy. Only after those fail is vendor repair or a programmer realistic.
Do I need to update the BIOS before installing a new CPU?
Usually yes, and it is one of the clearest reasons to update. A board often will not POST a newer CPU at all until the firmware knows about it, so people end up staring at a black screen after the upgrade. Check the vendor’s CPU support list for your exact board revision first. If the new chip is already listed, updating is optional rather than required.
Conclusion
Start with msinfo32. Write down the model string and the current firmware version, then go to the manufacturer’s support page and read the release notes for that exact model before you download anything.
If the release notes do not list a problem you are actually having, the honest answer is that you do not need the update. Save your BitLocker recovery key, plug in a UPS or a charger, flash with the built-in utility, and walk away from the keyboard until the machine restarts itself. That is how to safely update your BIOS without turning a ten-minute task into a repair ticket.