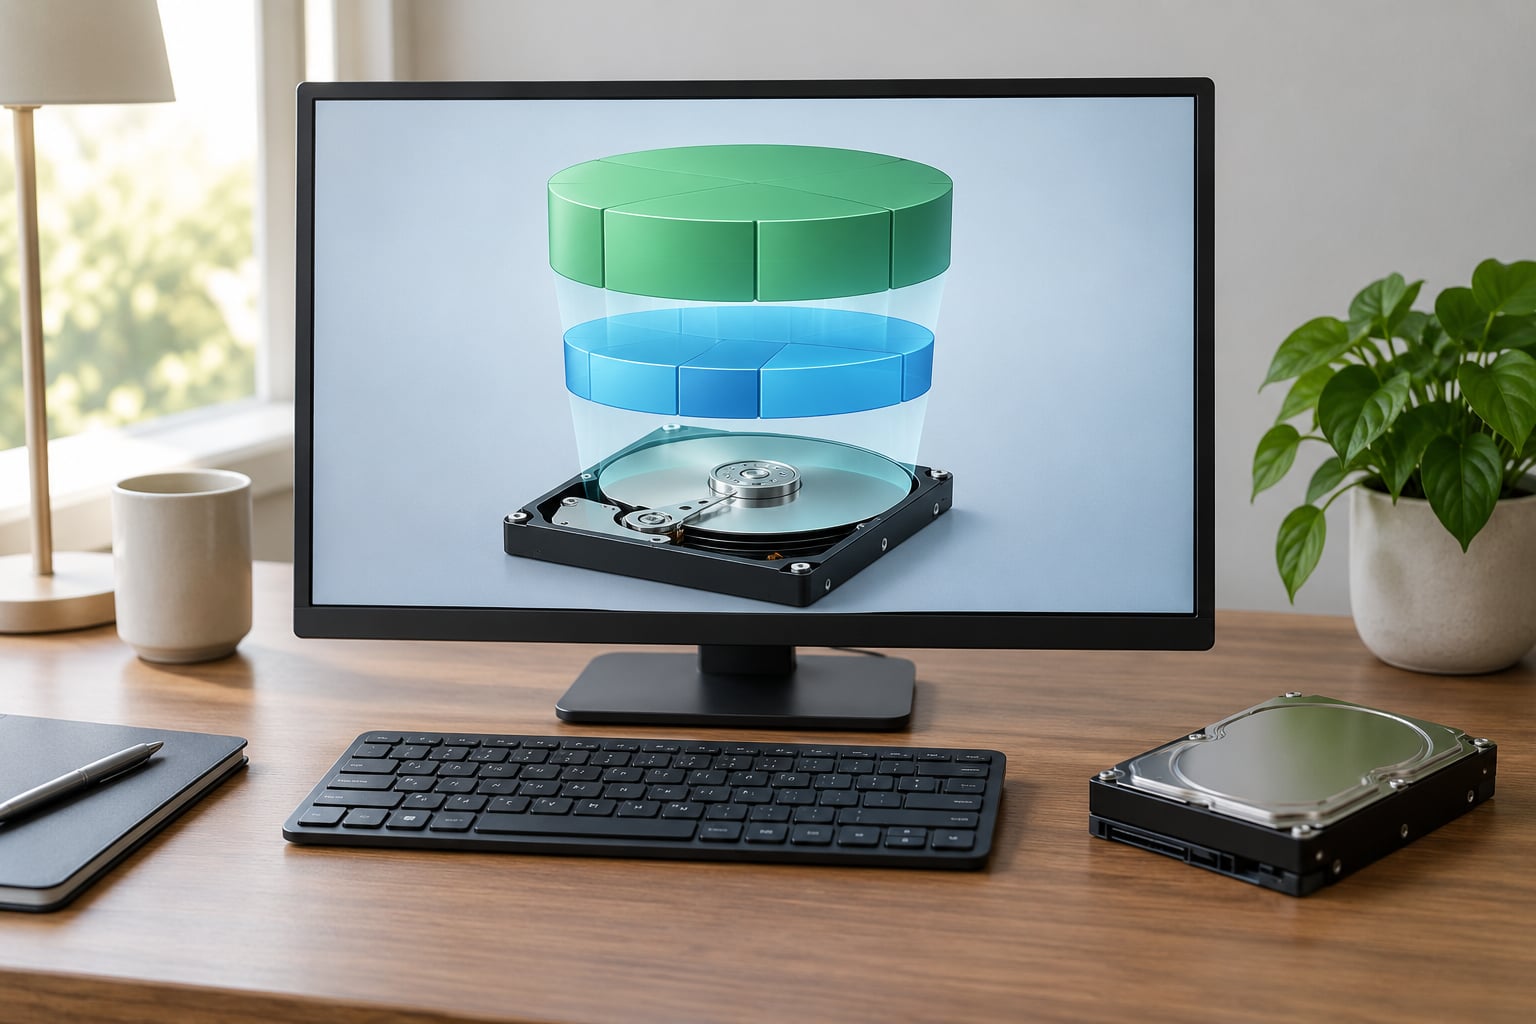
LVM explained for beginners comes down to three layers sitting between your disks and your mounted directories: physical volumes, volume groups and logical volumes. LVM (Logical Volume Manager) is a Linux storage subsystem that pools disks together so you can grow, shrink or move a volume without repartitioning and rebooting. This guide builds that model first, then walks through a hands-on setup you can practise on a throwaway file instead of a real disk.
Table of Contents
- What Is LVM and Why Does It Matter?
- LVM explained for beginners: disk, partition, filesystem, and the layer between
- How LVM Explained for Beginners Fits into Linux Storage
- The Four Main LVM Components
- Physical volume (PV)
- Volume group (VG)
- Logical volume (LV)
- Metadata, physical extents and logical extents
- How LVM Creates Flexible Storage
- A Beginner-Friendly LVM Example
- Snapshots, Thin Provisioning, and Other Useful LVM Features
- LVM Explained for Beginners: Common Mistakes and Safety Checks
- Frequently Asked Questions
- Does LVM replace the filesystem?
- Does LVM work on every Linux distribution?
- How are LVM snapshots different from backups?
- Can a single LVM volume span several disks?
- What happens to LVM after a reboot?
- Conclusion: What to Learn First
What Is LVM and Why Does It Matter?
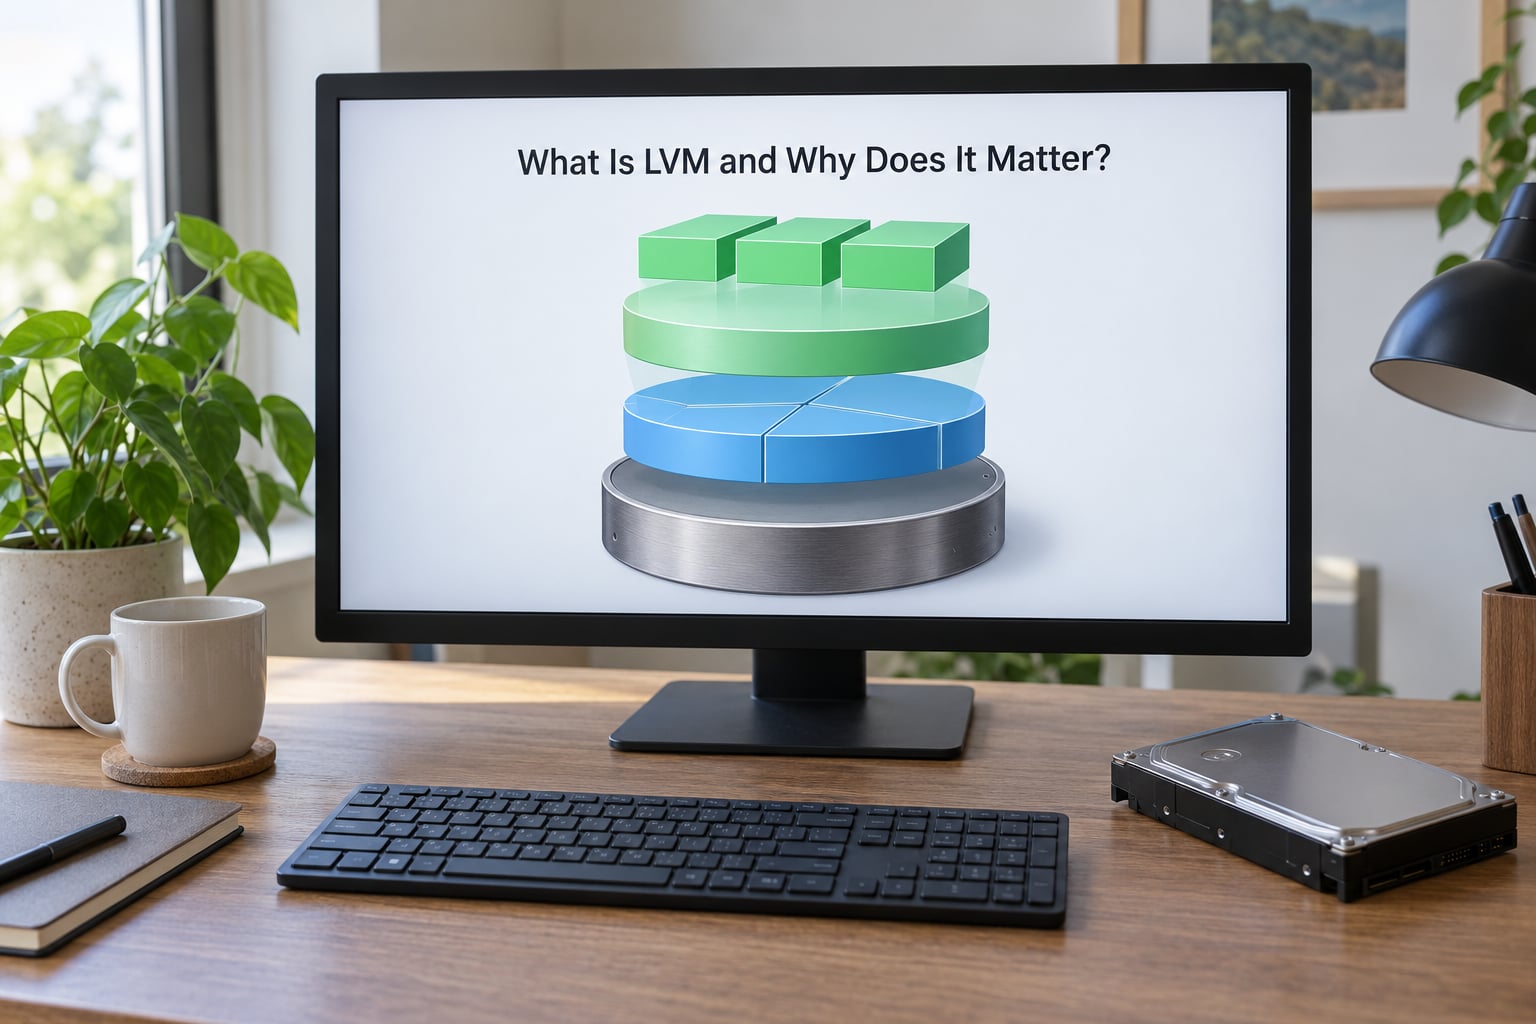
LVM is a storage subsystem in the Linux kernel that manages block devices as one flexible pool instead of a set of fixed partitions. It sits underneath your filesystems and hands them space that can be resized later without taking the machine down.
The problem it solves is ordinary and unglamorous. With traditional partitioning, /home is 200 GB and that is that. Growing it means booting rescue media, copying data by hand and rewriting the partition table. Shrinking it means moving every file to another disk first, because shrinking a live partition has traditionally been a data-destruction exercise.
LVM replaces the fixed boundary with a pool. You hand the pool one disk today, two disks next year, and carve usable volumes out of it whenever you like. Most people who learn LVM end up using it for exactly one thing: growing a filesystem when the disk fills up.
Three things get confused constantly, so it is worth separating them now. A disk is the physical hardware. A partition is a numbered slice of one disk carrying a type byte, and 8e is the type used for Linux LVM. A filesystem is the format written on top, such as ext4 or XFS, which is what actually holds your files.
LVM explained for beginners: disk, partition, filesystem, and the layer between
LVM is none of those three. It is the layer that decides which disk space a filesystem gets, and it is what makes that space changeable. A partition table says where a filesystem starts and stops. LVM says how many physical extents sit behind it and where those extents live, and that answer can change later.
One more thing to be clear about: LVM is not a backup, not redundancy and not encryption on its own. It stores no extra copy of your data and it checksums nothing. More on that further down.
How LVM Explained for Beginners Fits into Linux Storage
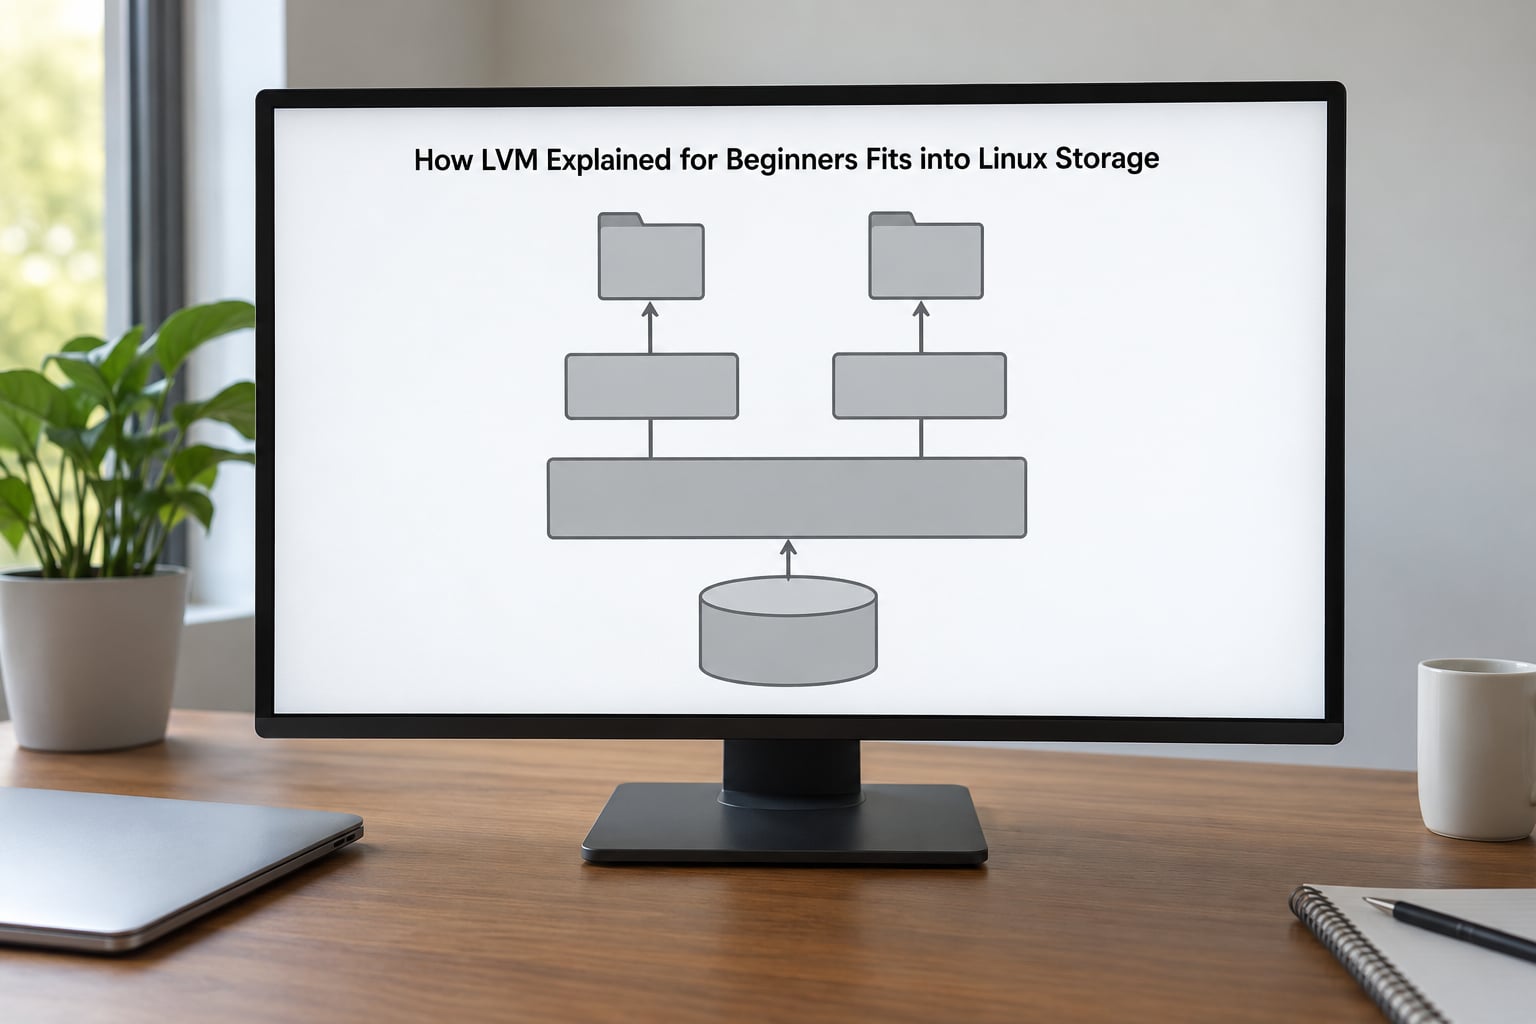
LVM sits in one specific place in the stack: above the block devices, below the filesystems. Read the diagram from the bottom up and each layer answers a different question.
Mount points:      /home        /var/lib/vm
Filesystems:       ext4         xfs
Logical volumes:   vg0/home     vg0/vms
Volume group:      vg0  (one pool of extents)
Physical volumes:  /dev/sdb1    /dev/sdc1
Disks:             /dev/sdb     /dev/sdc
Follow one request to see the whole chain. When something writes to /home, the kernel sends it to the ext4 filesystem on /dev/vg0/home. That path is a device-mapper target pointing at the logical volume home, which lives inside volume group vg0. The volume group owns extents drawn from /dev/sdb1 and /dev/sdc1, which are the physical volumes sitting on the two disks.
Nothing in your application knows any of this happened. That is the whole appeal: the mount point and the filesystem keep working while the storage underneath is rewritten.
You can inspect every layer on a running system without changing anything:
lsblk -f
sudo pvs
sudo vgs
sudo lvs
findmnt /home
lsblk -f shows disks, partitions, filesystems and mount points together. pvs, vgs and lvs show the three LVM layers with their sizes. If vgs prints a warning that no volume groups were found, that machine has no LVM at all, which is a perfectly normal outcome for a laptop.
The Four Main LVM Components
Four pieces matter: the physical volume, the volume group, the logical volume, and the metadata that connects them. Once you can name those four, every pv*, vg* and lv* command starts to make sense on its own.
Physical volume (PV)
A physical volume is a disk or a partition that LVM has taken ownership of. Running pvcreate writes a small metadata header at the start of the device and marks it as available, which is also why that command is destructive on the wrong device.
sudo pvcreate /dev/sdb1
sudo pvdisplay /dev/sdb1
Think of a PV as a shipping pallet handed to the warehouse. It says what is available, not where anything goes.
Volume group (VG)
A volume group pools one or more physical volumes into a single pool of storage that LVM manages as one unit. You name it once, and logical volumes can later be created from it without referencing individual disks.
sudo vgcreate vg0 /dev/sdb1 /dev/sdc1
sudo vgdisplay vg0
The group is the warehouse itself. Adding a third disk later means adding it to this pool, not rebuilding anything that already exists.
Logical volume (LV)
A logical volume is the block device you actually use. It looks like a disk partition to everything above it, so you can put a filesystem on it and mount it normally. This is where the pvcreate to lvcreate chain ends and ordinary Linux storage work begins.
sudo lvcreate -n data -L 20G vg0
sudo lvcreate -n home -l 100%FREE vg0
A logical volume is a labelled shelf handed to one department. Inside vg0, home might sit on extents from one disk while data sits on extents from another, and neither one needs to know.
Metadata, physical extents and logical extents
The metadata is the map LVM writes to every physical volume in the group: which extents belong to which logical volume, how big each volume is, and how to find the other members of the pool. Backups of it live in /etc/lvm/backup and /etc/lvm/archive, which is what makes an LVM layout recoverable after a disk is replaced.
Storage inside the pool is measured in physical extents. An extent is a fixed-size chunk, 4 MiB by default, and it is the smallest unit LVM moves around. Logical extents map one-to-one onto physical extents, which is how a logical volume can be larger than any single disk in the group.
Every command family follows the same naming pattern, which is the fastest way to learn the tool:
| Family | Report | Create | Resize | Remove |
|---|---|---|---|---|
| Physical volume | pvs, pvdisplay | pvcreate | not resizable | pvremove |
| Volume group | vgs, vgdisplay | vgcreate | vgextend, vgreduce | vgremove |
| Logical volume | lvs, lvdisplay | lvcreate | lvextend, lvreduce | lvremove |
If you can spot whether an action belongs to the pv, vg or lv family, you have already answered most of the question before reading the manual page.
How LVM Creates Flexible Storage
Flexibility comes from one idea: the logical volume is decoupled from the disk. That makes four operations routine that are painful with fixed partitions.
Grow a volume without downtime. lvextend hands more extents to the logical volume. The filesystem then needs its own resize step, which is the part beginners miss and the reason a successful extension sometimes looks like nothing happened.
Add another disk to a running system. vgextend adds the new physical volume to the pool, and any logical volume in that group can be grown from it afterwards.
Move data between disks. pvmove rewrites extents onto another physical volume while the system keeps running, which is how you evacuate a disk you suspect is dying. Forum users consistently describe this as the feature that makes LVM worth learning.
Reorganise rather than start over. Because the pool is just a set of extents, capacity can be moved between logical volumes and between groups.
| Task | Traditional partitioning | LVM |
|---|---|---|
| Grow a filesystem | Offline, hand-edit the partition table, reboot into rescue media | lvextend plus a filesystem resize, usually online |
| Add a second disk | Move data across manually, possibly a long copy | vgextend, then grow any volume |
| Shrink a volume | Rough or impossible on a live filesystem | Unmount, shrink filesystem first, then lvreduce |
| Point-in-time copies | Not available | Snapshots |
| Simple mental model | Simple | One more layer to understand |
The honest trade-off is that LVM adds a layer. Beginners who will never resize anything are usually better off with plain partitions on a single disk. If you run a home lab, a NAS or virtual machines whose disks grow, the extra layer earns its place quickly.
A Beginner-Friendly LVM Example
This walkthrough uses a loopback file rather than a real disk, which means you can repeat it, break it and delete it without consequence. Every device name below is an example and must be changed to match what lsblk prints on your own machine.
Install the tools first if they are missing. On Debian or Ubuntu that is sudo apt install lvm2, and on Fedora or RHEL it is sudo dnf install lvm2.
Step 1: look before you touch. Run lsblk -f and read it carefully. If you are working on real hardware, confirm the model and size of the device you intend to use, and check that it holds nothing you need.
lsblk -f
sudo -i
Step 2: create a practice device. A 2 GB file attached to the loop driver behaves like a block device, and removing it later is a single command.
truncate -s 2G /tmp/lvm-demo.img
sudo losetup -f --show /tmp/lvm-demo.img
Write down the device that prints, for example /dev/loop0. That is the name to use in every command below.
Step 3: initialise the physical volume. This writes LVM metadata and destroys anything already on the device, which is why step 1 exists.
sudo pvcreate /dev/loop0
sudo pvs
Step 4: create the volume group. One physical volume, one pool, named vgdemo.
sudo vgcreate vgdemo /dev/loop0
sudo vgs
Step 5: carve out a logical volume. Taking half the pool leaves spare extents, which is what you would add from a second disk later.
sudo lvcreate -n data -l 50%FREE vgdemo
sudo lvs
Step 6: put a filesystem on it. Up to here you have only created space. Without mkfs there is no filesystem to hold files.
sudo mkfs.ext4 /dev/vgdemo/dataStep 7: mount it. Create the directory first, then attach the filesystem.
sudo mkdir -p /mnt/lvm-demo
sudo mount /dev/vgdemo/data /mnt/lvm-demo
df -h /mnt/lvm-demo
Step 8: make it survive a reboot. Add one line to /etc/fstab, using the UUID that blkid /dev/vgdemo/data prints rather than the device path, because loop device names change between boots.
UUID=your-uuid /mnt/lvm-demo ext4 defaults,nofail 0 2nofail matters most on a root volume. Without it, a missing logical volume leaves the machine sitting at an emergency shell.
Step 9: grow the volume. Extend the logical volume first, then tell the filesystem.
sudo lvextend -L +256M /dev/vgdemo/data
sudo resize2fs /dev/vgdemo/data
On XFS the second line is different: sudo xfs_growfs /mnt/lvm-demo. XFS can grow but never shrinks, and it needs the mount point rather than the device path. ext4 shrinks only when it is unmounted and checked first, which makes shrinking the one operation here worth doing on a copy rather than in place.
Step 10: tear it down cleanly. Work from the top down and only unmount what is actually in use.
sudo umount /mnt/lvm-demo
sudo lvremove vgdemo/data
sudo vgremove vgdemo
sudo pvremove /dev/loop0
sudo losetup -d /dev/loop0
rm /tmp/lvm-demo.img
If you would rather not use the command line at all, GNOME Disks and KDE Partition Manager can create and resize logical volumes through a graphical interface, and they call the same tools underneath.
Snapshots, Thin Provisioning, and Other Useful LVM Features
Four optional features sit on top of the same three layers. You can ignore all of them and still use LVM perfectly well.
Snapshots are instant point-in-time copies. LVM copies-on-write, so a snapshot only stores the blocks that change after it was taken, which makes it fast and cheap. It is the right tool for testing an upgrade or capturing a known-good state before a risky change. It lives inside the same pool as its parent, so it cannot protect you from losing that pool.
sudo lvcreate -s -L 500M -n data-snap vg0/dataThin provisioning hands out a large virtual size backed by a shared pool that fills up only as data is written. Twenty volumes of 50 GB each can sit on a 60 GB pool, and nothing breaks until the pool runs dry. Modern distribution installers often default to this, and it is the reason beginners occasionally meet a surprise out-of-space error on storage that appeared enormous.
Striping spreads extents across several physical volumes with lvcreate -i 2, which can raise throughput on fast storage at the cost of making every device a dependency of the volume.
Mirroring keeps a second copy of each extent on another device with lvcreate -m 1. This is the one case where LVM provides something redundancy-shaped, and it is still not a backup: a bad deletion is faithfully mirrored.
What LVM does not do is worth stating plainly. It does not protect against controller or disk failure unless you configure mirroring, and even then it cannot survive a pool-wide event such as a mistaken pvremove. It stores no checksums, so silent corruption is not detected. It is not encryption; LUKS is a separate layer that usually sits between the block device and pvcreate, giving the standard chain of cryptsetup, pvcreate, vgcreate, lvcreate. And in nearly all cases it is not a backup, since the snapshots people take with it live on the same hardware.
LVM Explained for Beginners: Common Mistakes and Safety Checks
Almost every LVM horror story on forums traces back to one of a handful of mistakes. All five are avoidable if you slow down for a minute first.
Running pvcreate on the wrong device. The command overwrites whatever it finds. Beginners have wiped a system disk this way, so read the output carefully and paste the device path rather than typing it from memory. If you are not certain a disk is empty, do not run the command.
Confusing a logical volume with a mount point. /dev/vg0/data is a device. /mnt/lvm-demo is a directory you mount it on. The device has to exist and be formatted before the mount will work, and a mount that fails with “wrong fs type” is nearly always a missing mkfs.
Forgetting the filesystem resize. lvextend changes the logical volume only. Until resize2fs or xfs_growfs runs, df still shows the old size and the change looks like it failed. Check with df -h afterwards.
Overcommitting a thin pool. Promised space that the pool cannot deliver turns into errors in whatever was writing at the time, not into a warning at allocation. Watch the pool’s data percentage rather than the virtual sizes of the volumes.
Treating a snapshot as a backup. A snapshot shares the fate of its pool. Delete the wrong physical volume and the snapshot goes with it.
Before any change, run through this short check:
- Is there a current backup of anything you cannot rebuild?
- Have you run
lsblk -fand matched the device by model and size, not by name alone? - Is the target mounted or in use, and do you know which mount point?
- On XFS, are you trying to shrink, knowing XFS cannot?
- Can the machine boot without this volume, or do you need
nofailin/etc/fstab? - Do you have the LVM metadata backup from
/etc/lvm/backupsomewhere off the machine?
Practising the whole workflow on a loopback file first, the way the example above does, removes most of the fear. It costs a few minutes and lets you break things safely.
Frequently Asked Questions
Does LVM replace the filesystem?
No. LVM and a filesystem do different jobs. LVM decides which chunks of physical storage sit behind a volume and hands that space to whatever format is on top. ext4 or XFS still does the actual job of storing files, and you still run mkfs before mounting anything. Without a filesystem there is only formatted-looking empty space.
Does LVM work on every Linux distribution?
Yes, on any Linux distribution that uses the kernel device-mapper target, which in practice means every current mainstream distribution. The commands come from the lvm2 package, which is called lvm2 on Debian, Ubuntu, Fedora, RHEL and Arch alike. Install it first if pvs and vgs are missing, and the syntax is identical everywhere.
How are LVM snapshots different from backups?
A snapshot is a copy-on-write view of one volume at a moment in time. It is nearly instant, cheap in space, and stored inside the same volume group as the original, so it shares that group’s failure modes. A backup is a separate copy on separate media, usually another machine or drive. Snapshots are for testing changes; backups are for surviving loss.
Can a single LVM volume span several disks?
Yes, that is the main point of a volume group. When you combine several physical volumes into one group with vgcreate or vgextend, any logical volume in that group can be sized from extents on all of them. The trade-off is that striping across disks raises the throughput ceiling but makes every disk a dependency of the volume, so a single lost disk can take the whole volume offline.
What happens to LVM after a reboot?
Nothing special, and that is by design. The kernel reads the metadata on each physical volume, device-mapper rebuilds the logical volumes from it, and the system then mounts whatever is listed in /etc/fstab. Nothing needs to be run by hand. The usual reason a logical volume fails to appear after a reboot is a bad fstab entry, which is why using the UUID from blkid and adding nofail makes boot resilient.
Conclusion: What to Learn First
Start with the map, not the commands. Know that a physical volume feeds a volume group, that a volume group hands space to logical volumes, and that extents are the units being handed over. Once that picture is in place, the pv*, vg* and lv* naming pattern does the rest.
Your first session should be read-only. Run lsblk -f, pvs, vgs, lvs and findmnt on a machine you already own and write down what each one reports. Then reproduce the loopback example from this guide, where the worst thing that can happen costs you two gigabytes and one command to undo. Only once that feels boring should you touch a real disk.
If you take one habit away, make it this one: have a working backup before any destructive LVM command, not after. People on r/linux4nobs and r/linux who get burned almost never lose data to a subtle bug. They lose it to a device name typed from memory on a disk they had not checked.