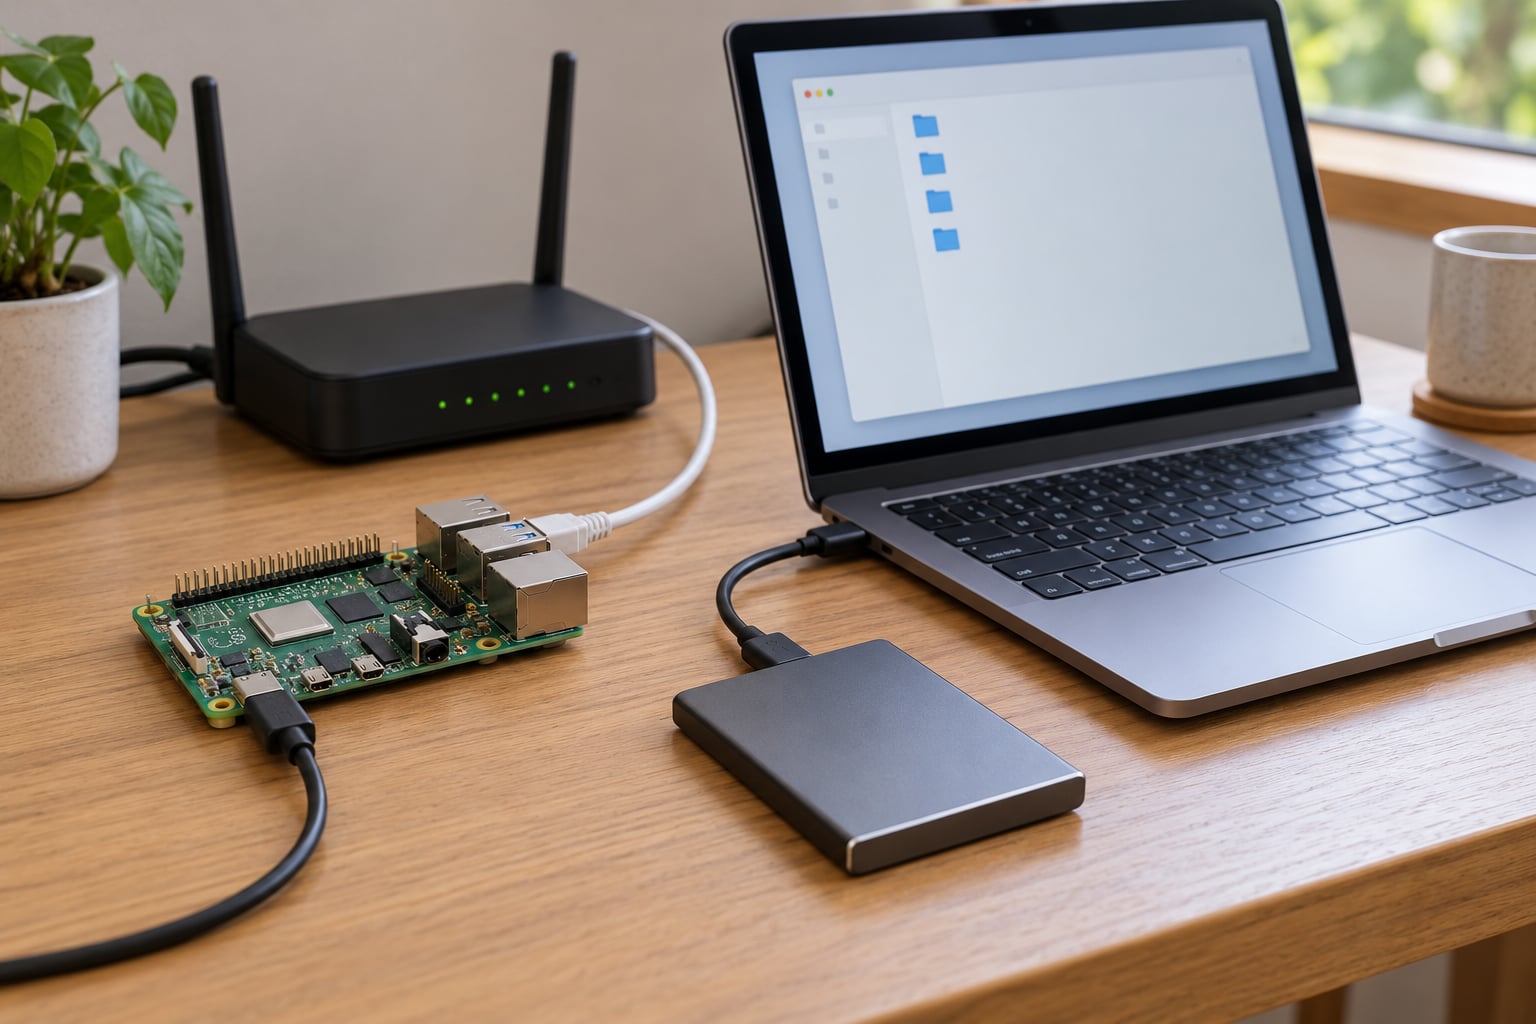
A Raspberry Pi home server is a small, low-power single-board computer that runs always-on services from your living room: blocking ads for every device on the network, sharing files, streaming your own media, or reaching your home network from anywhere. If you have picked up one of these boards and want something genuinely useful running on it, these raspberry pi home server ideas for beginners start at the easiest end and work up from there.
Yes, a Pi is enough for a home server, with caveats. It handles DNS filtering, file sharing, light automation, monitoring and small media libraries without trouble. It struggles with heavy video transcoding, big databases and dozens of simultaneous users. Two or three lightweight services on one board is a comfortable load; a dozen is where beginners get into trouble.
Most of the projects below need the same three things: Raspberry Pi OS Lite flashed to an SD card, a wired Ethernet connection to your router, and a fixed IP address so services stay reachable. Get that foundation once and every idea here becomes a copy-paste job.
Table of Contents
- Raspberry Pi Home Server Ideas for Beginners at a Glance
- 1. Build a Simple File-Sharing Server
- 2. Set Up a Network-Wide Backup Hub
- 3. Create a Private Cloud with Nextcloud
- 4. Run a Personal Media Library
- 5. Host a Private RSS News Reader
- 6. Add Ad Blocking for Your Whole Home
- 7. Automate Home Assistant
- 8. Build a Lightweight Home VPN
- 9. Monitor Devices with a Network Dashboard
- 10. Run a Small Docker Lab
- Frequently Asked Questions
- What operating system should I use for a Raspberry Pi home server?
- Do I need a Raspberry Pi 5 for these beginner home server projects?
- How much storage should a beginner Raspberry Pi server have?
- Can I access a Raspberry Pi home server from outside my house?
- Is a Raspberry Pi reliable enough to run a home server?
- Which Raspberry Pi home server project should I build first?
- Conclusion: Start With One Useful Raspberry Pi Project
Raspberry Pi Home Server Ideas for Beginners at a Glance
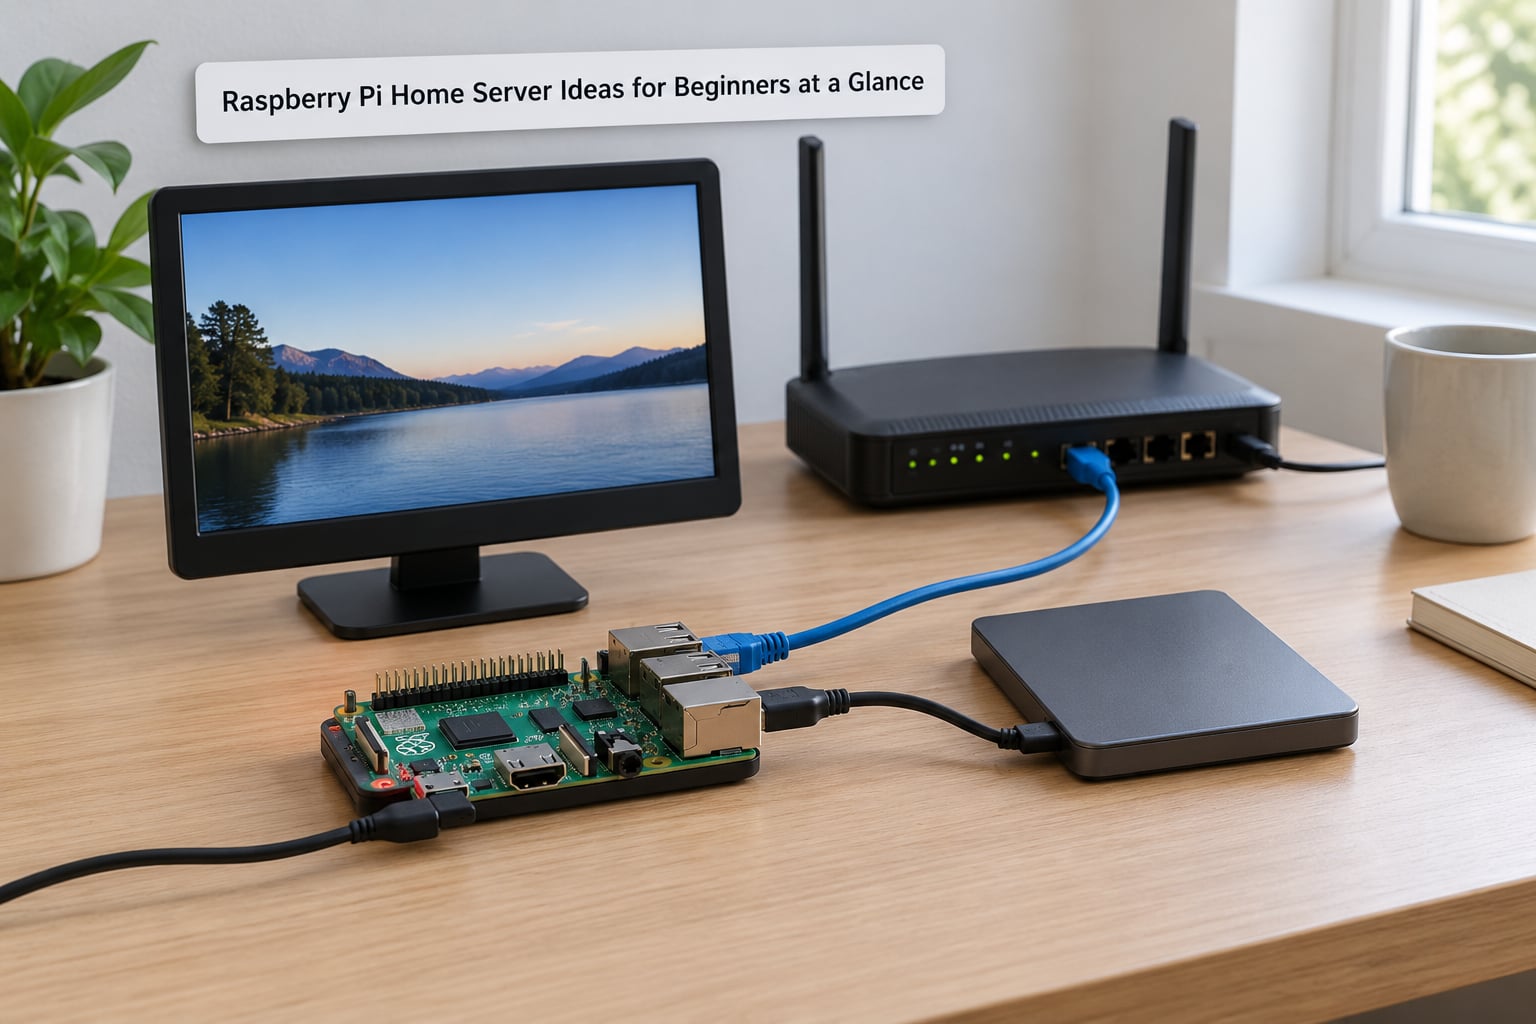
| Project | Main benefit | Difficulty | Needs |
|---|---|---|---|
| 1. File sharing | One folder on every device, no cloud | Beginner | Samba, USB drive |
| 2. Backup hub | One place every machine copies to | Beginner | Kopia, external drive |
| 3. Private cloud | Your files sync across phone and laptop | Beginner+ | Nextcloud, SSD |
| 4. Media library | Stream your own shows and music | Beginner | Jellyfin or Plex, Ethernet |
| 5. RSS reader | All tech news in one browser tab | Beginner | FreshRSS |
| 6. Ad blocking | Ads blocked on the whole network | Beginner | Pi-hole or AdGuard Home |
| 7. Home automation | Lights, sensors, schedules | Intermediate | Home Assistant |
| 8. Home VPN | Reach home services from anywhere | Intermediate | WireGuard or Tailscale |
| 9. Network dashboard | Instant answer to “is it down?” | Beginner | Uptime Kuma |
| 10. Docker lab | Test self-hosted apps safely | Intermediate | Docker Engine, SSD |
If you only have time for one, take number six. It takes about twenty minutes, it changes something you notice every single day, and if you hate it you can uninstall it without breaking anything else.
1. Build a Simple File-Sharing Server
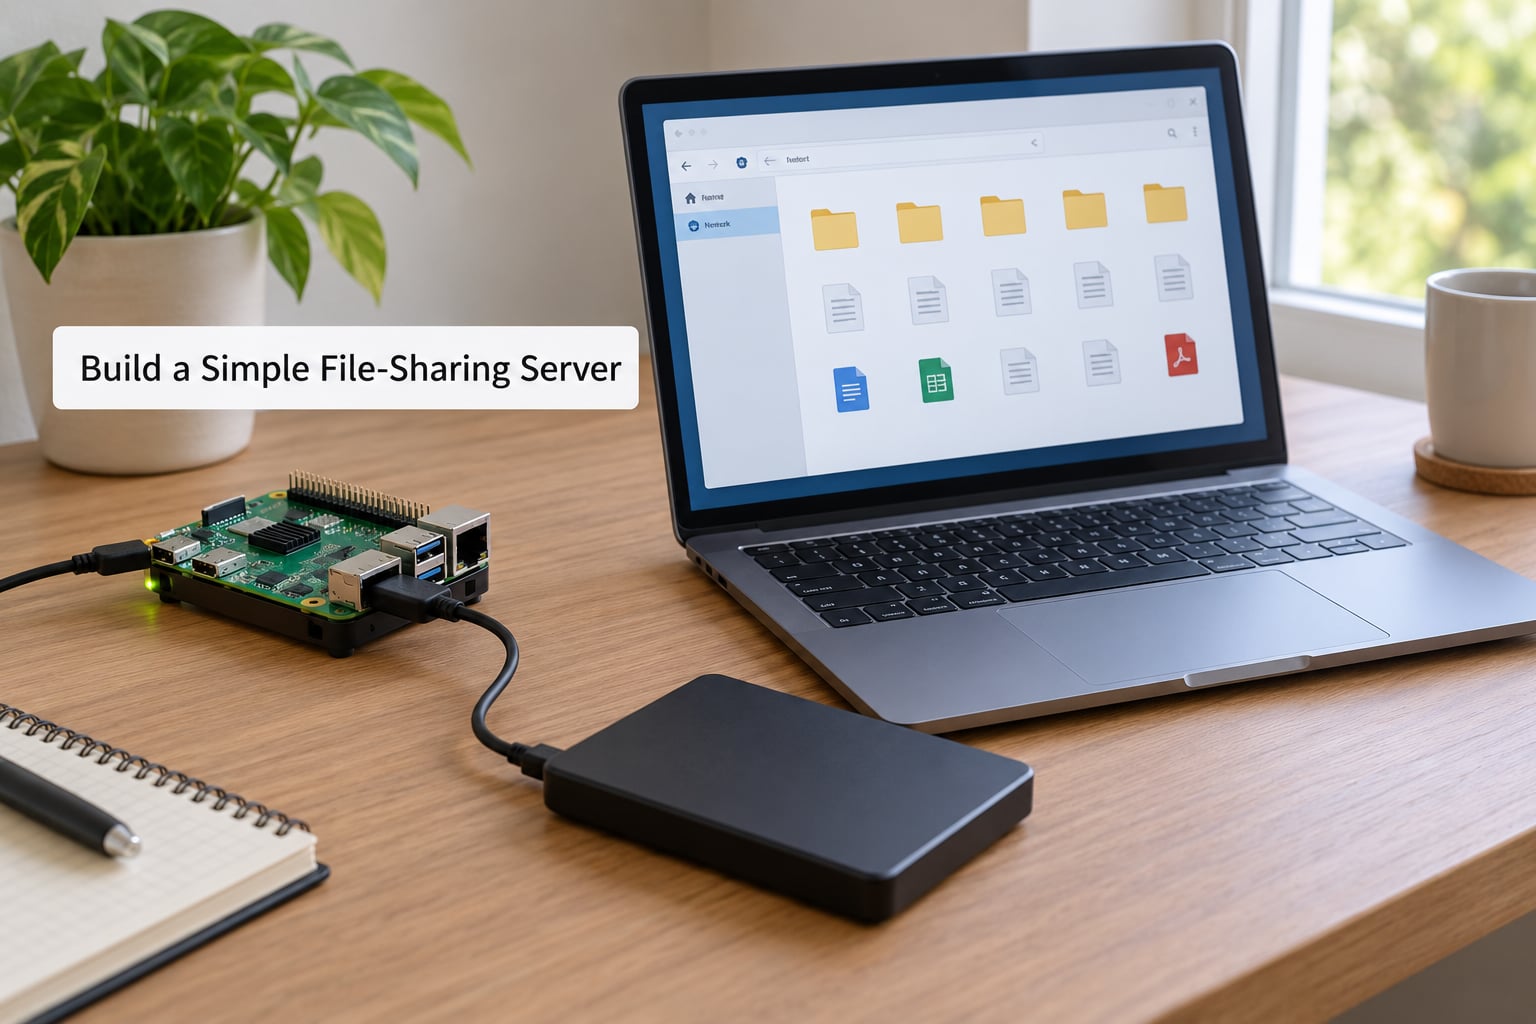
File sharing is the classic first home server project because you can confirm it works from a device you already own. The Pi holds a USB drive, Samba publishes a folder, and your laptop or phone opens it like a normal network drive.
Attach a drive and confirm the system sees it with lsblk. If it mounts automatically, you can point Samba straight at the mount path. If it does not, edit /etc/fstab so the drive mounts by UUID on every boot, because a share that disappears after a power cut is the most common beginner complaint in this project.
Then install Samba, add your own user with smbpasswd -a yourname, and set the share in /etc/samba/smb.conf with the paths you want visible. Make the guest option no. Guest shares look convenient until a neighbour’s laptop wanders onto your network.
To check it worked, open the file manager on another computer, type smb://raspberrypi.local in the location bar, log in with the Samba user, and open a file. If you can rename it there, the share is live. Format the drive as ext4 rather than a Windows format if you want permissions to behave predictably between Linux and Windows machines.
2. Set Up a Network-Wide Backup Hub
A backup hub is the project people wish they had built first. Every laptop, desktop and phone copies to one destination on a schedule, and when the drive fails you find out immediately rather than a month later.
Pick a tool that works quietly in the background. Kopia is a good fit for beginners because it deduplicates data, so backing up the same large files across several machines does not fill the disk three times over. FreeFileSync is the other common choice, with a plain graphical interface.
Set a retention rule rather than keeping everything forever. Keeping the last 24 hourly copies, 7 daily copies and 12 monthly copies gives you a month to notice a mistake without filling a drive with duplicate folders. Schedule the job for the small hours when nothing else is competing for the drive.
Attach a second drive and copy the first one there on a schedule, so your backup is not on the same hardware as the live server. If the Pi dies, a physical backup elsewhere still exists. This is the whole point, and it takes one extra cable.
3. Create a Private Cloud with Nextcloud
Nextcloud gives you a private alternative to renting someone else’s file sync. You get a browser file manager, mobile and desktop clients, calendars and contacts, all stored on a drive in your house.
Install it, create your admin account during the web setup wizard, and stop to check the background job warning that appears at the bottom of the admin page. Without a working cron job, Nextcloud will still let you upload files but will quietly fall behind on previews, notifications and sync. Fixing that early avoids a confusing afternoon later.
Storage is the decision beginners get wrong. Point Nextcloud at a single external SSD rather than the SD card. SD cards write slowly and wear out, and Nextcloud writes plenty of small files. If you want the setup to survive a card failure, put the whole install on the SSD and boot the OS from there too.
Verify a sync end to end: create a test folder on your phone, add a photo, wait a minute, then check the same folder in your desktop browser. If both directions work, your private cloud is done. Add a memory limit to the PHP configuration so a big upload cannot drag the whole box down.
4. Run a Personal Media Library
A media server turns a folder of files into a library your television, phone and laptop can browse. Jellyfin is free and open source with no account requirement; Plex is smoother on some client apps but pushes you toward its paid tier for some features.
Here is the honest limit. The Pi can serve an already-compatible video file to almost any device without breaking a sweat, because it just passes bytes along. It struggles to transcode on the fly, which is what happens when a browser or smart TV asks for a format it cannot play. Heavy 4K transcoding is where you want a desktop or a mini PC.
Wire up Ethernet rather than Wi-Fi. Streaming a few gigabytes over a congested wireless link produces buffering that looks like a server problem but is a network one. Mount your media drive by UUID in /etc/fstab, then point the library at that mount path and let the scanner run overnight for the first indexing pass.
Music and photos are lighter on the hardware than video and are often the better first use. An audiobook server such as Audiobookshelf is another quiet workhorse, and it handles podcast subscriptions on top of your own files.
5. Host a Private RSS News Reader
Social feeds are built to hold your attention. A self-hosted RSS reader does the opposite: it collects every site you care about into one list you can skim once a morning.
FreshRSS is the simplest starting point. Install it, add your sites through the browser interface, and pick a folder structure that suits how you read. It updates on a schedule in the background, so the page is ready when you open it.
FreshRSS also handles podcast feeds, so a single tool can cover written news and audio. The value here is quiet rather than flashy, which is exactly why so few people build it. Self-hosters frequently name an all-in-one feed reader as one of the first services they install and never remove.
6. Add Ad Blocking for Your Whole Home
Pi-hole and AdGuard Home both answer DNS queries for every device on your network and refuse requests for known advertising domains. One install, and ads stop appearing on your television, your phone and everything else that respects your router’s DNS settings.
Install one of them, then point your router’s DHCP settings at the Pi’s IP address as the DNS server. Doing it in DHCP rather than on each device means new phones, televisions and guest devices get filtered automatically.
Check the query log afterwards. It shows every domain any device requested, which makes the setup self-documenting: you can see a blocked tracker and confirm it works. The log also tells you which devices are not using your server at all.
That last part is the common snag. Devices with hardcoded DNS, some smart televisions and anything with a VPN app bypass your filter. Check the log for gaps and fix the offenders. If your router insists on doing DNS itself, run Pi-hole as a DHCP server instead.
7. Automate Home Assistant
Home Assistant is where a Pi home server stops being a file holder and starts running your house. It connects lights, sensors, locks and thermostats, then responds with rules you write.
Install it, open the onboarding screen, and create one account. Resist adding twenty integrations in the first hour. Add a single light bulb or a single temperature sensor, confirm it appears in the dashboard, then move on. One device end to end teaches the whole model faster than a dozen half-configured ones.
Your first automation should be boring: turn a hallway light on when a motion sensor fires after sunset. Build it in the visual editor, watch the trace at the bottom of the page, and you will see exactly which condition triggered and which device responded. Once that pattern is familiar, the rest are variations.
Watch what you connect. Several popular smart-home integrations rely on a vendor cloud service, so a device can break when the company changes its servers. Local protocol devices such as Zigbee or Z-Wave sensors keep working with no internet connection at all.
8. Build a Lightweight Home VPN
A VPN on your own hardware lets you reach home services from a hotel, a coffee shop or a mobile connection, without opening your router to the public internet. This is the most security-sensitive project on the list, so read the last part of this section twice.
Tailscale uses WireGuard underneath and joins your devices through an identity service rather than a port forward. Installing it takes a couple of commands, and it works from a phone with no configuration. WireGuard itself is built into current Raspberry Pi kernels and takes more work but no third party in the middle.
If you forward a port to your Pi, three things must be true. Change the default account password. Enable SSH key authentication and disable password login. Keep the operating system updated with unattended upgrades on. A forwarded port with default credentials on a device that has never been updated is an open door, and this is the single most common mistake in self-hosting.
A reverse proxy with HTTPS is the step up from there, and worth adding before you expose any web interface. If you would rather not open anything at all, a cloud tunnel keeps inbound connections closed entirely.
9. Monitor Devices with a Network Dashboard
Uptime Kuma answers one question instantly: is it me or is the server down? You give it a list of URLs and it checks each one on an interval, then shows a green or red bar and pings you when something fails.
Add your media server, your private cloud, your router’s admin page and a plain internet check. That last one is the useful one: when the dashboard shows the internet check failing too, the problem is upstream of you.
For a fuller view of system health, Grafana with Prometheus collects CPU, memory, disk and temperature over time. That is a bigger lift, and it earns its place once you have more than one service running.
Put the dashboard on a second screen or a cheap tablet on the wall and you have a home operations board. Knowing a disk is filling up at 3 percent a week is the difference between planning a replacement and discovering a problem.
10. Run a Small Docker Lab
Docker lets you install an application as a self-contained container instead of installing it into the system. It is the standard way most of the services in this list get deployed now, and a spare Pi makes an excellent place to learn.
Two terms to get straight. An image is the packaged software. A container is a running copy of that image, isolated from the rest of the system with its own folders and network access. Install the image once, start and stop containers as often as you like.
Start with something tiny and disposable. Pull an image for a simple web service, map a port, and open it in your browser. Then stop it, start it again, remove it, and pull a fresh copy. That cycle is the whole idea, and breaking something disposable teaches it faster than reading about it.
Put your Compose files and application data on an SSD. Containers write constantly, and SD card wear is the reason many Pi servers slow down and then fail after a few months of running.
Frequently Asked Questions
What operating system should I use for a Raspberry Pi home server?
Raspberry Pi OS Lite is the right default for a headless server. It ships without a desktop, which frees memory and CPU for the services you actually care about. You manage it over SSH from another computer. If you want to learn by browsing a screen on the same device, install the full Raspberry Pi OS desktop first, switch to Lite later, and you will understand what changes between them.
Do I need a Raspberry Pi 5 for these beginner home server projects?
No. A Pi 4 handles file sharing, ad blocking, RSS, monitoring and light Home Assistant work without complaint. A Pi 5 adds faster storage and processing, which helps with media transcoding, Home Assistant with many devices, and running several Docker containers at once. Buy the newest board you can if you plan to grow. Use what you already own for the first project.
How much storage should a beginner Raspberry Pi server have?
For file sharing and ad blocking, any external USB drive is enough. For Nextcloud, a Docker lab or a media library, use an SSD rather than the SD card, and give it more room than you think you need. Keep at least three times the amount you plan to store, because databases, thumbnails and app data grow quietly. Back up whatever does not fit in two copies.
Can I access a Raspberry Pi home server from outside my house?
Yes, in three common ways. Tailscale or WireGuard give you a private encrypted network with no router changes. A cloud tunnel keeps inbound ports closed entirely. Port forwarding opens a port directly to your Pi, which works but demands strong passwords, SSH keys and automatic updates. Whichever you choose, never forward an admin page without HTTPS in front of it.
Is a Raspberry Pi reliable enough to run a home server?
Yes, as long as you give it three things: active cooling, an official or reputable power supply, and reliable storage. Most unexplained failures trace back to heat, an undersized USB power supply causing brownouts, or a worn SD card. Boards themselves last years. Use Ethernet for anything latency-sensitive, and a small uninterruptible supply if you want services to survive a power cut cleanly.
Which Raspberry Pi home server project should I build first?
Start with network-wide ad blocking using Pi-hole or AdGuard Home. It installs in about twenty minutes, needs no extra storage, and gives visible results on every device in the house. It is also easy to remove. Once it is running, add file sharing, since it teaches you how to attach storage and how services reach the rest of your network.
Conclusion: Start With One Useful Raspberry Pi Project
The raspberry pi home server ideas for beginners in this list all share the same foundation: Raspberry Pi OS Lite, Ethernet to the router, a fixed IP address and one service at a time. Install Pi-hole first because it is fast and visible, then file sharing because it teaches you about storage.
Before you install a second service, settle three things: cooling, a dependable power supply, and a real backup of anything you cannot lose. Add monitoring once you have two services running, so you find out about failures before a user reports them. One board, one service, working properly beats five half-configured projects every time.