Quick answer: Secure Boot is a UEFI firmware setting that checks the digital signature of every component your machine loads during startup. Should you disable it? Rarely as a habit. Leave it on unless a specific job forces the change, then switch it back on when that job is finished.
This guide is current as of 2026 and covers what the setting actually checks, how to read its state on Windows and Linux, and how to toggle it safely on common UEFI machines. Nothing here requires you to reinstall anything.
Table of Contents
- What Secure Boot Actually Does
- How Secure Boot Works: Keys, Firmware and the Boot Chain
- What Is Secure Boot and Should You Disable It?
- When You Should Keep Secure Boot Enabled
- When Disabling Secure Boot May Be Reasonable
- How to Disable Secure Boot on a UEFI Computer
- Secure Boot, TPM and Windows Hello: What Is Actually Required?
- Common Secure Boot Problems and Fixes
- Secure Boot for Linux and Dual-Boot Systems
- Frequently Asked Questions
- Is Secure Boot required for Windows 11?
- Does Secure Boot slow down a computer?
- Can I use Linux with Secure Boot enabled?
- What happens if I disable Secure Boot?
- Is Secure Boot the same as antivirus or encryption?
- How do I re-enable Secure Boot after troubleshooting?
- Bottom Line
What Secure Boot Actually Does
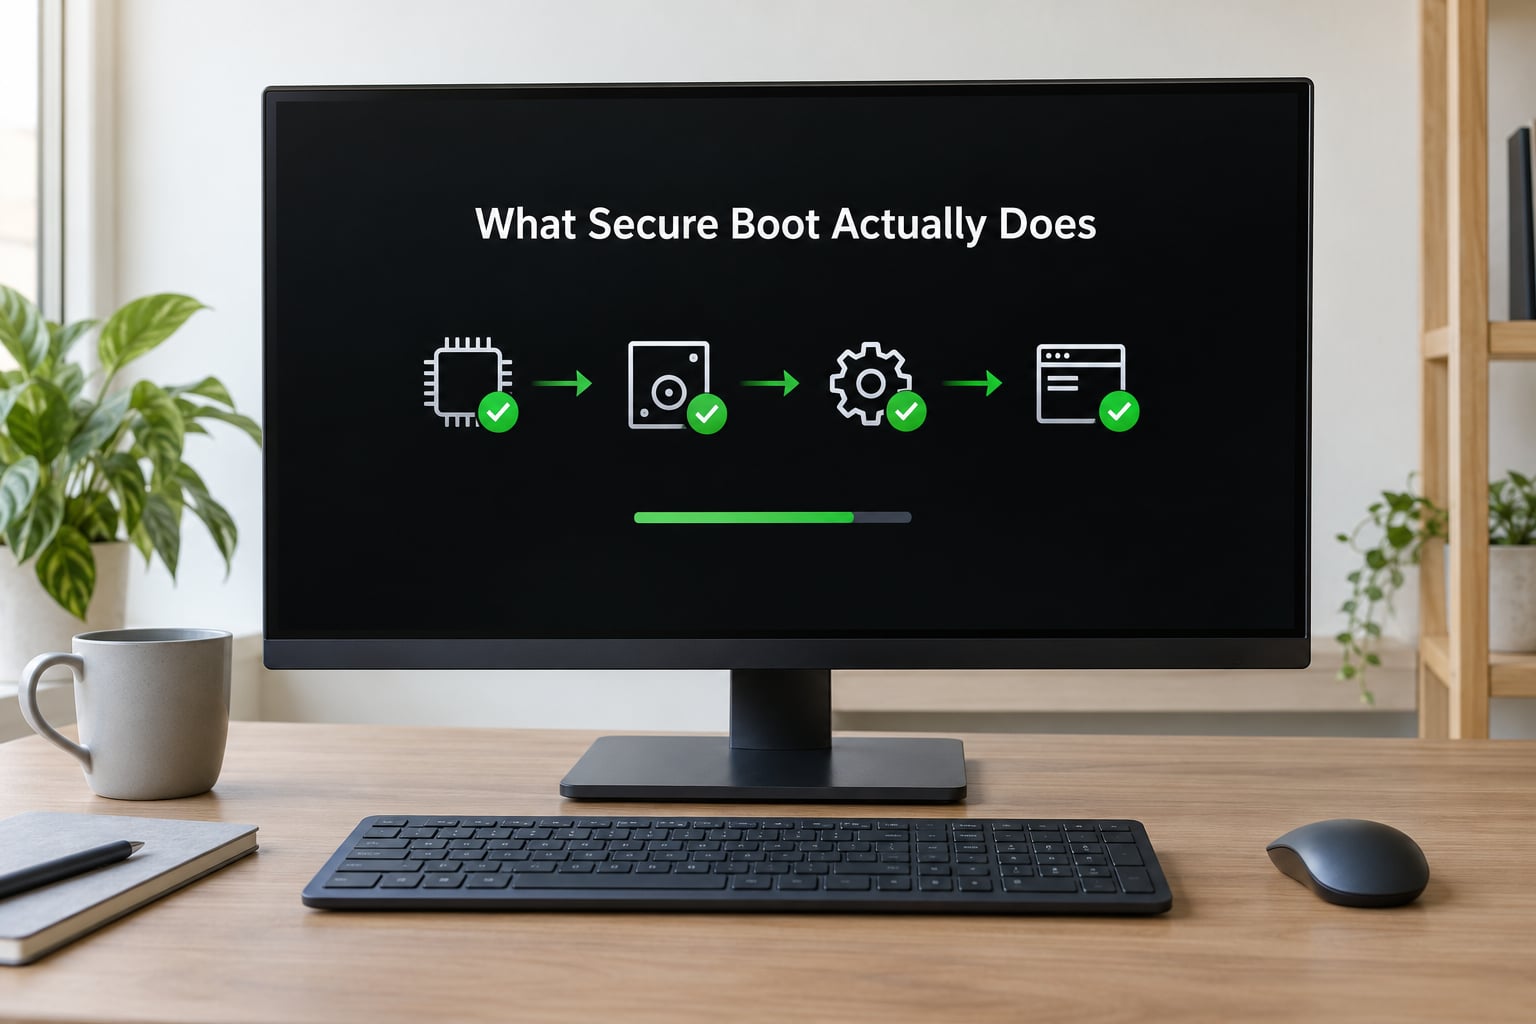
Secure Boot is a UEFI firmware setting that verifies the digital signature of every component the machine loads while starting up. If a signature is valid, boot continues. If it is missing or invalid, the firmware refuses to load that component. Your operating system only starts when the chain of boot code beneath the firmware was signed by a certificate the firmware already trusts.
Concretely, the firmware checks the bootloader, the option ROMs that drivers use, and the operating system loader before it hands the CPU over. That is the whole job. It runs for a second or two at power-on, then stops mattering for the rest of the session.
What it buys you is protection against code that installs before the operating system exists. A bootkit that replaces your bootloader, or a rootkit that sits in a pre-boot partition, lives in territory your antivirus cannot see because the operating system has not started yet and the malware runs at a higher privilege level than anything userspace can reach.
Here is what Secure Boot is not, and the confusion causes more wasted time than anything else on this topic:
- Not antivirus. It scans nothing and detects nothing at runtime. It checks signatures at boot, then gets out of the way.
- Not disk encryption. BitLocker and Device Encryption protect data at rest. Secure Boot never reads your files.
- Not a TPM requirement. Secure Boot and TPM 2.0 are separate firmware features with separate jobs.
- Not Windows Defender or any Windows security feature. You can have all of those running with Secure Boot switched off.
- Not a firmware integrity check. It confirms who signed a component, not whether the firmware itself has bugs. A highly upvoted Hacker News comment puts it cleanly: it verifies the firmware your computer boots is signed by a trusted authority, and it does not check the firmware for bugs.
How Secure Boot Works: Keys, Firmware and the Boot Chain
The whole system runs on a small set of keys stored in a protected area of the firmware. You never see them, but every Secure Boot error message traces back to one of these names.
| Key or database | What it actually is | Plain-English meaning |
|---|---|---|
| Platform Key (PK) | The top-level key that owns the whole system | Whoever holds the PK controls every other key. Deleting the PK puts firmware into setup mode. |
| Key Exchange Keys (KEK) | Keys authorised to update the signature databases | They are the only ones allowed to change db and dbx. |
| db | The database of signatures that are trusted to boot | The allow list. If your bootloader is not here and not signed by anything in here, it does not run. |
| dbx | The database of revoked signatures | The deny list. Known-bad bootloader and shim versions land here after certificate problems. |
| MOK (Machine Owner Key) | A key you enroll yourself, mainly on Linux | Lets your own bootloader or kernel run without turning Secure Boot off. Managed by mokutil. |
| Secure Boot policy | Vendor rules for what platforms and profiles are allowed | This is why you can see enabled but not active rather than a plain on or off. |
The boot verification sequence, in order:
- Firmware loads the Platform Key, the Key Exchange Keys, db and dbx.
- Firmware reads the boot entries from the EFI System Partition and picks the first valid one per your boot order.
- It checks the bootloader’s signature against db and dbx.
- It loads the bootloader, which loads the kernel or OS loader, and each stage is verified the same way.
- If any signature fails, the firmware halts, prints an error, or drops you into a recovery menu. With Secure Boot off, step 3 simply does not happen.
This chain of trust is described in the UEFI Forum specification, in Microsoft’s Windows security documentation, and in NIST SP 800-193 on platform firmware resiliency. Those are the primary sources if you want to read past a blog post.
What Is Secure Boot and Should You Disable It?
Direct answer: keep it enabled for ordinary use and for any machine your employer manages. Consider changing it only when you have verified a specific incompatibility, such as an older operating system with no signed bootloader, an unsigned driver you must load, a self-compiled kernel, or a specialised dual-boot setup. Every one of those is a targeted fix, not a new default.
| Your situation | Verdict | Why | Temporary or permanent |
|---|---|---|---|
| Windows 11 only | Leave it on | Windows 11 requires Secure Boot to install and to keep receiving feature updates | Permanent |
| Windows 10 only | Leave it on | Nothing needs it off, and updates are smoother with it enabled | Permanent |
| Company or school laptop | Leave it on | Disk encryption is bound to it, and your IT team may manage or remotely attest it | Permanent |
| Dual boot Windows and Linux | Usually keep it on | Fedora, Ubuntu, Mint and Debian ship a signed boot chain that works with it enabled | Permanent |
| Older Linux distribution | Maybe disable | Pre-2012 images may have no signed shim at all | Temporary if you can |
| Custom or self-compiled kernel | Disable, or sign it | Unsigned kernels are rejected by design | Temporary |
| Unsigned third-party driver | Disable, or sign it | Kernel-mode drivers must be signed unless Secure Boot is off | Temporary |
| Gaming PC with kernel anti-cheat | Leave it on | Games with kernel anti-cheat refuse to start or kick you out without it | Permanent |
| Legacy hardware with no UEFI | Not your choice | Older BIOS firmware has no Secure Boot to enable | N/A |
The pattern in that table is worth stating plainly: the only permanent-off rows are situations where you already accept a reduced security posture, usually on hardware you own outright and physically control.
When You Should Keep Secure Boot Enabled
Leaving it on is the default for a reason, and for most people it costs nothing at all.
Windows 11 needs it. Secure Boot is a stated requirement for installation and for continued feature updates. There are documented workarounds for unsupported CPUs, and anyone using one has probably already read about them, but they add friction to every major release.
It blocks the attacks antivirus structurally cannot reach. A bootkit that never gets loaded because its signature is invalid never has to be detected and cleaned. An MBR-era malware that survives a reformat because it lives in the boot sector has the same problem.
Kernel anti-cheat games require it. Titles with kernel-level anti-cheat, including several popular competitive shooters and the Battlefield series, check Secure Boot state at launch and will refuse to run or will drop you back to the desktop without it. This is a narrower requirement than forum advice usually claims: the games check for Secure Boot because it is a convenient signal that unsigned drivers cannot be loaded, not because they need every other feature that comes with it.
Driver signing gets enforced. With Secure Boot on, Windows blocks unsigned kernel drivers. That rules out some old hardware drivers, but it also rules out a whole category of rootkit tricks that rely on an unsigned driver loading silently.
It makes updates and support calls easier. Manufacturers and support desks ask for Secure Boot state early. If yours is already correct, the conversation is about the real problem.
When Disabling Secure Boot May Be Reasonable
There are situations where the honest answer is that you need it off, at least for a while. None of them are as common as the internet suggests.
Older Linux distributions. Distro images from roughly 2012 and earlier often predate widespread shim signing. If your bootloader predates the signed chain, the firmware will refuse it and you have two choices: enroll your own key, or turn Secure Boot off for that install. Modern distributions do not require this.
Unsigned kernel modules and drivers. Hardware vendors that ship drivers without a valid signature need Secure Boot off, or you need to self-sign the driver and enroll the key. Wireless adapters, TV tuners and some older GPUs are the usual offenders.
Kernel development. If you compile your own kernel, you are shipping unsigned code unless you set up a signing key and enroll it. Developers working on drivers or kernel modules hit this on day one.
Recovery and repair work. A common, clean workflow that comes up in support threads: disable Secure Boot, boot rescue media, fix the bootloader, re-enable Secure Boot, boot normally. Scoped and reversible.
Old or self-built hardware. Machines assembled from parts, older workstations, and some home lab and NAS builds run without Secure Boot by default and are rarely a theft target.
The security cost is worth stating without drama. With Secure Boot off, anything that can write to a pre-boot partition or replace your bootloader can be loaded at next power-on, and the operating system will treat it as normal. The realistic threat is physical access with time, or a machine you share with people you do not fully trust. A highly regarded Hacker News thread separates this from remote attack risk, which the setting barely touches.
Long-time Linux users are split on this, and the debate is genuinely unresolved. In one r/linuxquestions thread a user wrote that they always disable it because it gets in the way; in the same thread another user argued you should keep it enabled and accept that a fully signed boot chain is the price. Both positions are defensible. What is not defensible is disabling it on a laptop that leaves your house every morning and calling that a security decision.
How to Disable Secure Boot on a UEFI Computer
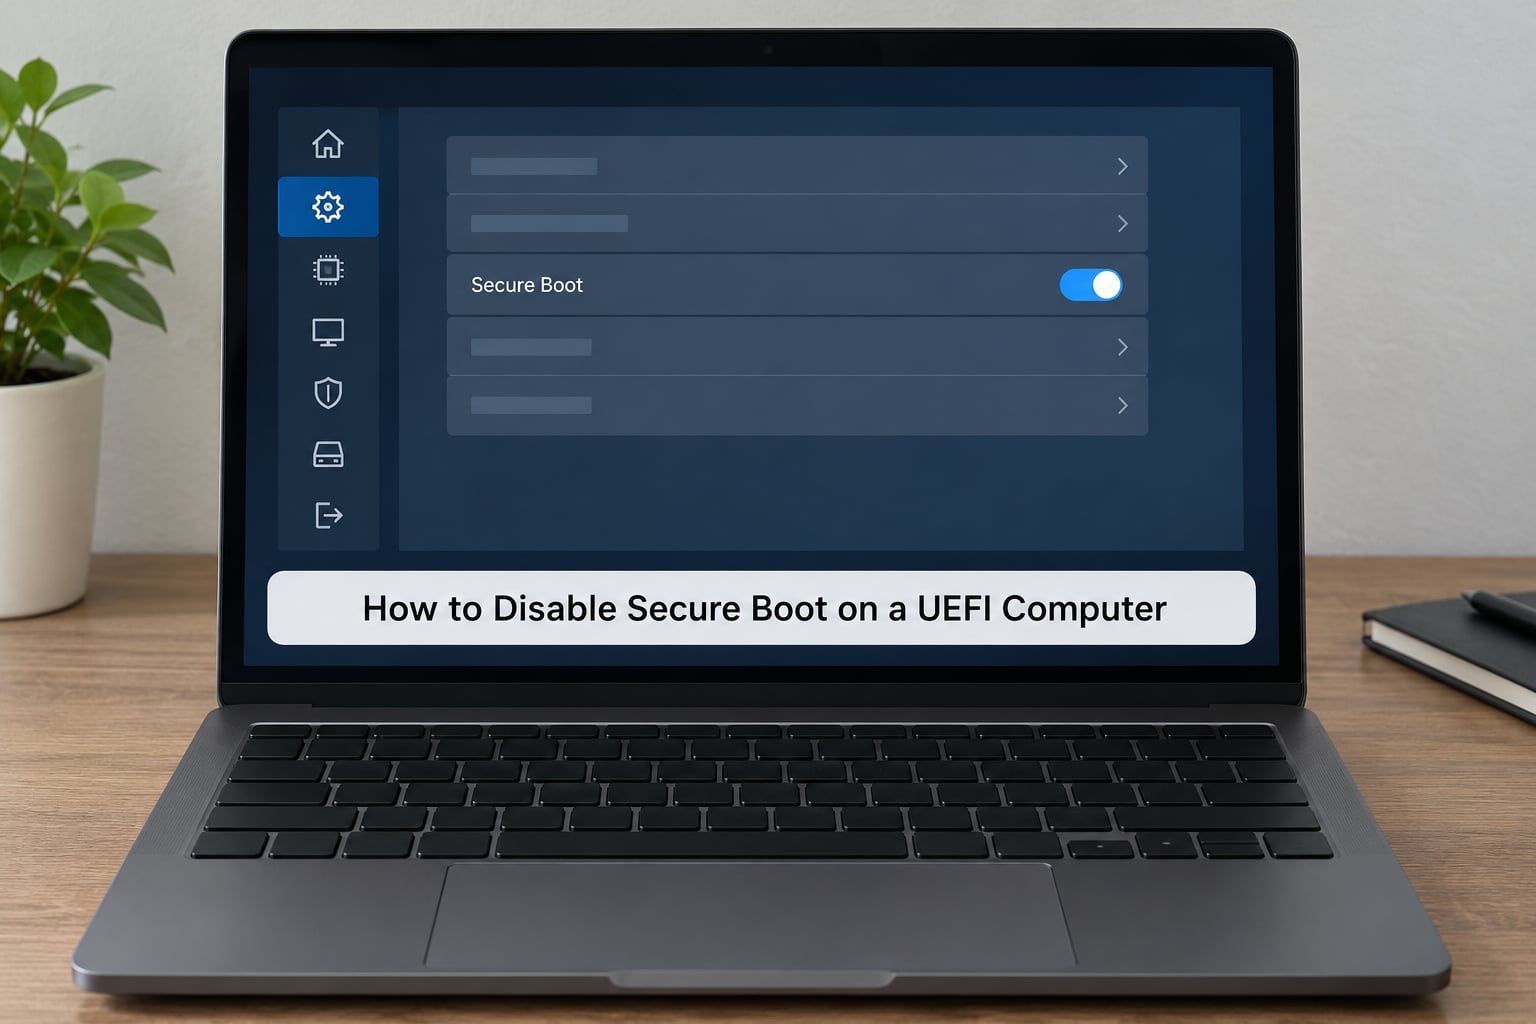
Before you touch firmware, take two precautions. Confirm you have your BitLocker recovery key saved to your Microsoft account or a USB stick, and make sure you have a Windows recovery drive or a Linux live USB nearby. Firmware edits can go wrong, and both tools cost ten minutes.
On Windows 11 and Windows 10, holding Shift while clicking Restart in the power menu sends you straight to firmware setup. Otherwise, from Command Prompt run shutdown /r /fw /t 0. On many Linux systems, systemctl reboot --firmware-setup does the same job.
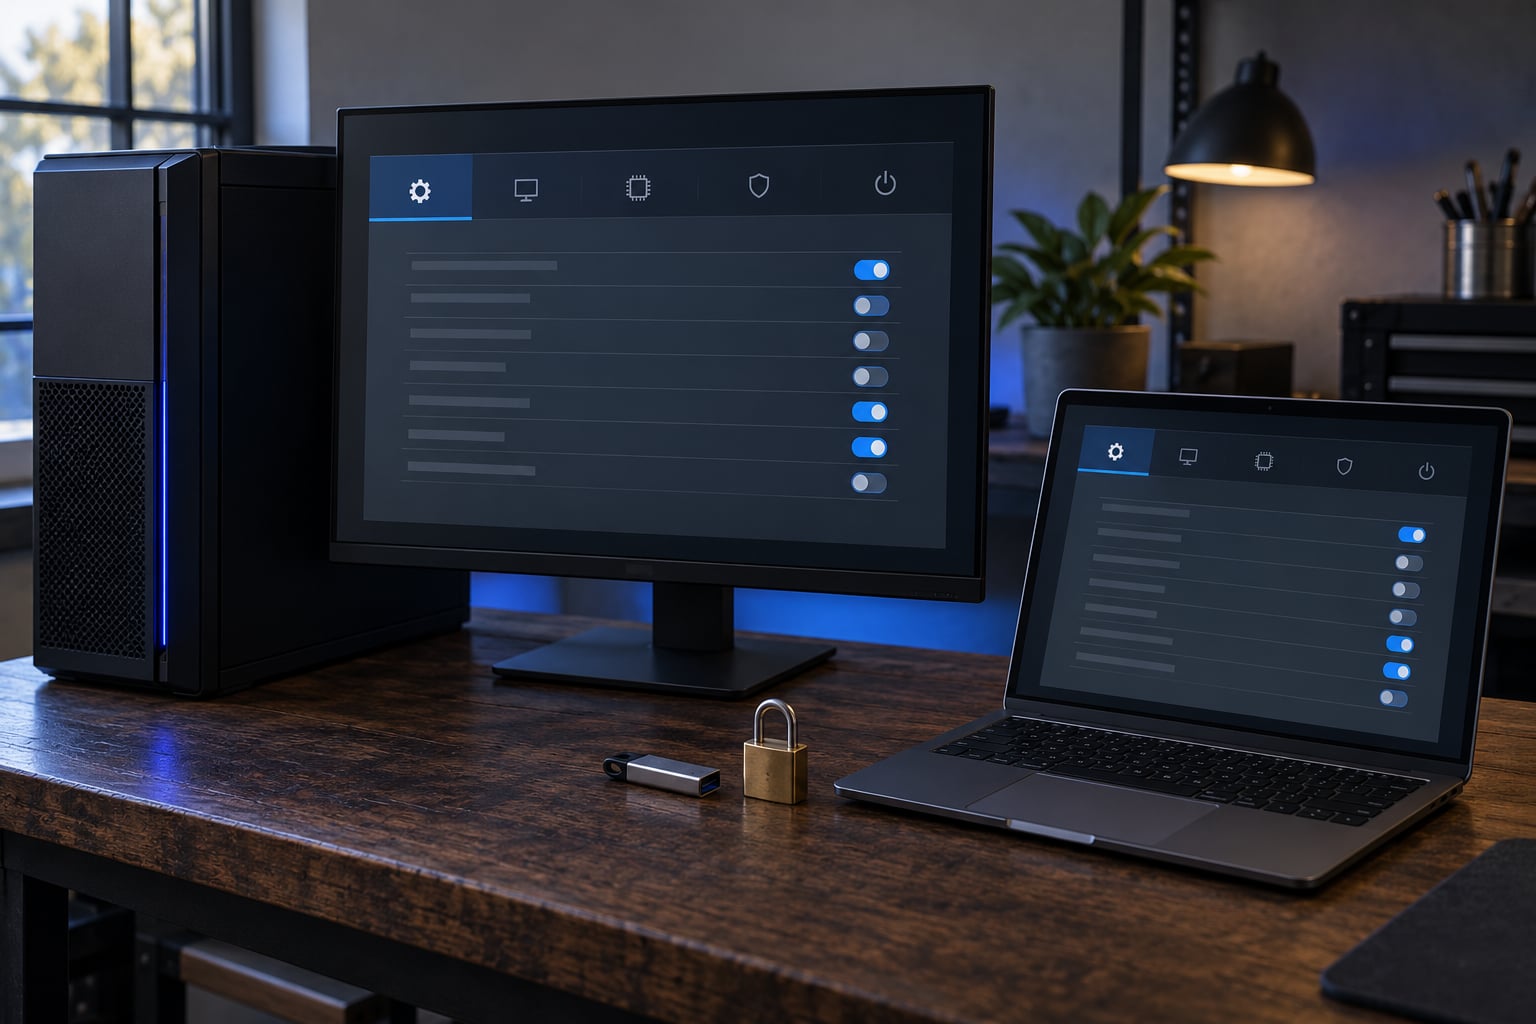
Once you are in firmware setup, the steps are close to identical everywhere:
- Open the Security tab, or the Boot tab on some machines.
- Find Secure Boot. It is usually a toggle reading Enabled or Disabled.
- If it is locked, look for OS Secure Boot or OS Management or Lockdown under a different name. Some firmware locks the toggle when CSM is on, so turn CSM off first.
- Save with F10 and reboot.
The setup keys and menu locations, because this is where generic instructions usually lose people:
| Vendor | Setup key | Where Secure Boot lives | Common gotcha |
|---|---|---|---|
| Lenovo | F1 or Fn and F1, also the dedicated Novo button | Security and Secure Boot | On some ThinkPads the toggle is under Config and is hidden until a supervisor password is set |
| Dell | F2 | Boot Configuration, Secure Boot next to Boot Mode | Setting appears once Boot Mode is set to UEFI rather than Legacy |
| HP | F10, then F9 for the boot menu | Advanced, then Boot Options | Rollback protection and legacy boot options can sit alongside it |
| ASUS | F2 or the Delete key | Security or Boot, Secure Boot Mode | Key Management lives in the same tab, which is useful if you want to enroll rather than disable |
| MSI | Delete | Security, Secure Boot | The option is greyed out while CSM is enabled |
| Gigabyte | F2 | BIOS, Secure Boot | OS Type and Secure Boot Mode are linked; changing OS Type can reset the choice |
If the Secure Boot toggle simply is not there, three things are usually responsible: the machine is running legacy BIOS firmware rather than UEFI, which is common in the r/gigabyte and r/buildmeapc threads where users first notice it; the vendor firmware does not expose it; or Windows Fast Startup was hibernating the machine in a way that confused the state. Disabling Fast Startup and doing a full shutdown clears the third case.
To restore it later, walk the same path and set Secure Boot back to Enabled. If you previously enrolled a key through Key Management, it is still there. If your boot chain is not signed, the machine will now stop at an error, which is useful information: it tells you exactly which component needs signing or a different bootloader.
Secure Boot, TPM and Windows Hello: What Is Actually Required?
These four get treated as one thing. They are separate layers, and turning the wrong one off is how people end up with an unencrypted disk they did not mean to create.
| Feature | What it protects | Do you need it for Windows 11? | Turn it off? |
|---|---|---|---|
| Secure Boot | Verifies boot component signatures before the OS loads | Yes, required for install and feature updates | Only for a specific compatibility need |
| TPM 2.0 | Holds encryption keys and can measure boot state for attestation | Yes, required | No, and disk encryption usually depends on it |
| Measured Boot | Records a hash of each boot stage so remote attestation can verify it | Used by Windows for health and compliance checks | No |
| BitLocker / Device Encryption | Encrypts data at rest; protects data if the machine is stolen | Recommended, not required, but Pro and Enterprise offer it | No, unless you are changing the boot configuration on purpose |
| Windows Hello | Biometric and PIN login bound to TPM keys | Convenience feature | No, unrelated to Secure Boot |
The pair that catches people out is Secure Boot and disk encryption together. On most Windows machines, changing the Secure Boot state is treated as a change to the boot configuration, and BitLocker reacts by sealing its key to the new state. On next boot you get a recovery-key prompt. Users describe this as a massive pain in forum threads, and the surprise is the whole problem: nobody expects a BIOS toggle to demand a 48-character key.
Protect yourself with a short routine. Save the recovery key first with manage-bde -protectors -get C: if you need the exact command. Suspend protection before the firmware change with manage-bde -protectors -disable C:. Resume it afterwards with manage-bde -protectors -enable C:. If you are on Device Encryption rather than full BitLocker, treat the same steps as applying.
Common Secure Boot Problems and Fixes
Security Boot Fail on startup. The firmware found a bootloader it cannot verify. Usually it means the boot order now points at unsigned media, such as a USB stick you used for installation, or that the installed bootloader has no valid signature. Move the USB out of the port, or reorder boot entries so the internal drive comes first.
Secure Boot is not configured correctly. Windows shows this when the platform is in setup mode, which is what happens after the Platform Key is deleted, or when the firmware is in an intermediate state with no active policy. Reinstall the default keys from the firmware’s Secure Boot options menu, commonly labelled Install Default Secure Boot Keys, and confirm the OS Type matches what you actually have installed.
Enabled but not active. You will see this in msinfo32 and in Settings. It means the firmware switch is on, but the platform is not enforcing the policy, usually because Secure Boot policy is set to audit mode or because the firmware is in a manufacturer default mode that permits unsigned code until Windows deploys its keys. Enforcement is what matters for bootkit blocking, so if you want the protection, push the policy to enforcing rather than settling for enabled.
dgread: canonicerr or similar on Linux. This is the EFI variable reader complaining about a malformed or unexpected variable in the firmware, frequently after a distribution upgrade that changed key handling. It usually appears alongside a successful boot, and running mokutil --sb-state plus mokutil --list-enrolled shows whether your enrolled keys are still where the firmware expects them. Update to the current release of the distribution before treating it as firmware damage.
An unsigned driver will not load. Expected behaviour, not a fault. Disable Secure Boot for the session, or self-sign the driver and enroll the certificate through Key Management.
GRUB vanished after a Windows update, or Windows vanished from GRUB. A frequent dual-boot complaint, and the cause is usually a Windows update rewriting the EFI boot entries with a signed chain that your Linux bootloader entry does not match. Booting into a Linux live USB and running the distribution’s bootloader repair usually fixes it. Disabling Secure Boot entirely is a heavier hammer that also removes the protection.
BitLocker recovery prompt after a firmware change. Covered above. Suspend before you change, resume after.
The toggle is missing or greyed out. Legacy BIOS instead of UEFI, CSM still enabled, or vendor firmware that locks the option.
Secure Boot for Linux and Dual-Boot Systems
Most of the fear here comes from advice written a decade ago. The current Linux boot chain is designed to work with Secure Boot on.
The chain runs from firmware to a signed shim bootloader, to GRUB, to a signed kernel. Distributions obtain a certificate from a third-party CA whose root sits in the firmware’s db, and sign their shim with it. Ubuntu, Fedora, Linux Mint, Debian, openSUSE and Arch all ship signed components by default, and Fedora support answers say plainly that there should be no need to fully disable it.
When you need a kernel module that is not signed, the answer is Machine Owner Key enrollment rather than turning the setting off. Generate a key with mokutil --gen-key, reboot, and enroll it from the blue MokManager screen that appears on the next boot. mokutil --sb-state then shows SecureBoot enabled, and your unsigned module loads. It is a few extra minutes once, and it keeps the protection in place.
For dual boot specifically, the modern approach is letting each distribution install its own boot entry on the EFI System Partition and manage the boot order with efibootmgr or bootctl, rather than chaining loaders by hand. Disabling Secure Boot to make GRUB chainload Windows is a workaround from the legacy BIOS era, and it still works, but you lose protection for the Linux side too, not just the Windows side.
One Linux-specific footnote: Windows Fast Startup hibernates the NTFS partition. Sharing a hibernated NTFS volume with Linux is a known source of filesystem corruption that gets blamed on Secure Boot. Turn Fast Startup off if you dual boot, and you remove a whole category of confusing failures.
There is one active conflict worth knowing about. Machines on the Windows 10 extended security updates program have been caught between the old Secure Boot certificate state and the updated db, so restoring correct Secure Boot behaviour can mean giving up extended updates. It is an unresolved mess, and the forums discussing it have no clean answer yet.
Frequently Asked Questions
Is Secure Boot required for Windows 11?
Yes. Secure Boot and TPM 2.0 are both stated requirements for installing Windows 11 and for continuing to receive feature updates. Systems without UEFI Secure Boot can be forced through with registry and hardware changes, but every major Windows release adds more friction to that path, and you lose bootkit protection in the process. If your machine supports it, leave it on.
Does Secure Boot slow down a computer?
No, and the difference is not measurable in normal use. The signature checks run during a window of a second or two while firmware hands control to the bootloader, before the operating system is loaded. You will not notice it in boot times either on modern hardware. Secure Boot can add a small extra step in Linux setups that verify many kernel signatures, but that is measured in milliseconds.
Can I use Linux with Secure Boot enabled?
Yes, and that is the intended setup. Current distributions ship a signed chain of shim, bootloader and kernel that verifies correctly against keys already in the firmware. Fedora, Ubuntu, Mint, Debian, openSUSE and Arch all support it out of the box. If you need an unsigned kernel module, enroll a Machine Owner Key with mokutil instead of disabling the feature.
What happens if I disable Secure Boot?
You lose verification that boot components are signed, so anything able to replace your bootloader or write to a pre-boot partition can load at next power-on. That is the realistic attack surface, and it usually means physical access to the machine. Games with kernel anti-cheat will refuse to run, unsigned drivers load freely, and on Windows your disk encryption may demand a recovery key on the next boot.
Is Secure Boot the same as antivirus or encryption?
No, it is a separate layer. Antivirus scans running software, encryption protects data at rest, and Secure Boot verifies signatures of the code that loads before the operating system starts. None substitutes for another. A well-configured machine uses all three together, and Secure Boot continues to work exactly the same way whether antivirus is installed or not.
How do I re-enable Secure Boot after troubleshooting?
Enter firmware setup the same way you did before, open the Security or Boot tab, and set Secure Boot to Enabled, then save and reboot. If your boot chain is unsigned, the machine will now halt with a signature error, which tells you which component needs a signed bootloader or a self-signed key. On Windows, resume BitLocker protection after the change with manage-bde -protectors -enable C:.
Bottom Line
If you run Windows 11 and nothing has ever told you to change the setting, check its current state and leave it alone. You can confirm it in seconds with msinfo32 on Windows or mokutil --sb-state on Linux.
When something does demand it, save your BitLocker recovery key first, suspend encryption, make the change, then put everything back. Treating a firmware security change as a temporary, reversible step rather than a new baseline is the whole difference between a five-minute fix and a weekend of recovery.