To set up SSH key authentication you generate a key pair on your own machine, copy the public half to the server’s authorized_keys file, and confirm it works before you touch any server settings. Once that check passes, you can log in with ssh user@host and never type a password again.
It takes about ten minutes on a machine you already have admin access to, and almost all the pain comes from file permissions rather than the cryptography itself. The commands below are identical on Linux and macOS, with a PowerShell variant for Windows 10 and 11.
Table of Contents
- What You Need
- Step-by-Step
- Step 1: Generate an SSH Key Pair
- Step 2: Copy the Public Key to the Server
- Step 3: Install the Key in authorized_keys
- Step 4: Fix File and Directory Permissions
- Step 5: Test SSH Key Authentication
- Step 6: Disable Password Authentication Safely
- Common Mistakes
- Frequently Asked Questions
- Which SSH key type should I use in ssh-keygen?
- How do I fix Permission denied (publickey)?
- Why do my SSH keys still ask for a password?
- Can I use the same key for several servers and for Git?
- Should I disable password authentication after setting up keys?
- How do I use SSH keys on Windows?
- What to do next
What You Need
Four things, and you probably already have three of them.
- An SSH client. OpenSSH ships with Linux, macOS and Windows 10/11 (Settings, System, Optional features). PuTTY works too if you prefer a GUI.
- A terminal. Terminal.app or iTerm2 on macOS, GNOME Terminal or Konsole on Linux, Windows Terminal or PowerShell on Windows.
- A user account on the remote server with a password that still works, plus sudo if you plan to edit
sshd_config. - The server address and username exactly as the provider spelled them, including any non-standard port.
Check your client before anything else. On Linux and macOS this prints the client version:
ssh -VOn Windows 11, PowerShell reports the same thing once the client is installed:
ssh -VIf that command is missing on Windows, open Settings, System, Optional features, then View features, and add OpenSSH Client. One thing worth knowing: any OpenSSH version from 6.5 onward, which covers Debian 8 and CentOS 7 and everything shipped since, supports ed25519 keys. You do not need a newer server.
Step-by-Step
How to set up ssh key authentication comes down to six ordered steps, and the order matters more than the individual commands. Get the key working first, verify it from a second terminal, and only then harden the server.
Step 1: Generate an SSH Key Pair
Run ssh-keygen on your own machine, not on the server. This creates two files: id_ed25519, the private key that must never leave your machine, and id_ed25519.pub, the public key you hand out freely.
ssh-keygen -t ed25519 -C "[email protected]" -f ~/.ssh/id_ed25519What each flag does: -t ed25519 picks the algorithm, -C attaches a comment so you can identify the key later, and -f sets the path. You will be prompted for a passphrase, and I would set one on any machine that leaves your desk. Type it twice; if the two entries do not match you will be asked again.
Long-time Unix users often just run ssh-keygen and accept every default, which lands on ed25519 these days. Either way is fine, though a passphrase only protects the key at rest, so back the private file up somewhere safe if the machine dies.
To confirm both files exist:
ls -l ~/.ssh/id_ed25519*
# -rw-------  1 you  staff  411 ... id_ed25519
# -rw-r--r--  1 you  staff  102 ... id_ed25519.pub
On Windows PowerShell, ssh-keygen -t ed25519 -f "$env:USERPROFILE.sshid_ed25519" does the same job and stores the pair under your user profile.
If your server is genuinely ancient and rejects ed25519, fall back to RSA:
ssh-keygen -t rsa -b 4096 -C "[email protected]" -f ~/.ssh/id_rsa| Type | Key size | Use it when |
|---|---|---|
| ed25519 | 256-bit | Default choice. Fast, small, supported by OpenSSH 6.5 and later. |
| ECDSA | 256 or 521-bit | You want smaller keys in AMIs or images, or a client that lacks ed25519. |
| RSA | 4096-bit | Legacy clients only. Recent OpenSSH logs deprecation warnings for RSA. |
| DSA | 1024-bit | Do not use. Removed from default policy in modern OpenSSH. |
One community thread on itsfoss.community makes the RSA point well: a member had generated with -t rsa -b 4096 for years, then realised the deprecation warnings he kept seeing in /var/log/auth.log were about his own key, not about failed logins. He switched to -t ed25519 and logged in fine on Ubuntu 24.04 LTS with OpenSSH 9.6p1 at both ends.
Step 2: Copy the Public Key to the Server
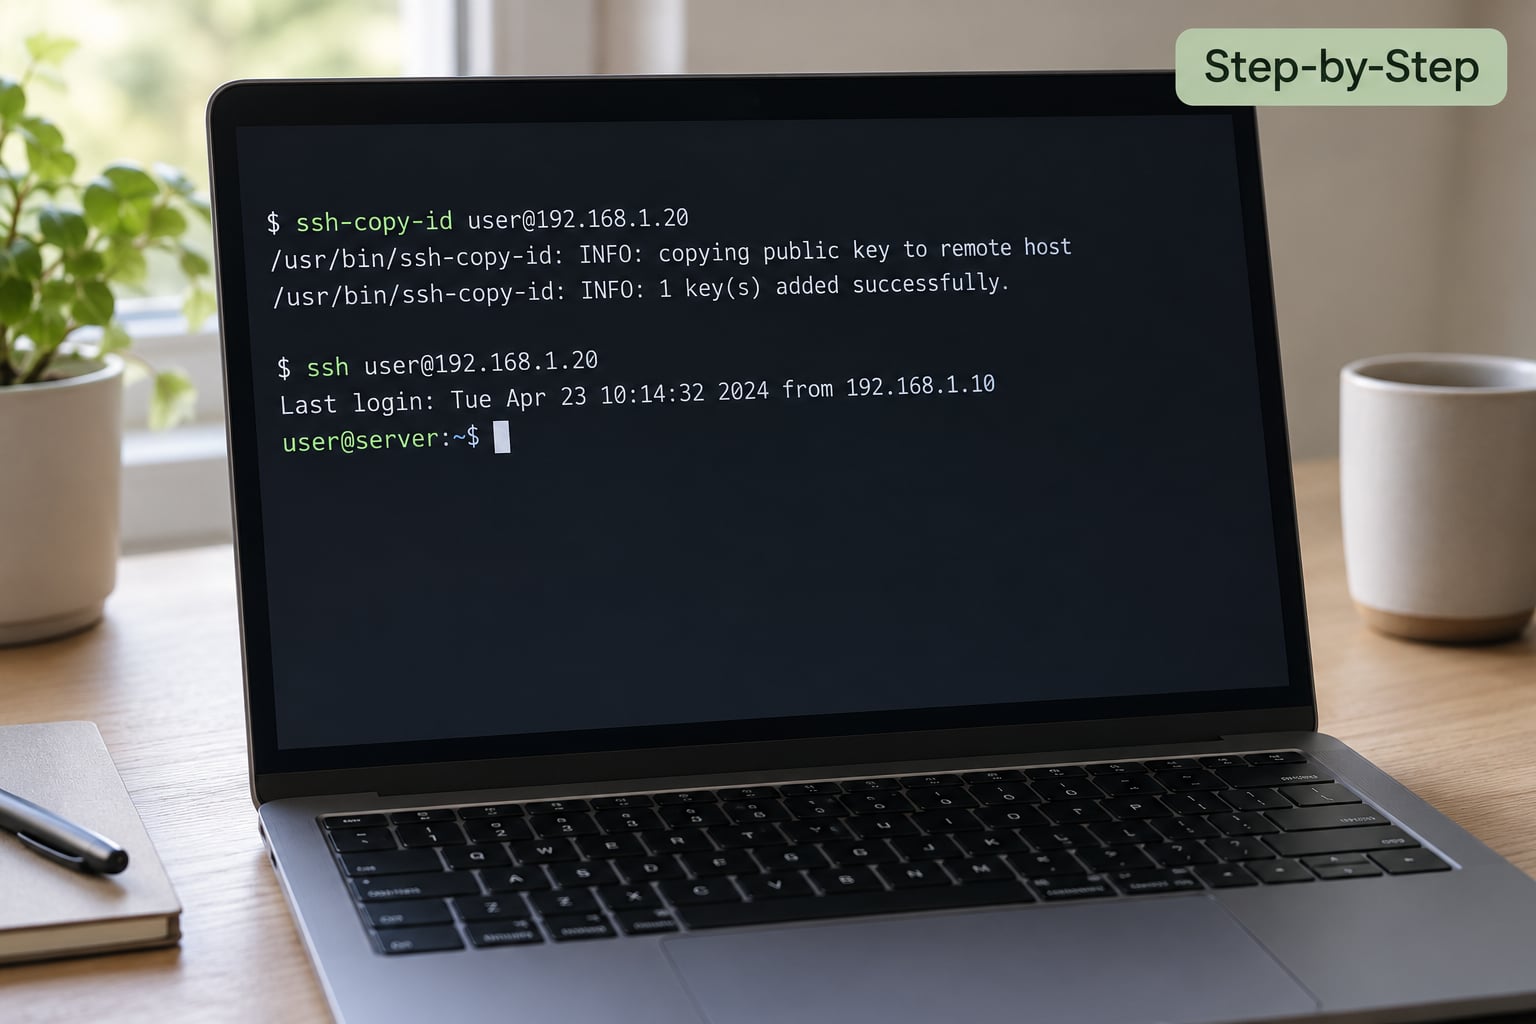
Where ssh-copy-id exists, it does the work in one line:
ssh-copy-id [email protected]
# for a non-standard port:
ssh-copy-id -p 2222 [email protected]
It prompts for the password once, appends the public key to authorized_keys, and sets the permissions it knows about.
On Windows 10 and 11 OpenSSH there is no ssh-copy-id. Print the key instead and paste it through the provider’s web console, which is the safest route on a machine that has no password auth left:
Get-Content $env:USERPROFILE.sshid_ed25519.pub | Set-ClipboardOn Linux and macOS:
cat ~/.ssh/id_ed25519.pubNever transfer the private key. If a tool or a person asks for id_ed25519 without the .pub suffix, stop.
Step 3: Install the Key in authorized_keys
The server keeps your public key in a plain text file called authorized_keys, one key per line, inside the remote user’s ~/.ssh directory. For the user deploy the full path is /home/deploy/.ssh/authorized_keys.
If ssh-copy-id was unavailable, log in with your password and build the file by hand:
mkdir -p ~/.ssh
chmod 700 ~/.ssh
cat >> ~/.ssh/authorized_keys
# paste the whole public key line, then press Ctrl+D
To create the file non-interactively in one shot:
echo 'ssh-ed25519 AAAAC3NzaC1lZDI1NTE5AAAAI... [email protected]' >> ~/.ssh/authorized_keysThree mistakes corrupt this file more than anything else: a missing newline at the end, Windows CRLF line endings carried over from Notepad, and a stray $ or > from the shell prompt ending up inside the pasted line. If two keys are on the same line, neither works.
Windows OpenSSH servers use the same layout, with the path usually C:Users<name>.sshauthorized_keys. A few network appliances are different: MikroTik routers and CoreELEC boxes keep their keys under /storage/.ssh/authorized_keys, and refuse keys pasted anywhere else even after a restart.
Step 4: Fix File and Directory Permissions
OpenSSH refuses to read a key file that other users can write to, and it does so silently: you get Permission denied (publickey) with no explanation. This is the most commonly reported cause of failed key authentication, and the fix is three commands.
chmod 700 ~/.ssh
chmod 600 ~/.ssh/authorized_keys
chown -R "$USER":"$USER" ~/.ssh
On the server, the same ownership has to apply to the remote user, run as root:
chown -R deploy:deploy /home/deploy/.ssh
chmod 700 /home/deploy/.ssh
chmod 600 /home/deploy/.ssh/authorized_keys| Path | Required mode | What breaks if it is wrong |
|---|---|---|
| Home directory | 755 or stricter | Key rejected: sshd will not traverse a world-writable home |
| ~/.ssh | 700 | Key rejected, StrictModes blocks the read |
| ~/.ssh/authorized_keys | 600 | Key rejected, or ignored entirely if group-writable |
| ~/.ssh/id_ed25519 (private) | 600 | The client refuses to use the key |
On Windows there are no chmod bits; ACLs do the same job. For a local user, removing inherited access to the .ssh folder is what the server expects:
icacls $env:USERPROFILE.ssh /inheritance:r
icacls $env:USERPROFILE.ssh /grant "$env:USERNAME:(F)"
If you have SELinux in enforcing mode, correct modes are not enough. The file needs the right context, which restorecon -R -v ~/.ssh will reapply.
Step 5: Test SSH Key Authentication
Test with a password still enabled, so a failure costs you nothing. Keep your existing session open while you do it.
ssh -i ~/.ssh/id_ed25519 [email protected]
# non-standard port:
ssh -p 2222 -i ~/.ssh/id_ed25519 [email protected]
A success looks like this: no password prompt, and the verbose output names the method it used.
ssh -v [email protected] 2>&1 | grep -i "authentication succeeded"
# debug1: Authentication succeeded (publickey).
If you see Authentications that can continue: publickey instead, the server never offered password auth, which means it did not like the key. When the line is missing entirely, fall back to the full verbosity setting and read it top to bottom:
ssh -vvv [email protected]What to look for, in order: which key files were offered (Offering public key: /home/you/.ssh/id_ed25519), whether the server accepted it (Server accepts key), and which method finally won. Server-side, journalctl -u ssh on systemd hosts or tail -f /var/log/auth.log on Debian and RHEL systems gives the matching reason. Running /usr/sbin/sshd -ddd on a spare port is the last resort, and it tells you outright why it will not use your authorized_keys file.
Once the key works, cache it in the agent so the passphrase is typed once per session:
eval "$(ssh-agent -s)"
ssh-add ~/.ssh/id_ed25519
ssh-add -l
Get-Service ssh-agent | Set-Service -StartupType Automatic
Start-Service ssh-agent
ssh-add $env:USERPROFILE.sshid_ed25519A config file entry saves you typing the path and port forever:
cat >> ~/.ssh/config <<'EOF'
Host app01
    HostName server.example.com
    User deploy
    Port 2222
    IdentityFile ~/.ssh/id_ed25519
    IdentitiesOnly yes
EOF
Now ssh app01 is all you need. For a server behind a bastion, add ProxyJump [email protected] to the same block.
Step 6: Disable Password Authentication Safely
This is the step that locks people out. Only reach it after the key login has worked in a second terminal, with your original session still open.
Back up the config first, so you can restore it from the console if something is wrong:
sudo cp /etc/ssh/sshd_config /etc/ssh/sshd_config.bakThen set the three directives that matter:
sudo nano /etc/ssh/sshd_configPubkeyAuthentication yes
PasswordAuthentication no
PermitRootLogin prohibit-passwordPermitRootLogin prohibit-password keeps root reachable by key while closing it to password guessing. On cloud images the file may be split across /etc/ssh/sshd_config.d/*.conf, and a drop-in file will win over the main config, so check there too.
Validate before restarting, then reload rather than restart so live sessions survive:
sudo sshd -t && sudo systemctl reload sshd
# Debian and Ubuntu use ssh.service, RHEL and Fedora use sshd.service
Open a brand new terminal and confirm your key still logs you in. Only close the original session once that succeeds.
Common Mistakes
| Error | Likely cause | Fix |
|---|---|---|
| Permission denied (publickey) | Loose permissions on ~/.ssh or authorized_keys | chmod 700 ~/.ssh and chmod 600 authorized_keys on the server |
| Permission denied (publickey) | Private key pasted by mistake instead of the public one | Remove the line, append the output of cat id_ed25519.pub |
| Permission denied (publickey) | Wrong username, or the key is in root’s file not the user’s | Check AuthorizedKeysFile in sshd_config and who owns the file |
| Bad permissions, please try again | The client refuses the private key locally | chmod 600 on the private key, or re-add it with ssh-add |
| Too many authentication failures | Agent offering five keys before the right one | Add IdentitiesOnly yes to the Host block |
| Connection refused after a reboot | sshd config broken by the hardening step | Restore sshd_config.bak from the provider console |
| fatal: could not read from remote repository | Git using SSH without a registered public key | Add id_ed25519.pub to the repository’s deploy keys, then ssh -T git@host |
That last one is what permission denied (publickey), fatal: could not read from remote repository usually means: Git got as far as the server and was refused. Add the same public key to GitHub or GitLab under Settings, SSH and GPG keys, then verify with ssh -T [email protected] before retrying the clone.
Two more worth knowing. If key login works for your user but not for root, check PermitRootLogin and remember root’s authorized_keys lives in /root/.ssh, owned by root. And if authentication worked yesterday but broke after a package upgrade, look for an algorithm that is no longer accepted: DSA and small RSA keys get disabled by OpenSSH policy, so an ed25519 replacement is usually the fix.
Frequently Asked Questions
Which SSH key type should I use in ssh-keygen?
Use ed25519 unless you have a specific reason not to. It is fast, produces short keys, and any OpenSSH server from 6.5 onward accepts it. Choose ECDSA 521 for clients that predate ed25519 support. Reserve RSA 4096 for genuinely old equipment, since current OpenSSH versions log deprecation warnings for RSA keys. DSA is no longer accepted by default.
How do I fix Permission denied (publickey)?
Run ssh -vvv to see which keys were offered, then fix permissions on the server: chmod 700 on the user’s .ssh directory, chmod 600 on authorized_keys, and chown both to that user. Confirm the line in authorized_keys starts with ssh-ed25519 and ends with a newline. If you pasted the private key by mistake, replace it with the output of cat ~/.ssh/id_ed25519.pub.
Why do my SSH keys still ask for a password?
Usually the server never accepted the key, so ssh falls back to whatever other methods are allowed. Causes include loose permissions, a public key that was never appended to authorized_keys, a mismatched username, or several keys in the agent with IdentitiesOnly unset. Check ssh -vvv for the line reporting which key was offered, and read the server log for the refusal reason.
Can I use the same key for several servers and for Git?
Yes, and it is normal practice. Copy the public key to every server’s authorized_keys file, and register the same public key in GitHub or GitLab under SSH and GPG keys. Keep one key per device rather than one key everywhere, so you can revoke a single machine without touching the rest of your infrastructure.
Should I disable password authentication after setting up keys?
Only after key login works, verified in a second terminal with your original session still open. Set PubkeyAuthentication yes, PasswordAuthentication no and PermitRootLogin prohibit-password in sshd_config, run sshd -t to validate, then reload the service. If you lock yourself out, restore sshd_config.bak from your provider’s console.
How do I use SSH keys on Windows?
Windows 10 and 11 include the OpenSSH client, so install it from Optional features and use PowerShell. Generate a pair with ssh-keygen -t ed25519, copy the public key with Get-Content, then paste it into the server’s authorized_keys file. PuTTY is the alternative: puttygen creates .ppk files instead, which OpenSSH cannot read, so do not mix the two formats on one key.
What to do next
Run the whole thing once without any existing keys: generate with ssh-keygen -t ed25519, copy with ssh-copy-id, set 700 and 600, then test. Everything after that is refinement.
Once key auth works, three habits keep it working. Add a Host block per server so you type ssh app01 instead of a full command line. Add the passphrase to ssh-agent so it is asked once per login session. And when a machine is lost or decommissioned, delete its key line from authorized_keys on each server, which revokes it immediately with no change needed on the client.