The find command walks a directory tree and prints every file that matches an expression you give it, based on name, type, size, modification time, owner or permissions. Learning how to use find command in Linux with examples takes about twenty minutes, and it is the single most useful tool for locating and acting on files at scale.
Here is the mental model I hand new admins: where, then what. Give find a starting path, then give it tests, then an action. Everything else is detail.
Table of Contents
- What You Need
- Step-by-Step: How to Use find Command in Linux with Examples
- How to Use find Command in Linux with Examples for File Names
- Filter by File Type, Size, and Extension
- Filter by Modification Time and Date
- Filter by Permissions and Ownership
- Combine Tests with AND, OR, and NOT
- Act on Results with -exec and -delete
- Search by Content, Owner Context, and Directory Structure
- Common Mistakes
- Frequently Asked Questions
- What is the difference between GNU find and BSD find?
- Why does find return nothing when locate or a shell glob finds the file?
- Why does find print Permission denied errors?
- How do I search the whole filesystem without crawling /proc?
- How do I handle filenames with spaces or newlines?
- How do I make a find command safe to rerun?
- Conclusion
What You Need
Nothing to install. GNU findutils ships with Debian, Ubuntu, Fedora, Arch and every other mainstream distribution, and find has been in the base system since long before most people started typing commands.
Check which implementation you have, because GNU and BSD (macOS, FreeBSD) do not support identical options:
find --version
# GNU findutils 4.9.0
# BSD find 2.9.0 (macOS)
Two commands help with context while you work. pwd prints your current directory, and find treats a relative path like . as starting from there. ls lists what is directly inside it.
pwd
# /home/dev/project

ls
# README.md  src  docs
One thing worth separating early: most find commands are read-only. They print paths and change nothing. The ones that delete, move or chmod start with -exec or -delete, and those are the ones you dry-run before you trust.
When an option below does not behave as described, man find is the real documentation. The man page is long, but the search inside it (man find | grep -A5 maxdepth) is fast.
Step-by-Step: How to Use find Command in Linux with Examples
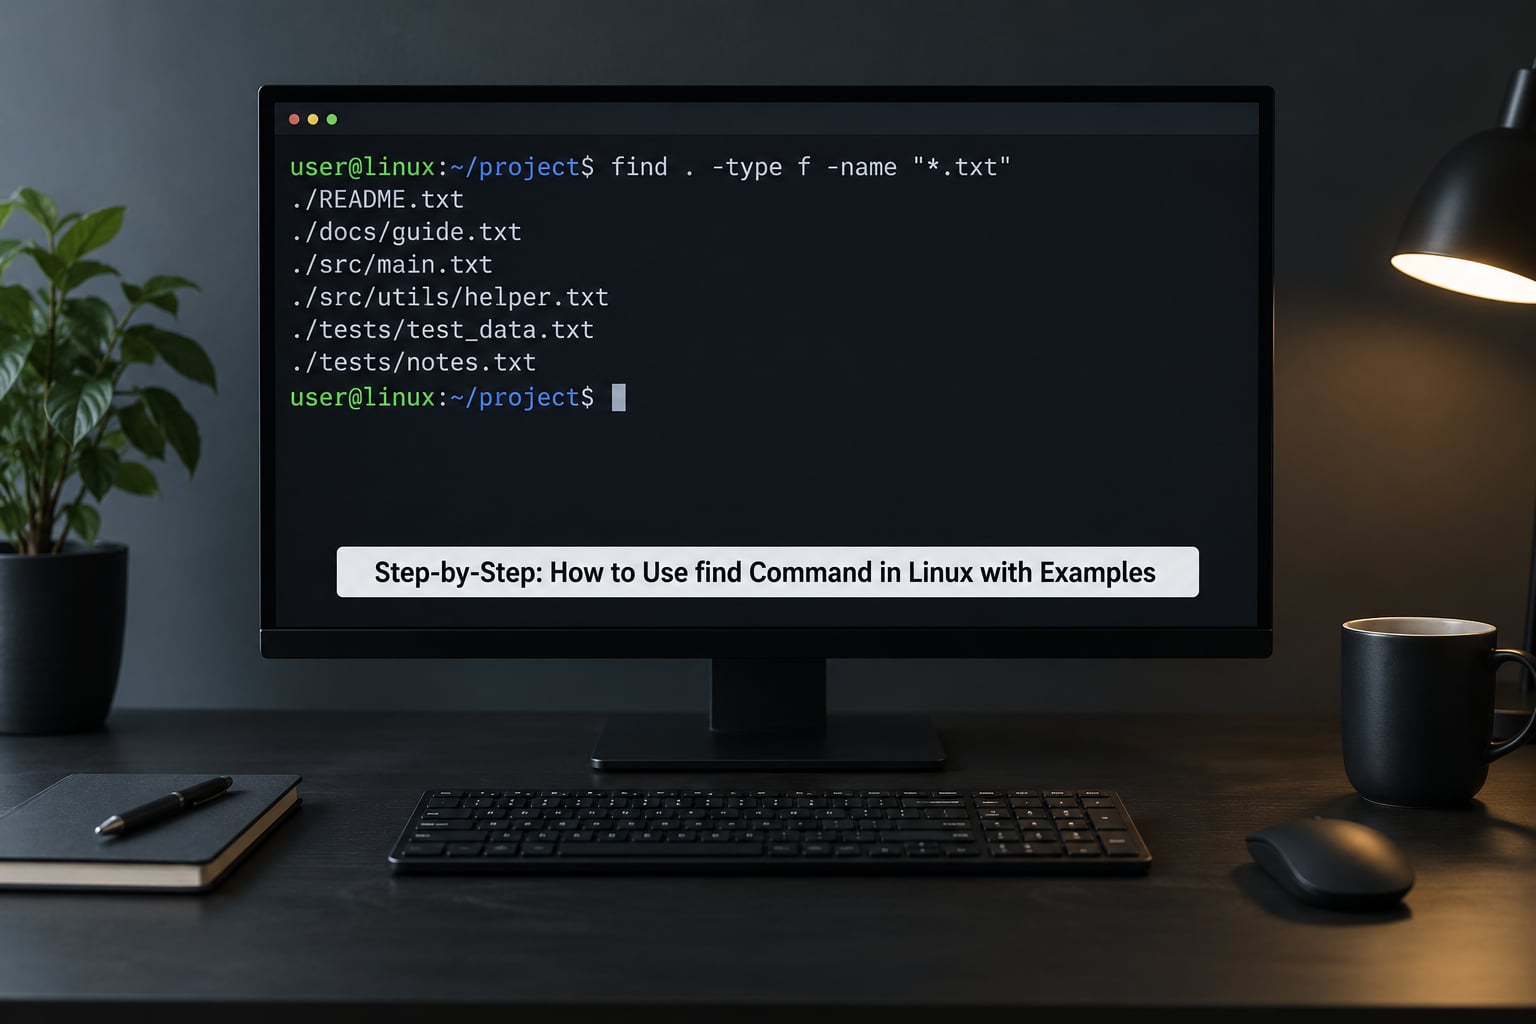
The syntax is always the same shape:
find [options] [path...] [expression]Paths come first, expressions second, and the order matters more than any single flag. If you write find -name "*.log" /var/log, find treats -name, the pattern and /var/log as paths to search and complains. The path has to come before the expression.
An expression is built from two kinds of pieces: tests, which return true or false (-name, -size, -mtime, -user), and actions, which do something (-print, -exec, -delete). When no action is given, -print is assumed, which is why a bare search always outputs a list of paths.
Without any expression, find just prints everything under the path, recursively:
find ./docs
# ./docs
# ./docs/install.md
# ./docs/troubleshooting.md
# ./docs/old/setup.md
That listing is the reason -maxdepth exists. Without it, a search under / walks every subdirectory and eventually crawls /proc and /sys, which produce noise, errors and very slow output.
How to Use find Command in Linux with Examples for File Names
-name matches the filename only, not the path, and it is case-sensitive. The pattern is a shell wildcard, so quote it in single quotes:
find /home/dev -name 'notes.txt'
# /home/dev/notes.txt
# /home/dev/docs/notes.txt
Leave the quotes off and bash expands * against the current directory first. If nothing there matches, the pattern reaches find as the literal string *.txt; if something does match, find searches for that one filename and quietly returns nothing useful. That mismatch is the single most common find bug.
Use -path when you want the whole pathname matched instead:
find . -path '*/src/*.rs'
# ./app/src/main.rs
# ./lib/src/parser.rs
To ignore case, switch -name for -iname:
find /var/log -iname 'nginx*'
# /var/log/nginx
# /var/log/nginx/access.log
# /var/log/nginx-error.log
Narrow the root and add a depth ceiling when you only care about the top levels. -maxdepth counts how deep below the starting point find is allowed to go, and it must appear before the expression:
find /home/dev -maxdepth 2 -name 'package.json'
# /home/dev/package.json
# /home/dev/app/package.json
Because a missing path is silently ignored, an absolute path is safer than . when a script might run from an unexpected directory.
Filter by File Type, Size, and Extension
-type filters on what the directory entry actually is:
find . -type d -name 'node_modules'
# ./app/node_modules
# ./app/web/node_modules| Letter | Matches | Example |
|---|---|---|
| f | regular file | find . -type f -name '*.env' |
| d | directory | find . -type d -name 'build' |
| l | symbolic link | find /usr/lib -type l -name '*.so' |
| p | named pipe (FIFO) | find /tmp -type p |
| s | socket | find /run -type s |
| b | block device | find /dev -type b |
| c | character device | find /dev -type c |
Extension filtering is really just name filtering with a wildcard. -name '*.tar.gz' works because the pattern is matched against the whole filename, and adding -type f keeps directories called backup.tar.gz out of the results.
find /home/dev -type f -name '*.log'
# /home/dev/app/server.log
-size takes a number plus a unit. The unit matters: b is 512-byte blocks, c is bytes, w is 2-byte words, and k, M, G are the familiar ones. Prefixing the number with + means “greater than”, a bare number means “exactly rounded up to units”, and - means “less than”.
find / -xdev -type f -size +500M 2>/dev/null
# /var/lib/docker/overlay2/9f2c/vfs/dir/biglayer

find /home/dev -type f -size -1k
# /home/dev/empty.conf
# /home/dev/app/tiny.json
The second command is the way to find near-empty files. -size -1k means strictly under one kilobyte after rounding, so genuinely zero-byte files are not caught; for those, use -empty, which matches files of length zero and directories with no entries:
find /home/dev -type f -empty
# /home/dev/app/todo.js
Filter by Modification Time and Date
Time tests accept a number that means “how many 24-hour periods ago”, so -mtime -1 is anything modified in the last day and -mtime +30 is anything untouched for a month. -mmin and -amin do the same in minutes, which is what you want for logs and crash dumps.
find /var/log -type f -mtime -1
# /var/log/syslog
# /var/log/nginx/access.log
A number without a sign rounds up, so -mtime 1 means “modified more than zero days ago but within two”. That surprises people. For exact date arithmetic, -newermt takes a date string directly:
find /etc -type f -newermt '2026-01-01'
# /etc/ssh/sshd_config
# /etc/systemd/journald.conf
-newer compares against another file rather than a date, which is perfect for incremental jobs. Anything changed since you last ran the backup:
touch /tmp/last-backup

find /srv/data -type f -newer /tmp/last-backup
# /srv/data/uploads/2026-10-03-report.csv
There is also -anewer and -cnewer for access time and inode change time, which catches files that were touched or have had their permissions altered.
Filter by Permissions and Ownership
On a shared box, -user and -group answer the ownership question directly. Run the search under sudo when you want to see files outside your own account.
find /home -user dev -type f
# /home/dev/report.md
# /home/dev/src/main.c
-perm matches permission bits. Bare, it matches exactly; prefixed with - it means “at least these bits set”; prefixed with / it means “any of these bits set”. That last form is what you want for audits.
find / -xdev -type f -perm -4000 2>/dev/null
# /usr/bin/passwd
# /usr/bin/sudo
Those are setuid binaries, which run with the privileges of the file owner. On a normal desktop you expect a handful; a long unexpected list is worth investigating. World-writable files are the other half of a quick audit:
find / -xdev -type f -perm -0002 2>/dev/null
# /tmp/scratch.txt
Add -user root to narrow that second one down, because most world-writable files worth worrying about are root-owned and sitting somewhere they should not be writable.
Combine Tests with AND, OR, and NOT
Tests sitting next to each other are combined with AND automatically, so find . -type f -name '*.log' means regular file and ends in .log. You can write it explicitly with -a, and -o is OR.
find /var/log ( -name '*.log' -o -name '*.gz' ) -mtime +30
# /var/log/old-access.log
# /var/log/archive/backup.log.gz
The parentheses are the part that catches people. Without them, precedence gives you find /var/log -name '*.log' OR (-name '*.gz' AND -mtime +30), which returns every .log file regardless of age. You must escape the parentheses so bash passes them to find rather than treating them as a subshell, either with backslashes as above or by quoting the whole expression.
Negation uses ! or -not, and it has the same precedence trap. Always wrap it in parentheses when it is only part of the search:
find /home/dev -type f ! -name '*.tmp' -name '*.js'
# /home/dev/app/index.js
And -prune skips an entire subtree, which is the fastest way to keep node_modules or a virtual filesystem out of your results:
find / -path /proc -prune -o -path /sys -prune -o -path /dev -prune -o -name 'config.yaml' -print
# /etc/app/config.yaml
Read that pattern carefully, because -prune only ever returns true, which is why each prune is joined with -o. It is the one line worth memorising.
Act on Results with -exec and -delete
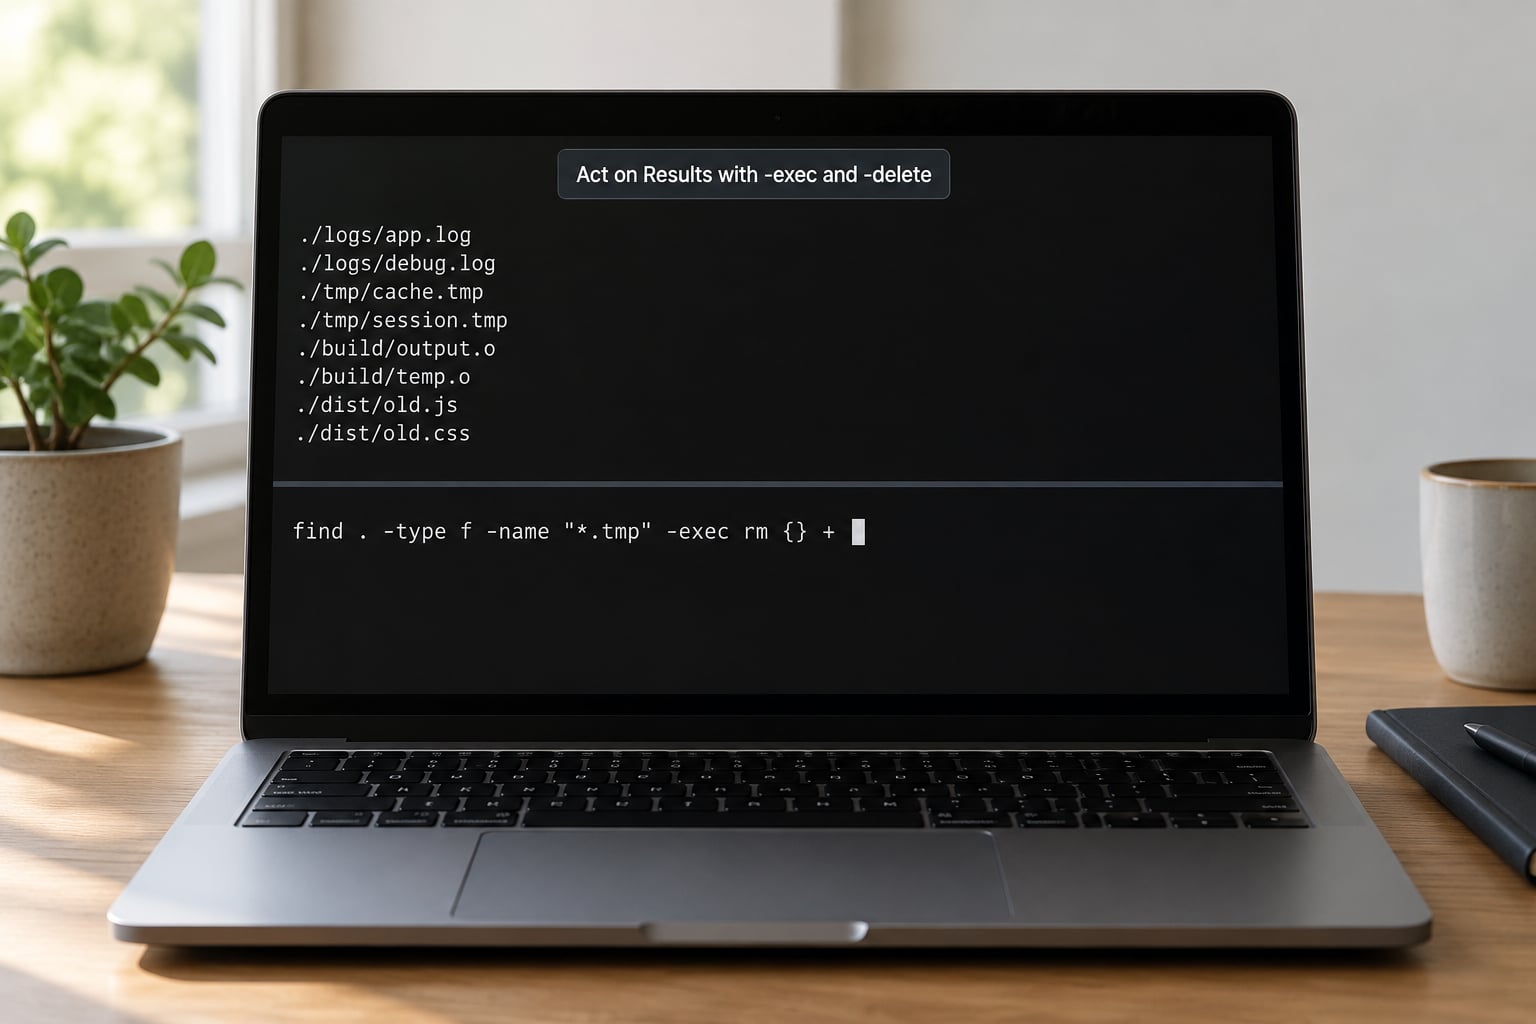
-exec runs a command on each match, with {} standing in for the path. The terminator has to be either ; or +, and in bash the semicolon usually needs escaping:
find /home/dev -name '*.tmp' -exec rm {} ;
# (runs rm once per file)
Using {} + instead batches everything into one invocation with many arguments, which is dramatically faster over SSH or on a large tree because you are not spawning a process per file:
find /home/dev -name '*.tmp' -exec rm {} +
# (runs rm once, with every match as an argument)
Filenames with spaces or newlines break the naive -exec form, because the shell inside the command splits them. Route through NUL delimiters instead:
find . -name '*.log' -print0 | xargs -0 grep -l 'connection refused'
# ./logs/app.log
Always preview before you destroy. I run the search without an action first, read the list, then rerun with -delete:
# step 1: preview
find /tmp/builds -type f -name '*.tmp' -mtime +7
# /tmp/builds/a.tmp
# /tmp/builds/b.tmp

# step 2: act
find /tmp/builds -type f -name '*.tmp' -mtime +7 -delete
-delete is safer than -exec rm in one specific way: it deletes in a single pass and does not descend into directories it has just emptied. It also implies -depth, so it processes children before parents. What it does not do is ask. Neither does it, so the preview step stays mandatory.
To keep the action conditional and re-runnable, -ok prompts you per file:
find /tmp/builds -name '*.tmp' -mtime +7 -ok rm {} ;
# rm /tmp/builds/a.tmp ? y
Search by Content, Owner Context, and Directory Structure
find matches metadata, not contents. For text inside files, pipe it to grep:
find /etc -type f -name '*.conf' -exec grep -l 'PermitRootLogin' {} +
# /etc/ssh/sshd_config
Depth control is the biggest performance lever. -maxdepth sets a ceiling and -mindepth a floor, and together they let you skip the starting directory itself or exclude shallow files from a deep search:
find /var -mindepth 2 -name '*.log'
# /var/log/nginx/error.log
# (nothing directly under /var)
Symlinks get three modes: -P is the default and never follows them, -L follows every link it finds, and -H follows only ones given on the command line. -L on a tree with a circular link will keep going forever, so stick with the default unless you know the tree is clean.
find -L /usr/share -maxdepth 3 -name 'example.*'
# follows links, but stops at depth 3
Two faster alternatives exist for everyday browsing. fd is a modern, faster, more forgiving reimplementation with the same ideas and clearer defaults. locate queries a prebuilt name index, so it is near-instant but blind to size, owner and time, and it can report files you deleted hours ago. For scripts that act on real current state, find is the right tool.
And if you are hunting for the command rather than the file, type -a find or which find gives you the path to the binary itself.
Common Mistakes
Unquoted wildcards. find . -name *.log lets bash expand the pattern first. Single-quote every glob you hand to find.
# wrong
find . -name *.log

# right
find . -name '*.log'
Paths after the expression. find -name '*.log' /var/log treats /var/log as a path to walk, so find searches the wrong place and complains. Path first, always.
Missing parentheses. find . -type f -o -name '*.log' returns every regular file plus every .log, because AND binds tighter than OR. Wrap the OR group: find . -type f ( -name '*.tmp' -o -name '*.bak' ).
Wrong time units. -mtime -1 is a day, not a minute, and a bare -mtime 1 rounds up to two days. Use -mmin -60 for the last hour.
Crawling the whole filesystem. find / -name 'thing' walks /proc and /sys, which is slow and full of permission errors. Prune them, or search from a narrower root such as /home or /var/www.
Permission denied everywhere. find reports directories it cannot read and keeps going. Suppress the noise with 2>/dev/null or, when you genuinely need everything, run under sudo.
Empty results with no error. Usually one of three things: the path is wrong, the expression order is off, or the file lives outside the subtree you started from. Check each with ls before you conclude the file is not there.
One habit that has saved me repeatedly: keep a scratch directory and test destructive commands there first. mkdir -p /tmp/findtest, make a handful of throwaway files, and rehearse -delete before pointing it at /var.
Frequently Asked Questions
What is the difference between GNU find and BSD find?
GNU find (Linux) and BSD find (macOS, FreeBSD) share the common options like -name, -type, -size, -mtime and -exec, but extensions differ. -printf, -maxdepth, -mindepth, -newermt and -regex are GNU-only, so they fail on macOS. BSD find also requires -xdev on some systems and handles -size rounding differently. Check with find u002du002dversion before relying on any option.
Why does find return nothing when locate or a shell glob finds the file?
Usually the starting path. A shell glob only looks in the current directory, and locate queries an index that can be stale, so both can disagree with reality. Confirm the path with pwd and ls, search from / or from a parent directory such as /home or /var/www, and remember that find descends recursively while a glob stays in one directory.
Why does find print Permission denied errors?
find lists directories it cannot read but keeps working on the rest. If the matches you care about are under those directories, your user genuinely lacks the access. Redirect the noise with 2u0026gt;/dev/null, or rerun under sudo when you have the rights. Pruning unreadable subtrees with -prune keeps both the output and the run time down.
How do I search the whole filesystem without crawling /proc?
Prune the virtual filesystems explicitly, as in find / u005c( -path /proc -o -path /sys -o -path /dev u005c) -prune -o -name ‘thing’ -print. You can also add -xdev to stay on one filesystem, or -maxdepth to cap the search. Each of these turns a slow, noisy walk into a fast targeted one.
How do I handle filenames with spaces or newlines?
Quote or escape the pattern itself, and for acting on results use NUL delimiters: find . -print0 piped into xargs -0. Plain newlines as delimiters break on any filename containing one, and -exec passes names to a shell that splits on spaces. Batch with {} + rather than {} u005c; when the command accepts many arguments at once.
How do I make a find command safe to rerun?
Run the search first without any action and read the list, then add the action. Keep the path and expression identical between the two runs so you know the set has not shifted. Prefer -delete over -exec rm because it works in one pass and will not descend into directories it empties, and use -ok when you want a prompt per file.
Conclusion
Run one narrow, read-only search first: find /home/dev -maxdepth 3 -type f -name '*.log'. It is safe, it is fast, and it teaches you the path-then-expression order that every other form depends on.
From there, stack predicates before you stack actions. Add -mtime or -size to narrow the set, read the output, and only then reach for -exec or -delete with an identical command you have already seen print the right paths.