To verify a download checksum, hash the file you just saved and compare that value against the digest the publisher published: Get-FileHash in PowerShell or certutil -hashfile in Command Prompt on Windows, shasum -a 256 on macOS, and sha256sum on Linux. If the two strings match character for character, your copy is intact and untampered with. The whole check takes under a minute once you know where the official value lives.
The hard part is rarely the command. It is finding a checksum that actually came from the publisher, making sure you hashed the same algorithm and the same file they hashed, and comparing 64 hex characters without losing your place. Get those three things right and the tool does the rest.
Checksum verification matters most for installers, disk images, firmware, and anything you pull from a mirror. People browsing forum threads about downloads often ask whether it is worth the effort for routine files; the honest answer is that it is quick and pointless for a photo, and non-negotiable for an executable that will run with your privileges.
Table of Contents
- What You Need to Verify a Download Checksum
- Step-by-Step: How to Verify a Download Checksum
- Step 1: Find the Publisher’s Official Checksum
- Step 2: Check the Algorithm and File Identity
- Step 3: Calculate the Download Checksum on Your Device
- Step 4: Compare the Values Correctly
- Step 5: Decide Whether the Download Is Safe
- Common Mistakes and How to Fix Them
- Frequently Asked Questions
- What is the best algorithm for verifying a download checksum?
- How do I verify a checksum in Windows 10 or Windows 11?
- Why does my downloaded file’s checksum not match the published value?
- Does a matching checksum prove that a download is safe?
- How do I verify multiple files or a checksum file?
- Can I verify a checksum on macOS and Linux with the same commands?
- Conclusion
What You Need to Verify a Download Checksum
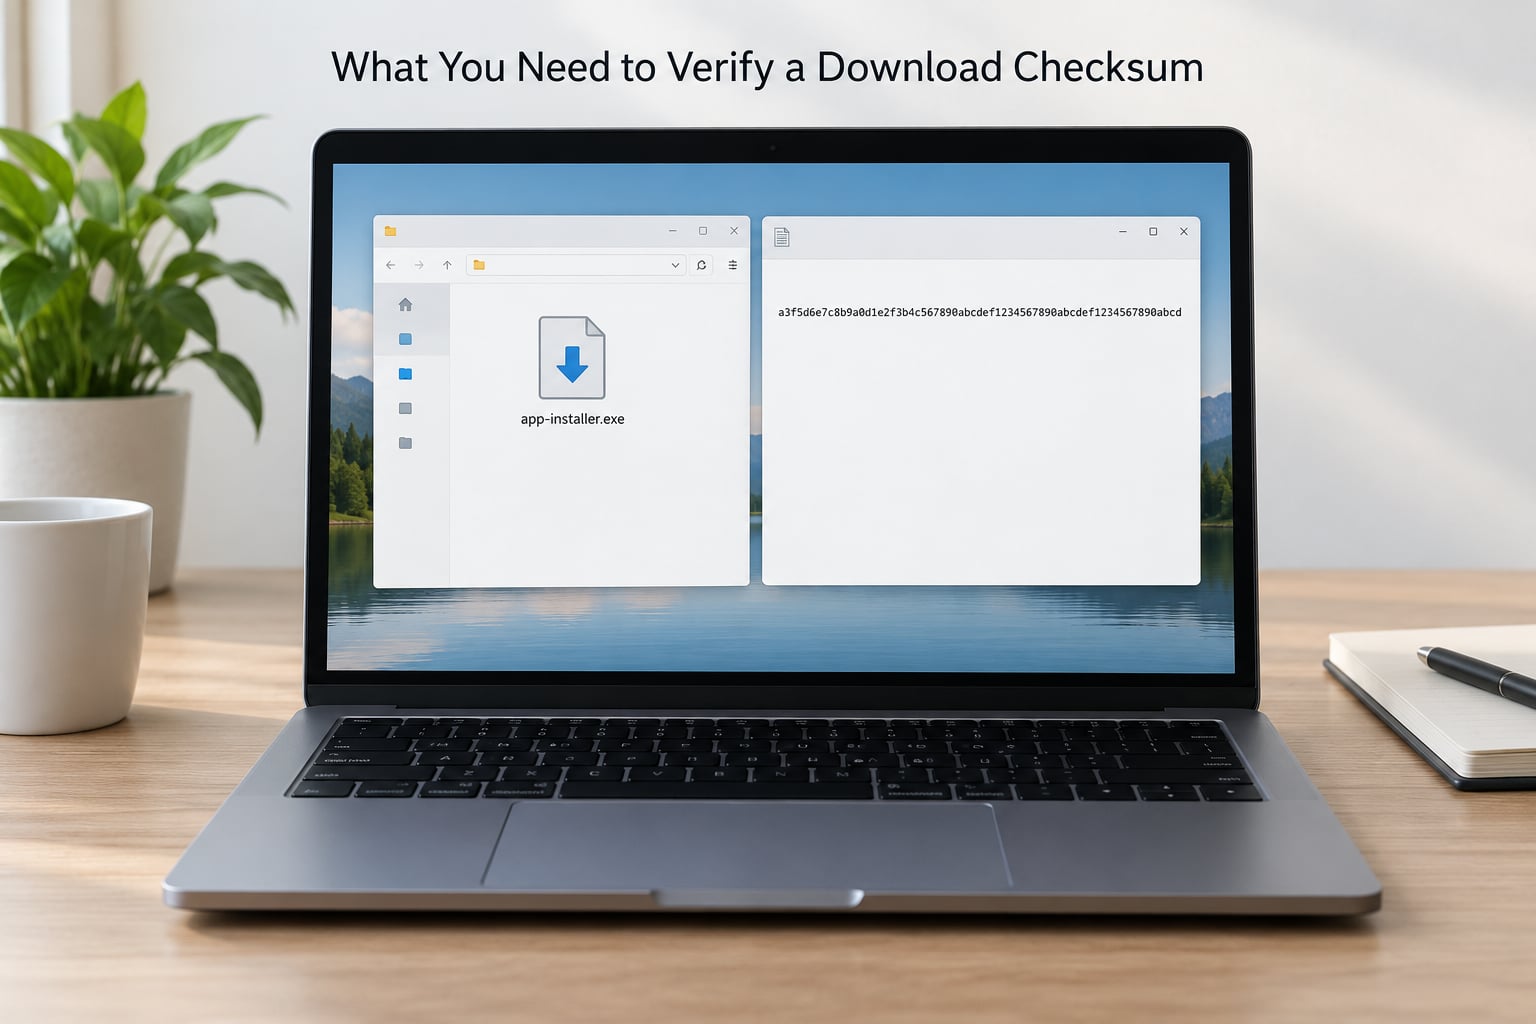
Four things, and you probably already have three of them.
- The downloaded file itself, still in the exact form you will use or install. Hash a compressed archive, not the installer extracted from it.
- The publisher’s official digest, copied from the vendor’s own release page, repository, or signed checksum file. Not from a forum post, mirror listing, or search result snippet.
- The matching algorithm name. The publisher tells you which one, either in the page text or implied by the checksum file extension.
- A hashing tool. Windows 10 and 11, macOS, and Linux all ship with one in the command line, so nothing needs installing if you are willing to use a terminal.
If you never touch a terminal, GUI options exist for Windows: the HashTab shell extension adds a Hashes tab in File Explorer, and 7-Zip can show hashes through its context menu. They are convenient on a work machine. The built-in commands are always there and have no supply chain of their own to worry about.
Step-by-Step: How to Verify a Download Checksum
Step 1: Find the Publisher’s Official Checksum
Go to the release page on the vendor’s own domain and look for a checksums link, a SHA256SUMS file, or a published digest next to each download. Linux distributions do this routinely; so do most language package managers and container registries. For a Windows installer, the digest is often on a separate downloads page or in release notes rather than next to the button.
Where a checksum file exists, download it from the same official location and open it in a text editor. You will see lines in a standard format, and the format tells you which algorithm to use:
2b7a1c8f3e5d4a6b9c0e1f2a3b4c5d6e7f8091a2b3c4d5e6f708192a3b4c5d6 *ubuntu-24.04-desktop-amd64.iso
The filename usually follows the digest, and the number of hex characters tells you the algorithm: 32 characters is MD5, 40 is SHA-1, 64 is SHA-256, 128 is SHA-512. Download the .iso, not the file in the same folder with a similar name. Attackers have used exactly that trick, hiding a malicious payload in a file whose name looks like the checksum list.
Be skeptical of any digest you found through a third-party hash lookup site. If the value did not come from the publisher’s domain or a repository they control, you have verified nothing.
Step 2: Check the Algorithm and File Identity
Before hashing anything, confirm you are looking at the right file and the right algorithm. Match the published digest against the exact file name, version, and architecture you downloaded. A page that lists app-2.4.1-x64.exe, app-2.4.1-arm64.exe, and app-2.3.9-x64.exe has three different digests, and pasting the wrong row is the single most common reason people think their file is corrupt.
Watch for the asterisk in checksum files. A leading * in front of the filename means binary mode, which is the normal form on Linux and unusual on Windows. The digest itself is unaffected either way.
Linux users on a rolling distribution get an automatic version of this check: the package manager verifies every download against the repository’s signed metadata before installing. That is the same mechanism, applied by the system instead of by hand.
Step 3: Calculate the Download Checksum on Your Device
Open a terminal in the folder holding the file, or give the full path. Here are the exact commands.
Windows, PowerShell:
Get-FileHash .app-2.4.1-x64.exe -Algorithm SHA256
Output is labelled, so it is hard to misread: the algorithm, the path, and Hash followed by 64 hex characters. You can swap SHA256 for SHA512 or MD5 if that is what the publisher used.
Windows, Command Prompt:
certutil -hashfile app-2.4.1-x64.exe SHA256
Command Prompt prints an English line, the hex digest, and a success message. It is the tool on older Windows machines and in scripted environments where PowerShell is restricted.
Windows 11 shortcut: Shift and right-click a file in File Explorer, choose Open in Terminal (or Copy as path, then paste it into an open terminal), and run the same command against that path. No folder navigation needed.
macOS:
shasum -a 256 app-2.4.1.pkg
The -a 256 flag picks SHA-256. Without it, shasum defaults to SHA-1. If a guide tells you to run bare shasum and compare against a 64-character digest, it is wrong.
Linux:
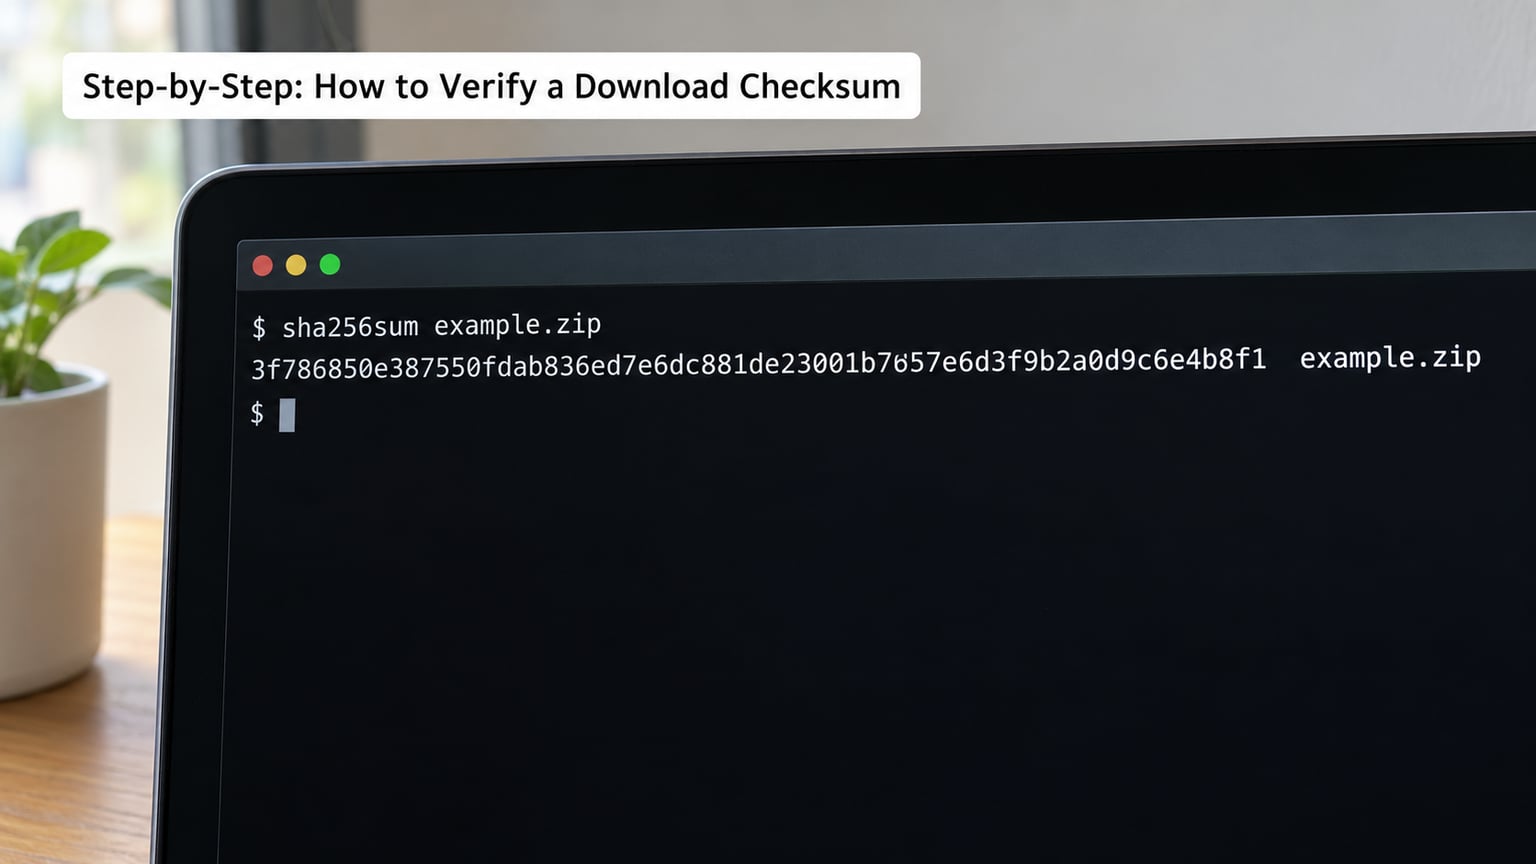
sha256sum app-2.4.1-x64.tar.gz
For MD5, the command is md5sum. For SHA-512, sha512sum. Coreutils prints the digest, two spaces, then the filename, which is why you can pipe the whole thing into a checksum file later.
Step 4: Compare the Values Correctly
Comparing 64 hex characters by eye is where honest mistakes happen. A few rules keep it honest:
- Case does not matter. Hex digests are compared case-insensitively, so
2B7Aand2b7aare the same value. - Strip whitespace and labels. Trailing spaces, a
*prefix, and the filename after the digest are all noise. Compare only the hex characters. - Compare the full length. A truncated digest that matches the first 20 characters proves nothing. Count: 64 for SHA-256.
- Watch line endings. A checksum file created on Windows may contain CRLF endings. If you script the comparison, normalise before diffing.
- Never eyeball it when you can automate it. On Linux and macOS, put the digest and filename in a file and run
sha256sum -c checksums.sha256. Each line printsOKorFAILED.
A practical habit: sort both strings mentally by breaking them into four groups of 16 characters, then compare group by group. Most people are not doing that consciously, which is exactly the point.
On Windows, a small PowerShell one-liner does the comparison for you and prints a clean result:
(Get-FileHash .app.msi -Algorithm SHA256).Hash -eq "2B7A1C8F3E5D4A6B9C0E1F2A3B4C5D6E7F8091A2B3C4D5E6F708192A3B4C5D6"
It returns True or False. That same comparison, wrapped in an if inside a loop over a directory of downloads, is the basis of batch verification for build pipelines and mirror refresh jobs.
Step 5: Decide Whether the Download Is Safe
A matching checksum proves two specific things: the bytes you hold are the bytes the publisher hashed, and nothing altered them in transit or on disk. It does not, by itself, prove the publisher is who they claim to be. An attacker who can rewrite the download page can also rewrite the digest on that page, and the comparison will still succeed.
That gap is where digital signatures come in. When a vendor signs a checksum file with GPG or PGP, the signature proves the digest came from a specific key, and the key’s fingerprint is the publisher’s real identity. Verify it with gpg --verify checksums.sha256.asc after importing the key from a source you already trust. Linux distribution images and open source release tarballs are the usual case, and security-focused forums point at signed digests whenever a question comes up about high-stakes downloads.
For an ISO image, check the signature before you burn it. A signature that says BAD signature means stop, regardless of whether the hash itself matched.
Common Mistakes and How to Fix Them
Hashing the wrong file. Usually the extracted contents, or a duplicate left over from an earlier version. Compare file name, size, and version string before hashing, and delete stray copies.
Using a different algorithm than the publisher. The values will never match. Check the character count of the published digest and match the tool to it.
Copying a truncated digest. Some pages show a shortened hash for display. Scroll down or open the checksum file to get the full value.
Trusting a cached or unofficial digest. A digest from an aggregator, a mirror’s own listing, or a search snippet is circular. Fetch it from the publisher’s domain each time.
Assuming a match means the file is safe. Integrity and authenticity are separate claims. Treat a matching hash as necessary, not sufficient, and look for a signature when the stakes are high.
Giving up on large downloads. Hashing a multi-gigabyte ISO takes a while but runs locally and does not touch the network. Start it and walk away.
Two more habits worth building. Never run a checksum tool you downloaded alongside the file you are verifying; use the one already on the system. And when a vendor publishes no digest at all, that is a signal in itself, especially for firmware and drivers.
Frequently Asked Questions
What is the best algorithm for verifying a download checksum?
Use SHA-256 by default. It is fast enough for multi-gigabyte images, widely published by every major vendor, and has no practical collision weakness. SHA-512 is stronger still and equally easy to compute, but fewer projects publish it. MD5 and SHA-1 are fine for detecting accidental corruption and should not be used to make security claims. If a publisher offers both SHA-256 and MD5, verify with SHA-256.
How do I verify a checksum in Windows 10 or Windows 11?
Open the folder in File Explorer, then either right-click the file and choose Open in Terminal on Windows 11, or open PowerShell and navigate to the folder yourself. Run Get-FileHash .filename -Algorithm SHA256 and read the Hash line. Command Prompt works too: certutil -hashfile filename SHA256. Compare that value with the publisher’s published digest, ignoring case and any filename label that follows it.
Why does my downloaded file’s checksum not match the published value?
Work through the causes in order. You may have hashed a different file, such as extracted contents or a leftover copy of an older version. The algorithm may differ: a 32-character digest is MD5, 64 is SHA-256, 128 is SHA-512. You may have copied a truncated display value, or the download may genuinely be truncated or corrupted. Delete the file, download it again from the official source, and re-verify before installing anything.
Does a matching checksum prove that a download is safe?
It proves the file is intact and identical to what the publisher hashed. It does not prove the publisher is genuine. Someone who controls the download page can publish a digest matching a malicious file they also serve. For firmware, operating system images, and anything else security relevant, look for a GPG or PGP signature on the checksum file and verify the signature against a key fingerprint you trust from another source.
How do I verify multiple files or a checksum file?
On Linux and macOS, save the publisher’s checksum list and run sha256sum -c checksums.txt in the same folder. Each line prints OK or FAILED, which is fast enough for hundreds of files. On Windows, loop Get-FileHash over a directory and compare each Hash value to the matching line. Note that a checksum file must reference the filenames as they appear on your disk, so edit the paths if the publisher used a different folder layout.
Can I verify a checksum on macOS and Linux with the same commands?
Mostly. Both ship shasum, shasum -a 256, and shasum -a 512, and both handle the -c flag against a checksum file. Linux adds the shorter names sha256sum and md5sum, which are separate binaries from the Perl-based shasum but produce identical output for the same algorithm. So a shasum command copied from a tutorial usually runs on both, while a sha256sum command will fail on macOS unless coreutils is installed.
Conclusion
To verify a download checksum, start at the publisher’s official release page, take the full digest for your exact file and algorithm, run the built-in hashing command on the file you actually saved, and compare the complete values case-insensitively. If they match, the file is intact; if they do not, delete it and download again rather than installing it. For firmware, system images, and security software, go one step further and verify the publisher’s signature on the checksum file.