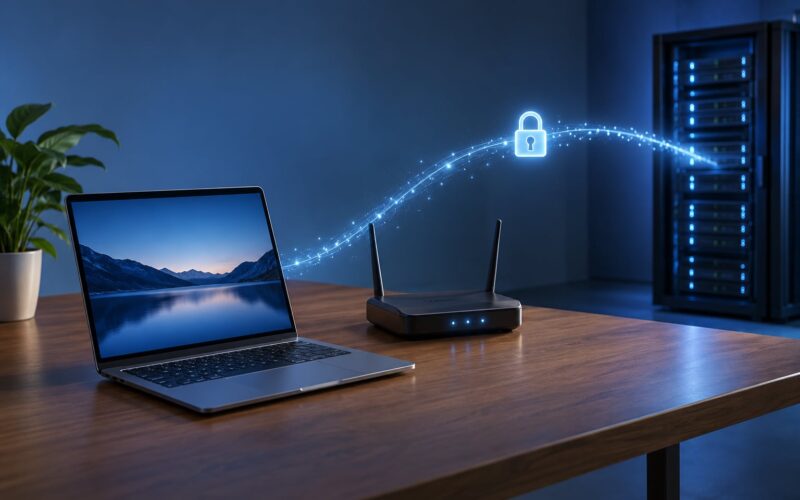
To segment your home network for security, split it into separate VLANs for trusted computers, IoT devices, guests and cameras, then add inter-VLAN firewall rules that deny traffic by default and allow only the specific flows you need. The whole job takes an evening once you have a VLAN-capable gateway. If your router only offers one Wi-Fi network and no VLAN option, you will need to replace or supplement it first.
I have rebuilt my own network a few times now, and the part everyone underestimates is not the VLAN creation. It is what breaks afterwards: the Chromecast that stops being found, the printer that vanishes, the Home Assistant integration that needs local discovery. This guide covers the build and the breakage.
Table of Contents
- What You Need
- Step-by-Step: Segment Your Home Network for Security
- 1. Map Your Devices and Traffic
- 2. Create Separate VLANs
- 3. Assign Wired Ports and Wireless Networks
- 4. Write Firewall Rules Between VLANs
- 5. Test Isolation and Connectivity
- 6. Maintain and Review the Segmentation
- Common Mistakes
- Frequently Asked Questions
- Do I need VLANs to secure my home network?
- How many VLANs should I create at home?
- Are VLANs safer than using a firewall?
- How do I put IoT devices on a separate network?
- Is a separate guest Wi-Fi password enough for security?
- Can I segment my home network without replacing my router?
What You Need
You need a gateway that understands 802.1Q VLAN tags. Most ISP-provided routers do not, which is the ceiling people hit first. Check your router’s specification page for VLAN or “guest network with VLAN” support before anything else.
- VLAN-capable router or firewall. UniFi gateways, OPNsense or pfSense on a mini PC, OpenWrt on supported hardware, Firewalla, or TP-Link Omada with an Omada controller. A plain consumer router may need to sit behind one of these instead.
- Access point with VLAN support. Enterprise-style APs map each SSID to a VLAN. Consumer mesh units usually do not, which is the single most common reason a plan stalls.
- Managed switch if you have more than a handful of wired devices, so you can tag switch ports and pass multiple VLANs over a trunk.
- A computer on the admin interface, wired, not joined to the guest Wi-Fi you are about to build.
- An IoT device you can test with and a phone for testing from each zone.
- A piece of paper or a diagram. Draw the zones before you touch the firewall. It costs ten minutes and saves an evening.
Three terms you will meet immediately. A routed VLAN is a subnet your gateway routes between and filters with firewall rules. A switched VLAN is only a Layer 2 broadcast domain, useful for separating ports but not for blocking traffic on its own. An SSID mapped to a VLAN is just the wireless front door into a routed VLAN; the mapping happens on the AP, and the enforcement happens on the gateway.
Step-by-Step: Segment Your Home Network for Security
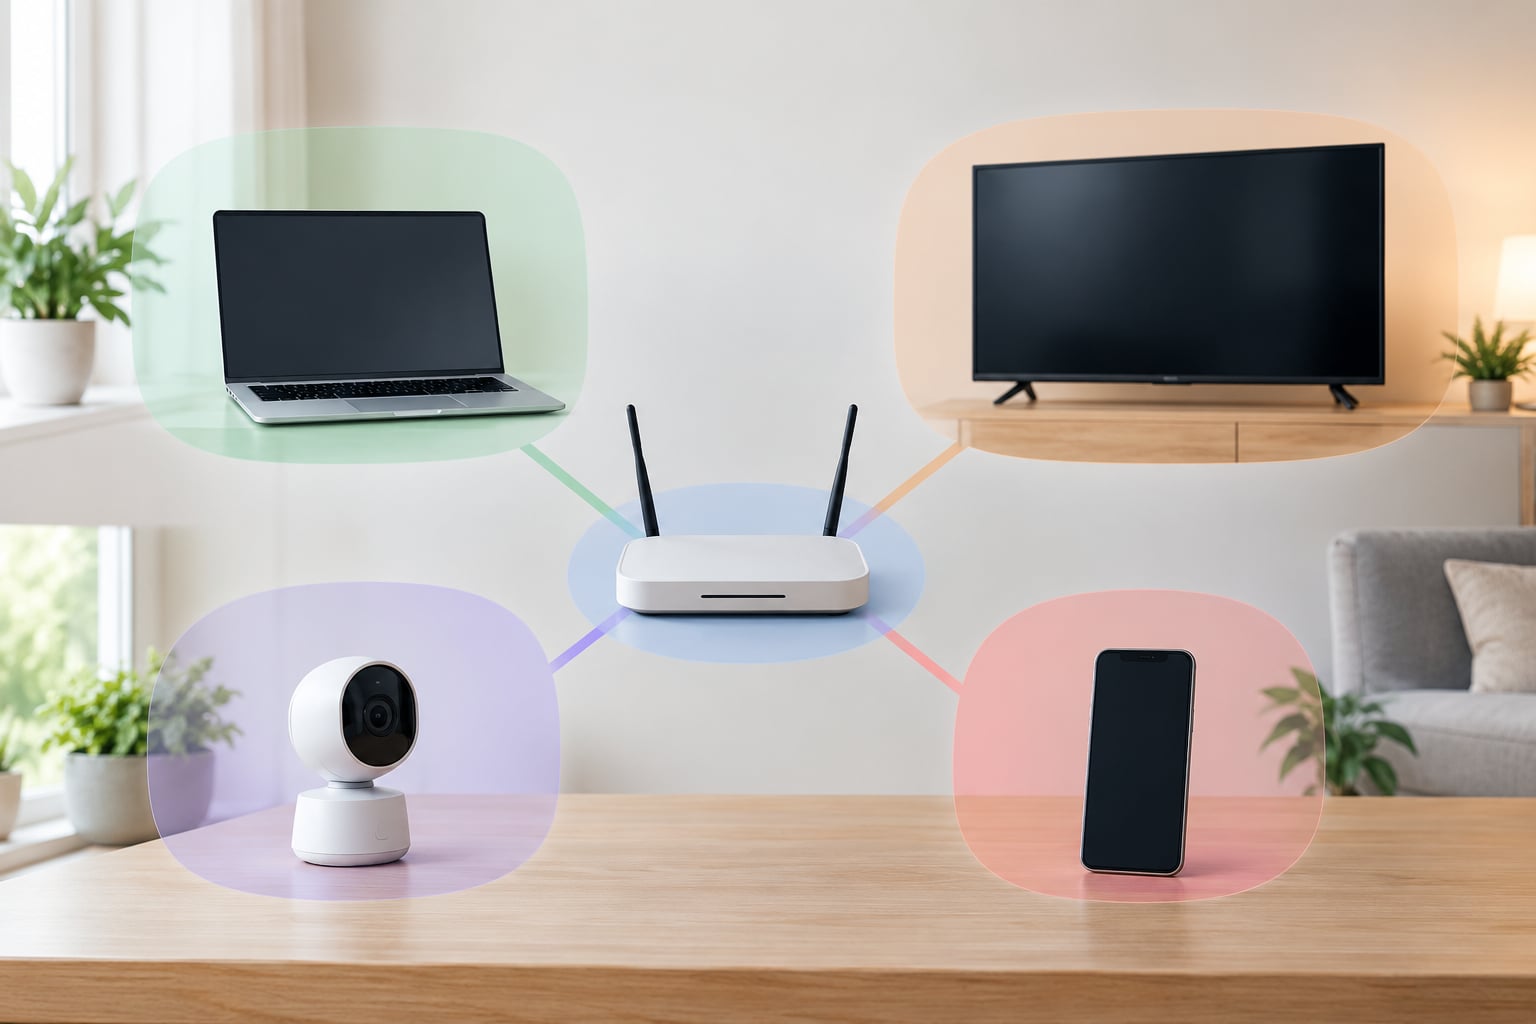
Plan four trust zones: trusted computers, IoT devices, guest devices, and optionally cameras or a home lab. Segmentation only does something when the firewall blocks the traffic you do not want, so every step below ends in a rule or a test. Exact menu names differ by platform, so I name the platform where it helps and describe the concept otherwise.
1. Map Your Devices and Traffic
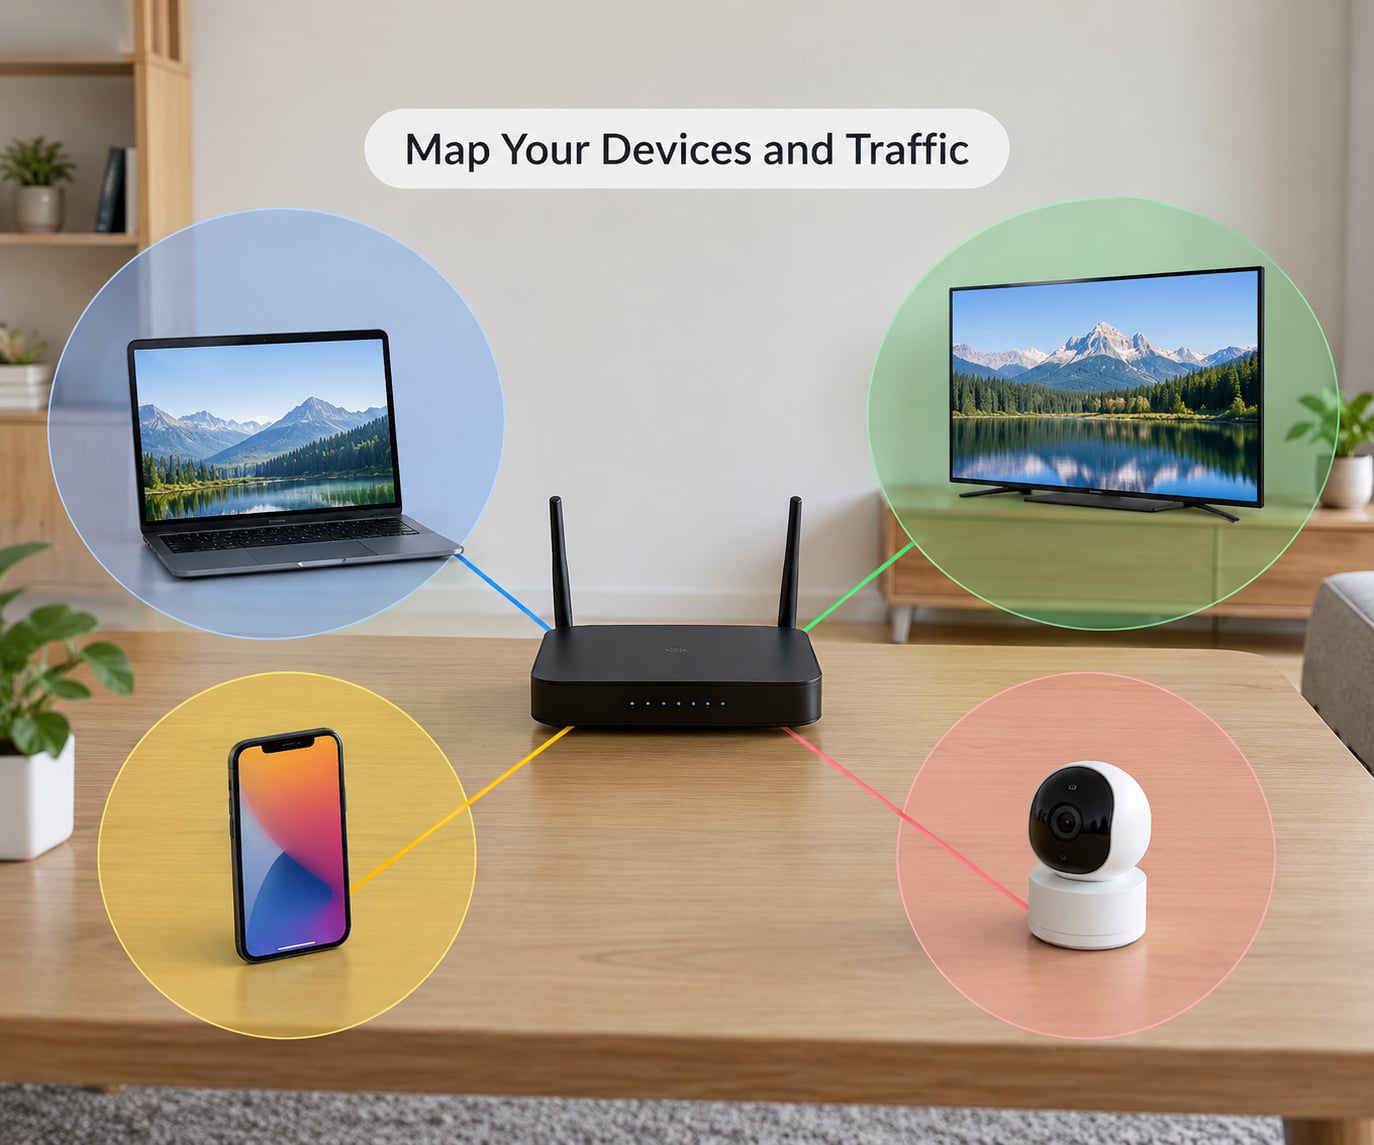
Start with an inventory, not a config. List every wired and wireless client and note its MAC address, which your router’s client list will show you.
Then sort each device into one of two questions: what is the damage if this device is compromised, and what does this device actually need to reach? A NAS and a work laptop are sensitive. A smart TV, a bulb and a doorbell are high-risk because they are the ones most often exploited remotely, and because their vendors rarely send security updates for the full life of the device.
Record which device initiates which connection. A phone sends traffic to a cast TV; the TV almost never needs to open a connection back. That direction matters enormously in step 4, because most home firewalls will happily let a reply packet back if the original outbound request was allowed.
2. Create Separate VLANs
Create the VLANs on the gateway first. A workable starting layout looks like this:
| VLAN ID | Name | Subnet | Typical contents |
|---|---|---|---|
| 10 | Trusted | 192.168.10.0/24 | Laptops, phones, desktops, NAS |
| 20 | IoT | 192.168.20.0/24 | TV, streaming stick, bulbs, plugs, speakers |
| 30 | Guest | 192.168.30.0/24 | Visitors, phones |
| 40 | Cameras | 192.168.40.0/24 | Doorbell, indoor and outdoor cameras |
Each VLAN gets its own subnet, its own DHCP scope and its own default gateway pointing at your firewall. Never reuse a subnet across two VLANs; the routing table cannot tell them apart. Give the firewall interface on each VLAN an address inside that subnet, which you log into for administration.
Keep management interfaces off untrusted zones. In the UniFi Network application the path is Settings then Network, creating a new network and enabling its DHCP service. In OPNsense it is Interfaces then VLANs then Other Types. In pfSense the same area is called VLANs. On OpenWrt, LuCI’s Network, Interfaces and Wireless sections handle the three pieces.
3. Assign Wired Ports and Wireless Networks
Now move devices in. On the AP, create one SSID per wireless zone and map each to its VLAN: House, IoT, Guest. Users pick which network they join, so name them plainly rather than cleverly. Guest SSIDs should also have client isolation switched on, which blocks phone-to-phone traffic inside the guest network itself.
For wired devices, put each port in one VLAN as an untagged access port. If you run a managed switch, the uplink to the gateway must be a tagged trunk port carrying all the VLANs you use, and that switch must support 802.1Q. The classic misconfiguration is forgetting the trunk on the uplink, which gives you a switch that appears to work but quietly drops every tagged frame.
Two rules worth writing on the diagram: never leave a trusted port as an untagged trunk or a guest-facing port untagged to VLAN 10, and never plug a device into a wall port you have not assigned. A port left on the default VLAN is a trusted network port by accident.
4. Write Firewall Rules Between VLANs
Deny by default between every pair of zones, then add the minimum needed. In practice that means: guests and IoT get internet access only, and cannot route to trusted or camera VLANs at all.
| Source | Destination | Action | Reason |
|---|---|---|---|
| Trusted | Any | Allow | Full access from your own devices |
| IoT | Internet | Allow | Firmware updates and streaming |
| IoT | Trusted, Guest, Cameras | Reject | Stops the compromised TV reaching a laptop |
| Guest | Internet | Allow | Visitors get online, nothing else |
| Guest | All internal | Reject | Internal networks unreachable |
| Cameras | Trusted | Allow to camera IP only | View recordings from your laptop |
| Cameras | Internet | Reject | No cloud, no outbound data |
Note the direction on the last three rows. IoT cannot start a conversation with your trusted network, while trusted devices can still reach the TV. Blocking cameras from the internet entirely is satisfying and means accepting that the vendor app will not work unless the vendor supports a local-only mode.
Build the exceptions on top of the deny: DNS to your resolver or the firewall’s own DNS service, DHCP to the gateway, NTP, and the specific flows your devices need. The printer pattern is the most useful one. Leave the printer on the trusted VLAN, then let each other VLAN reach only the printer’s single IP address, port 631 for most network printers. Opening a whole VLAN to a printer is the shortcut that quietly undoes the work.
5. Test Isolation and Connectivity
Testing is the part almost every guide skips, and it is the fastest way to know your rules work.
From a phone on the guest network, ping the gateway of the trusted subnet. It should fail. From the trusted network, ping the TV. It should succeed. From a laptop, open a TCP connection test against the printer IP from the guest network and watch it refuse.
Check that each VLAN received a DHCP lease in its own range rather than falling back to a link-local address, which happens when a VLAN has no scope defined. Then run a quick scan from each zone and confirm you only see the devices in that zone plus the gateway. The expected failures are the proof: a ping that never comes back means the policy is holding.
6. Maintain and Review the Segmentation
Save the configuration and export it. Write down the port-to-VLAN map and the SSID-to-VLAN map, because the next person to move a cable will not have the rules in their head.
Update gateway and switch firmware a few times a year, and re-check the rules whenever a device is added, replaced, or a smart-home integration changes. A useful checklist for a device in the wrong segment: does it receive an address from the subnet you expect, does it reach the internet, can it reach devices it should not, and does the access point show the VLAN you intended? Those four questions catch almost every misplacement.
On mDNS and AirPlay: discovery protocols do not cross VLANs by design, which is why Chromecast and Home Assistant integrations fail. The fix is an mDNS reflector or Avahi daemon on a small host that re-announces devices between the VLANs that genuinely need each other. Give it only the two subnets it needs rather than reflecting everything, and remember to allow the mDNS UDP traffic in your firewall rules.
Common Mistakes
- Separate SSIDs with no isolation. A second network name changes nothing by itself. If both SSIDs land in the same VLAN and no client isolation is enabled, devices on them still talk freely.
- An allow-all rule between VLANs. People add broad allows to make something work, then forget them. Add the narrowest rule that fixes the problem instead, and revisit it later.
- No DHCP or DNS rule per VLAN. Devices get no address, or resolve nothing. Both look like “the IoT is broken” for hours before you find the missing rule.
- Management interface in the wrong zone. Put the firewall’s admin interface in trusted, or lock yourself out the next time a rule change drops you.
- Trusting the guest network as a boundary. Many guest networks still allow clients to reach each other unless client isolation is on. Turn it on, and expect some smart-home features to stop working.
- Missing tag on the switch uplink. Wired devices get addresses but cross-VLAN traffic dies. Check the trunk port first; it is the most common switch fault.
- Blocking IoT from the internet entirely. Firmware updates then fail quietly and devices stay unpatched forever. Allow internet egress, deny internal access.
- Over-segmenting. Ten VLANs for a two-person flat is maintenance you will not sustain. Four zones cover almost every home; if you have no NAS, no remote work and no cameras, three is plenty.
One habit covers most of these: test after every change, not at the end. A fifteen-minute ping test after each VLAN rule saves an hour of debugging three broken integrations at once.
Frequently Asked Questions
Do I need VLANs to secure my home network?
Not always. If you have a handful of devices, no NAS, no cameras and no work laptop, a guest network with client isolation plus WPA2 or WPA3 gets you most of the value for a fraction of the effort. VLANs start paying off once you have more than roughly ten connected devices, a storage server, remote work, or IoT gear that talks to phones on your main network. The test is whether one compromised smart device could reach your laptop. If yes, segment.
How many VLANs should I create at home?
Four covers nearly every household: trusted, IoT, guest, and cameras. Add a fifth only if you have a real reason, such as a home lab you want cut off from your personal files, or a work VLAN separate from your own machines. The limit is maintenance, not capability. Every extra VLAN needs a DHCP scope, a firewall rule set, an mDNS exception if anything needs discovery, and a place in the port map.
Are VLANs safer than using a firewall?
They are not alternatives. A VLAN separates devices into broadcast domains and gives your firewall something to make decisions about; the firewall is what actually blocks traffic. VLANs with no rules between them are just extra plumbing. A single gateway with correct deny-by-default rules and no VLANs is already far better than a segmented network with a wide-open policy between zones.
How do I put IoT devices on a separate network?
Create a VLAN for IoT with its own subnet and DHCP scope, create a Wi-Fi SSID mapped to it, and give it firewall rules that allow internet access and nothing internal. Then move devices over one at a time. Expect the cast target, AirPlay and voice assistant discovery to break, because mDNS does not cross VLANs by default. Run an mDNS reflector between the IoT and trusted subnets, and allow only the ports you actually need.
Is a separate guest Wi-Fi password enough for security?
It depends on what the guest network does underneath. A strong password stops neighbours and casual snooping, but many guest networks still let clients reach each other, and some can reach your main network. Turn on client isolation, then test it: two phones on the guest SSID should not see each other, and neither should ping your trusted subnet. If the test fails, the guest network is a convenience, not a boundary.
Can I segment my home network without replacing my router?
Often, yes. Many ISP routers put the router itself on the main LAN, so the trick is to avoid routing between VLANs on that device at all. Put your own VLAN-capable gateway in front of it, let it handle DHCP, routing and inter-VLAN filtering, and double-NAT the ISP box for its management interface. If the ISP router offers no VLAN support, treating it as a plain modem usually works. Replacing it entirely is cleaner but not required.
Start with the inventory, not the hardware. Once you can list every device and what it needs to reach, a three-zone design of trusted, IoT and guest takes an evening, and cameras can become a fourth zone later. Write the rules down, test each one from a phone, and you will have actually segmented your home network for security rather than just renamed it.