To set up your own DNS server at home, pick a resolver such as Pi-hole, AdGuard Home, Technitium or Unbound, run it on a small always-on machine with a fixed LAN IP address, then change your router’s DHCP settings so every device uses that machine for lookups. Add local records afterwards so your self-hosted services answer by name.
That whole job takes about an hour, and most of the difficulty is not the software. It is port 53 already being occupied, forgetting to repoint the router, and having no fallback resolver when the box reboots.
Table of Contents
- What You Need Before You Set Up Your Own DNS Server at Home
- Step-by-Step
- 1. Choose a DNS Server Platform
- 2. Prepare the Server and Give It a Static IP
- 3. Install the DNS Software
- 4. Configure Forwarding and Local DNS Records
- 5. Point the Home Network at Your Own DNS Server
- 6. Test and Maintain the DNS Server
- Common Mistakes
- Frequently Asked Questions
- Is 8.8.8.8 or 1.1.1.1 better?
- What is the best DNS server for my home network?
- Is private DNS good or bad?
- Is changing DNS to 8.8.8.8 safe?
- Do I actually need my own DNS server at home?
- What happens if my home DNS server goes down?
- Conclusion
What You Need Before You Set Up Your Own DNS Server at Home
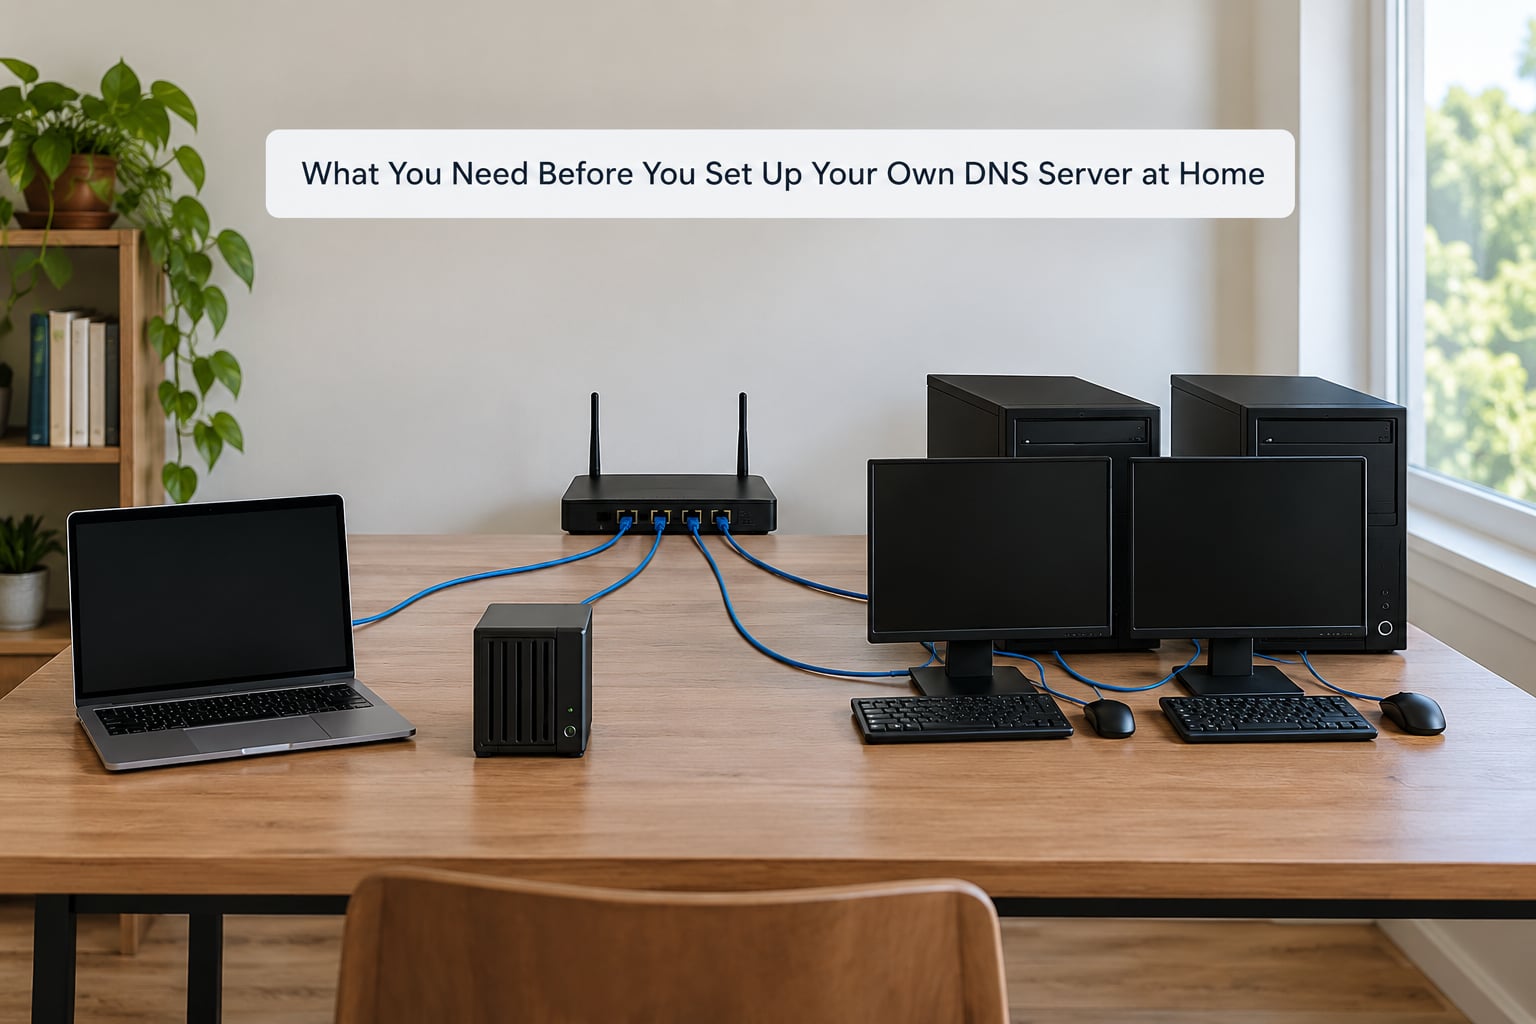
You need four things: a machine that stays on, a fixed address for it, router access, and a piece of DNS software to run. The machine can be something you already own.
| Where it runs | Typical hardware | Power draw | Worth it when |
|---|---|---|---|
| Raspberry Pi 4 or 5 | 2 to 4 GB RAM, microSD or SSD | 3 to 7 watts | You are wiring up a home lab for the first time and want the cheapest always-on box |
| Intel mini PC (N100 class) | 8 to 16 GB RAM, SSD | 6 to 15 watts | You want headroom for other containers beside DNS |
| Virtual machine | 1 vCPU, 512 MB to 1 GB RAM | Already paid for | A hypervisor or NAS is already running 24/7 |
| Router-native resolver | Nothing extra | Already paid for | You run OPNsense or pfSense and want one fewer device to fail |
Note your current router DNS setting and write it down before you change anything. That single note is your rollback.
You also want the router’s admin password, the IP range your DHCP server hands out, and a wired connection for the server if you can manage it. Wi-Fi works, but a resolver that drops off the wireless band mid-reboot is a bad afternoon.
On the software side, the real decision is between a filtering resolver and an authoritative server. Most people want the first. The forum chatter on r/homelab and r/selfhosted keeps circling the same point: start with something that answers lookups and blocks ads, not something that tries to be a public-facing nameserver.
Step-by-Step
1. Choose a DNS Server Platform
Pick a filtering resolver if you want network-wide ad blocking and friendly local names. Pick an authoritative server only if you intend to publish real zones.
The three tracks that matter here:
- Filtering resolver answers lookups for your LAN, blocks ads and trackers, and forwards what it does not block to an upstream resolver. Pi-hole, AdGuard Home and Technitium all live here.
- Authoritative server holds zone files and answers authoritatively for names you own. BIND is the classic choice, and Technitium does this too.
- Router-native resolver runs Unbound inside your firewall. It removes a whole device from the failure list, which is why a lot of home lab operators moved that way.
| Software | Type | Filtering | DoH / DoT built in | Local records | Ease |
|---|---|---|---|---|---|
| Pi-hole | Filtering resolver | Yes, blocklists and regex | No, needs a helper | A and CNAME rewrites | Easy, one-command install |
| AdGuard Home | Filtering resolver | Yes, with per-client rules | Yes | Rewrites, per-client policy | Easy, web UI after install |
| Technitium | Filtering resolver plus authoritative | Yes, allow and block zones | Yes | Full zones with PTR support | Moderate, more to learn |
| Unbound | Recursive resolver | No, host overrides only | No | Local zone and overrides | Config file, no UI |
| BIND | Authoritative, can forward too | No | No | Full zones, PTR, MX, CAA | Hardest, zone file syntax |
Pi-hole is the classic beginner path and the install is genuinely one command. AdGuard Home wins when per-device filtering and built-in encrypted upstream matter to you. Technitium is the one people pick when they want filtering and real authoritative zones in a single package instead of running Unbound in front of Pi-hole.
Unbound on OPNsense or pfSense is the least talked about and, for a single-box home lab, often the best. DNS, DHCP, firewall and routing then live in one UI, and there is no separate box to power-cycle.
2. Prepare the Server and Give It a Static IP
A DNS server that changes IP breaks every record you wrote for it, so fix the address before you install anything.
On Ubuntu or Debian, set a static address with netplan. Create /etc/netplan/01-dns.yaml:
network:
  version: 2
  ethernets:
    enp3s0:
      dhcp4: no
      addresses:
        - 192.168.1.53/24
      routes:
        - to: default
          via: 192.168.1.1
      nameservers:
        addresses:
          - 192.168.1.53
          - 1.1.1.1
Apply it with sudo netplan apply and confirm with ip addr show enp3s0. The address must sit outside the range your router hands out over DHCP, or you will get a collision the day something reboots.
A DHCP reservation in the router achieves the same result with less work. Either way is fine; what matters is that the address does not move.
Update the base system while you are there:
sudo apt update && sudo apt full-upgrade -y
sudo timedatectl set-timezone UTC
Now check whether anything already owns port 53. On Ubuntu and Debian, systemd-resolved usually has it, and that is the single most common install failure:
sudo ss -lupn 'sport = :53'
sudo systemctl disable --now systemd-resolved
sudo rm /etc/resolv.conf
sudo ln -s /run/systemd/resolve/resolv.conf /etc/resolv.conf
Replacing /etc/resolv.conf with a static file is the sturdier option on a server with no other resolver dependency, which avoids symlink confusion later.
3. Install the DNS Software
Install Pi-hole with its supported script, then finish the wizard at http://192.168.1.53/admin:
curl -sSL https://pi-hole.net/install | sudo bash
During the wizard, pick one upstream resolver if you want filtering only, or leave the defaults. Set a query log retention you will actually look at, since unlimited logs on an SD card fill up faster than people expect.
Technitium installs cleanly with Docker Compose. Bind port 53 explicitly, or the container will not start:
sudo apt install -y docker.io docker-compose-plugin
services:
  dns:
    image: technitium/dns:latest
    container_name: technitiumdns
    restart: unless-stopped
    ports:
      - "53:53/tcp"
      - "53:53/udp"
      - "8080:80"
      - "5383:443"
    volumes:
      - ./dns-config:/etc/dns
Bring it up with sudo docker compose up -d. The admin console is on port 8080 until you set up a listener, and you should do that before anything points at this machine.
For the authoritative route, install BIND and validate every edit before reloading:
sudo apt install -y bind9 bind9utils bind9-doc
sudo systemctl enable --now bind9
BIND keeps its local additions in /etc/bind/named.conf.local, which makes rollback trivial. Leave the packaged named.conf.default-zones alone.
4. Configure Forwarding and Local DNS Records
Forward everything your resolver cannot answer to an upstream server, then add local names so self-hosted services answer by hostname instead of IP.
For BIND, forwarders live in /etc/bind/named.conf.options:
options {
    directory "/var/cache/bind";
    forwarders {
        1.1.1.1;
        9.9.9.9;
    };
    allow-query { 192.168.1.0/24; };
    recursion yes;
};
That allow-query line is what stops you running an open resolver. Never point port 53 at a public IP without scoping it to your LAN.
Then define a forward zone and a reverse zone in /etc/bind/named.conf.local:
zone "home.lab" {
    type master;
    file "/etc/bind/db.home.lab";
    allow-update { none; };
};

zone "1.168.192.in-addr.arpa" {
    type master;
    file "/etc/bind/db.192.168.1";
    allow-update { none; };
};
Here is the forward zone file itself, with the SOA serial and the records that matter:
$TTL 3600
@   IN  SOA ns.home.lab. admin.home.lab. (
        2026100301 ; serial, bump this on every edit
        3600       ; refresh
        900        ; retry
        1209600    ; expire
        3600 )     ; negative cache TTL
;
    IN  NS  ns.home.lab.
    IN  A   192.168.1.53
ns  IN  A   192.168.1.53
pi  IN  A   192.168.1.53
nas IN  A   192.168.1.20
hp  IN  A   192.168.1.31
plex  IN  CNAME nas
jellyfin IN CNAME nas
mail IN  A   192.168.1.10
Bump the serial every time you edit. BIND refuses to reload a zone whose serial did not move, which is annoying for ten seconds and saves you from a stale zone for a month.
The reverse zone maps addresses back to names, which makes log entries readable and mail delivery sane:
$TTL 3600
@   IN  SOA ns.home.lab. admin.home.lab. (
        2026100301 ; serial
        3600 900 1209600 3600 )
;
    IN  NS  ns.home.lab.
53  IN  PTR ns.home.lab.
20  IN  PTR nas.home.lab.
Validate before you reload. A typo caught here costs five seconds; caught in production it costs an evening:
sudo named-checkconf
sudo named-checkzone home.lab /etc/bind/db.home.lab
sudo systemctl reload bind9
With Pi-hole or AdGuard Home you skip zone files entirely and add local DNS rewrites in the web UI instead. Pi-hole lists a domain and an IP, AdGuard Home calls the same thing a rewrite and lets you group them under one name.
One honest note on privacy, because the marketing around self-hosted DNS tends to oversell it. If your resolver forwards to 1.1.1.1 or 8.8.8.8, your ISP still sees every lookup, because your server has to ask someone. What you gain is caching, filtering, and local names. If you want the ISP blind, configure your own resolver to recurse to the root servers directly instead of forwarding, which is exactly what people mean when they argue recursive beats forwarding.
Split-horizon is the related trick worth learning next. Answer internal names for LAN clients and something harmless for everyone else, so a name like nas.home.lab never leaks a private IP to the internet.
5. Point the Home Network at Your Own DNS Server
Change the DNS your router hands out over DHCP, because settings typed into individual devices get wiped and forgotten.
There are three levels, and you want the top one:
- Router DHCP tells every device automatically. This is the correct place, and the step most guides skip.
- Per-device settings work but die on the next network reset, and they are how filtering quietly stops blocking.
- Router itself usually forwards to your ISP unless you change it. Many routers have a separate “DNS used by the router” field that is not the DHCP field.
In most routers the setting sits under DHCP server, LAN settings or WAN, labelled something like DNS server, Primary DNS or DNS interception. Set it to 192.168.1.53. Then set a second DNS entry, because a single point of failure takes the whole house offline the moment that box reboots. Put a public resolver such as 1.1.1.1 second, and accept that as your trade-off: no fallback means total outage, a fallback means some devices can bypass blocking in the gap.
Set the second field to a second DNS server if you have one. Plenty of operators run AdGuard Home in front of Unbound for exactly this reason: filtering in the first, recursion and a second copy of the data in the second.
Per-device changes, if you need them, are simple enough:
- Windows 11: Settings, Network and internet, Wi-Fi, Hardware properties, DNS server assignment, Edit, then Manual with IPv4 on.
- Linux with NetworkManager:
nmcli con mod "Wired connection 1" ipv4.dns "192.168.1.53 1.1.1.1" ipv4.ignore-auto-dns yes && nmcli con up "Wired connection 1" - macOS: System Settings, Network, your interface, Details, DNS, add 192.168.1.53.
- iOS and Android: Wi-Fi settings, tap the network’s
ior info button, then Configure DNS, Manual. Both offer a Private DNS or DNS mode toggle, set it to Off or Automatic if you are using the router.
Restart DHCP on the router, or forget and rejoin the Wi-Fi network on each device. Cached DHCP leases are the reason people conclude their setup failed when it actually worked.
For encrypted DNS, put DoT or DoH on your own server and treat it as a second layer. Upstream encryption protects the hop from your resolver to the public resolver. LAN-side encryption protects the hop from the client to your resolver, and needs a certificate plus client configuration on every device, which is why it is rare on home networks.
The endpoint strings you will actually use:
DoT:  tls://one.one.one.one
DoH:  https://cloudflare-dns.com/dns-query
DoH:  https://dns.google/dns-query
DoQ:  quic://dns.adguard-dns.com
Pi-hole has no built-in DoH or DoT upstream. AdGuard Home and Technitium both do it out of the box, which is a real reason to choose one of those if encrypted upstream matters.
6. Test and Maintain the DNS Server
Confirm resolution from a client, not from the server itself, since the server usually answers its own queries even when the LAN path is broken.
dig @192.168.1.53 example.com
dig @192.168.1.53 nas.home.lab
dig @192.168.1.53 -x 192.168.1.20
nslookup nas.home.lab 192.168.1.53
host nas.home.lab 192.168.1.53
You want a short ANSWER SECTION with the right IP. A SERVFAIL means forwarding is broken. No answer at all with status: NOERROR usually means the name genuinely does not exist, which looks identical to a broken server unless you read the status line.
Check which resolver a client is really using:
dig +short whoami.akamai.net @192.168.1.53
resolvectl status | grep DNS
For blocking, query a known ad domain and confirm you get 0.0.0.0 or a blocked address back. If you get a real IP, your clients are not using your server, and the filtering has been decorative all along.
Service health on Linux comes down to one command:
systemctl status pihole-FTL
sudo docker compose ps
sudo named-checkconf && sudo systemctl status bind9
Then set up maintenance so the resolver is boring. Update blocklists on a schedule, back up config plus zone files to somewhere off the box, and keep a second resolver on hand. Copying /etc/bind and your compose file to another machine takes a minute and is the difference between a reboot and a rebuild.
If you use VLANs, give each one a resolver or a conditional forward, and check that your firewall allows UDP and TCP 53 in both directions to the DNS host. A resolver that clients can query but not reach for recursion is the most confusing failure in this whole setup.
Common Mistakes
Nearly every home DNS failure is one of a handful of predictable things, and the table below maps symptom to cause to fix.
| Symptom | Cause | Fix |
|---|---|---|
| Container exits immediately, port 53 in use | systemd-resolved or dnsmasq holds port 53 | Disable it with systemctl disable --now systemd-resolved, then retry |
| Everything works, nothing is blocked | Router never repointed, devices use ISP DNS | Change the router’s DHCP DNS field, then rejoin Wi-Fi on each device |
| Whole network lost internet after the change | No fallback resolver configured | Add a second DNS entry at the router, 1.1.1.1 or a second box |
| Local names broke after a reboot | DHCP gave the server a new IP | Set a static address or a DHCP reservation outside the pool |
| Some devices resolve, others fail | IPv6 clients still use the ISP resolver | Set IPv6 DNS on the router too, or disable IPv6 on that LAN |
| SERVFAIL on every external lookup | Forwarder typo, or forward loop to itself | Check the forwarder addresses, never point the server at its own IP |
| Zone edits ignored | SOA serial not incremented | Bump the serial, run named-checkzone, reload |
| Some ads still load | Stale blocklists or per-device rules | Update blocklists, clear the DNS cache on the client |
| Slow first page loads | Upstream forwarder unreachable or rate limited | Add a second forwarder, check latency to each one |
The rollback, for the record, is the note you took at the start. Put the router’s original DNS back and every device recovers on the next DHCP renewal, with no other change required.
Two habits prevent most of this. Never run an open resolver on a public IP, because it will be found and used for amplification attacks within days. And never leave a tutorial halfway applied without a way back.
Frequently Asked Questions
Is 8.8.8.8 or 1.1.1.1 better?
Both are fast and free, and the difference is smaller than most comparisons suggest. Cloudflare 1.1.1.1 also offers malware blocking and a strict privacy policy; Google 8.8.8.8 has broader regional filtering. Either is a solid upstream for a self-hosted resolver, and neither is a substitute for one.
What is the best DNS server for my home network?
For most homes, a self-hosted filtering resolver wins: AdGuard Home for per-client rules and built-in encrypted upstream, Pi-hole for the simplest install, Technitium when you want authoritative zones as well. Run Unbound inside OPNsense or pfSense if you want DNS to live on the firewall itself and remove a separate device from the failure list.
Is private DNS good or bad?
On Android, Private DNS means DNS-over-TLS. It is good in that it encrypts lookups, but it also bypasses your own resolver, so network-wide filtering and local names stop working for that device. Set it to Off or Automatic if you run filtering at home, and enable encryption on your resolver’s upstream instead.
Is changing DNS to 8.8.8.8 safe?
Yes. Pointing a router at a public resolver is a normal, reversible setting and carries no real risk. The two things worth knowing: your ISP no longer sees your lookups, and you lose nothing but the chance to filter. Write down the current value first so you can put it back in under a minute.
Do I actually need my own DNS server at home?
You need one if you self-host services and want names instead of IP addresses, or you have devices such as smart TVs and cameras that cannot run blocking software. If you host nothing and nobody is stuck with unskippable ads, a public resolver with malware filtering already does the job, and your own box is extra work.
What happens if my home DNS server goes down?
With no fallback, the entire house loses name resolution even though the internet connection is fine, which is the most common complaint about self-hosted DNS. Set a second DNS entry at the router, ideally pointing at a second resolver or a public resolver, so clients fall through automatically while your primary box is down.
Conclusion
Start by writing down your router’s current DNS setting. That single line is your way back if anything goes sideways, and it takes ten seconds to save.
Then pick a fixed-IP machine, run one resolver on it, and change the router’s DHCP DNS field. Validate the whole thing in this order: dig @your-server nas.home.lab from a client, then a query for a blocked domain to confirm filtering works, then the router field to confirm clients were told to use it. Those three checks catch nearly every failure this guide describes.
Keep the authoritative features for later. A local resolver that filters and answers for your own hostnames solves almost every home lab problem on its own, and zone files are only worth the extra complexity once you are publishing names you actually control.