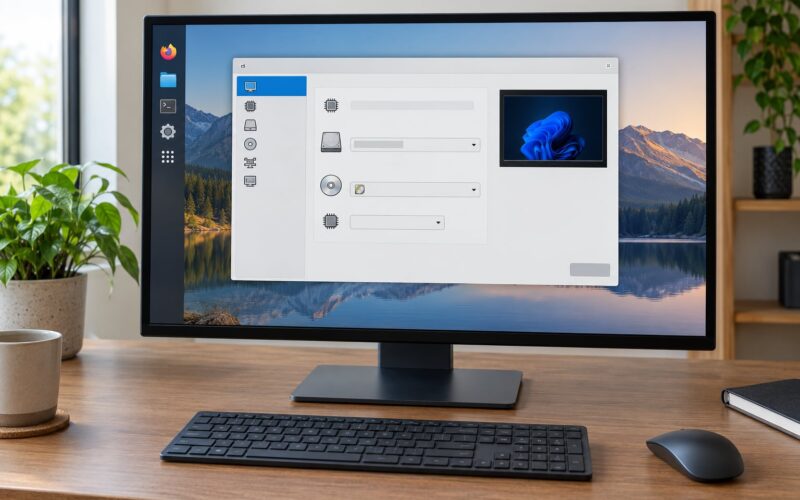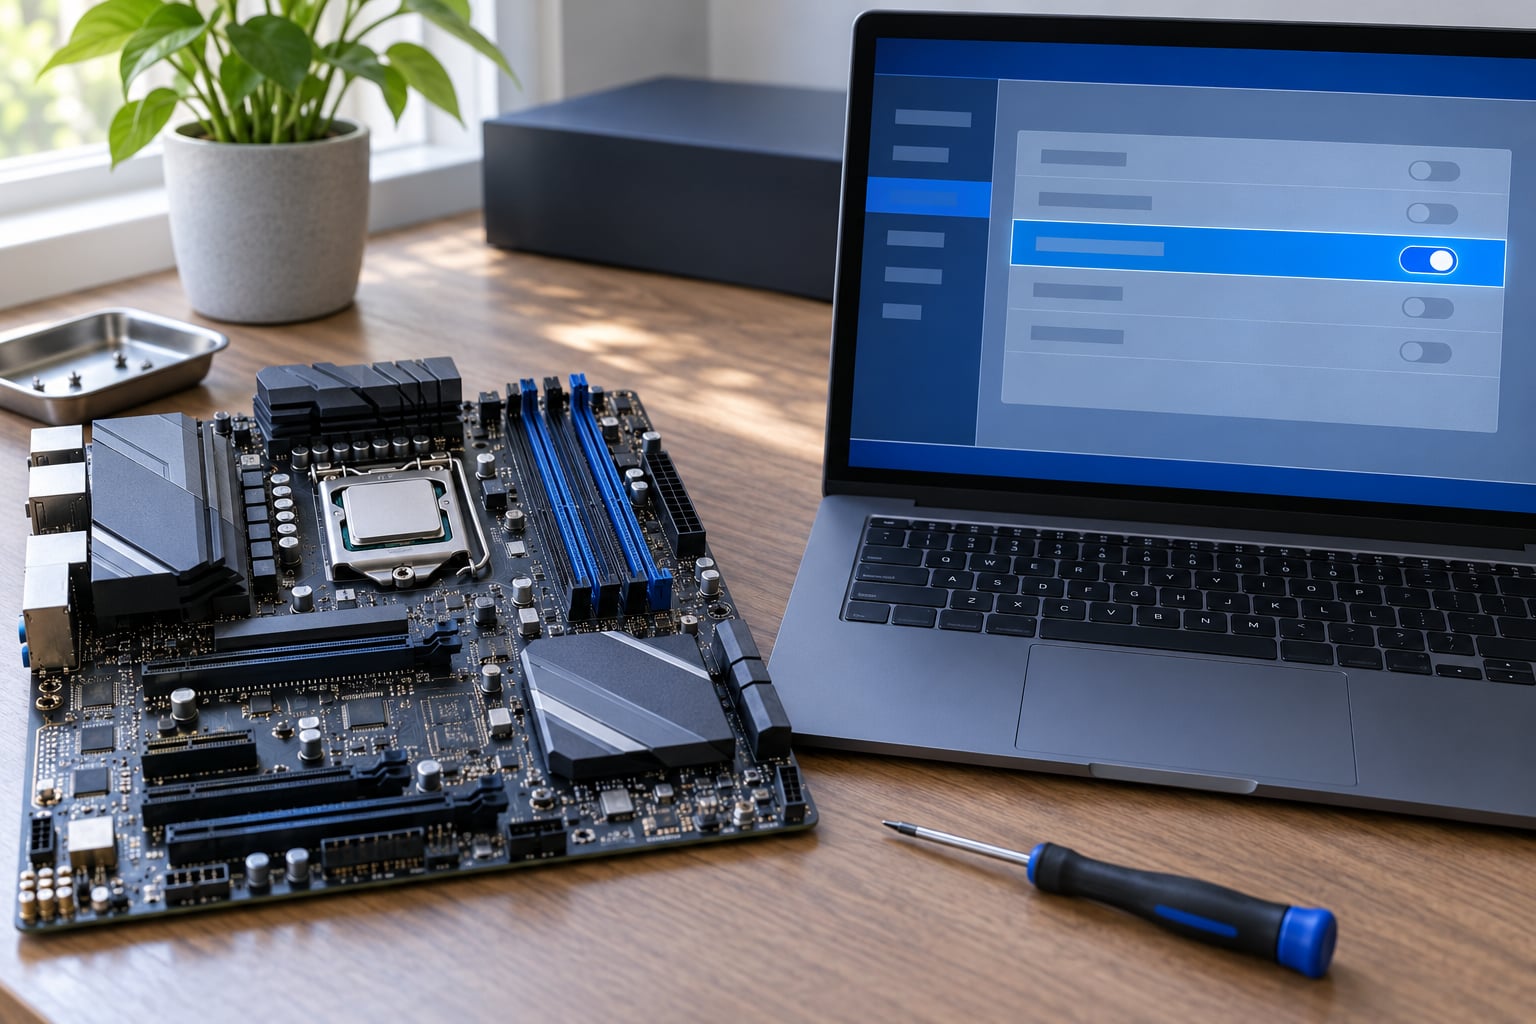
Virtualization is disabled in BIOS because manufacturers ship the CPU’s virtualization extensions switched off. Intel calls it VT-x, AMD calls it AMD-V or SVM Mode, and the same feature has a different menu name on every motherboard. Turning it on takes about five minutes in firmware, and this guide covers why virtualization is disabled in BIOS and how to fix it on Windows 11 or Linux.
Out of the box, a hypervisor such as Hyper-V, VMware Workstation, VirtualBox or WSL2 has no fast path into the processor. It falls back to software emulation, which is usable for a boot-sector test and painful for anything else. Ten minutes in the firmware removes that penalty entirely.
What follows is the order I would use on any machine: prove the silicon can do it, ask the operating system what it currently sees, enter setup, flip the one switch, then prove it worked. The last part matters more than people expect, because a Windows feature can hold the virtualization layer even when the BIOS is already correct.
Table of Contents
- What You Need
- Step-by-Step
- Step 1: Confirm the Processor and Firmware Support Virtualization
- Step 2: Check Whether Windows or Linux Sees the Virtualization Feature
- Step 3: Enter BIOS or UEFI Setup
- Step 4: Enable Intel VT-x or AMD-V
- Step 5: Save, Reboot, and Verify the Fix
- Common Mistakes
- The BIOS says Enabled but Task Manager still says Disabled
- The option is greyed out or completely missing
- The setting reverted on its own
- Fixing “VT-x/AMD-V hardware acceleration is not available on your system”
- Fixing “Virtualized Intel VT-x/EPT is not supported on this platform”
- Turning the wrong switch, or the wrong one entirely
- Frequently Asked Questions
- Why is virtualization not enabled in my BIOS?
- What happens if virtualization is disabled?
- Can you run a virtual machine without virtualization?
- Should I disable virtualization in BIOS?
- Why won’t Hyper-V disable after I turn it off in Windows Features?
- How do I enable virtualization on a Lenovo ThinkPad or an ASUS board?
- Conclusion
What You Need
Before you open setup, gather four things. Missing any one of them turns a two-minute change into an afternoon.
- Administrator or root access. The firmware entry keys can usually be pressed at boot without it, but verifying the result in Windows or Linux needs it. On Windows 11 you also want the local administrator account, because the standard user cannot reach some BIOS-adjacent firmware settings on managed machines.
- The exact board model and its manual. The menu you need is often under Security, sometimes under Advanced, sometimes under a CPU Configuration page. Knowing whether you run an ASUS, MSI, Gigabyte, Dell, HP or Lenovo board tells you which of those to look at first.
- Your BitLocker recovery key if it is on. Some firmware changes, memory module changes and TPM operations can trigger a recovery prompt on the next boot. Not every BIOS tweak does this, and virtualization is usually not one of them, but suspend BitLocker before you start so a surprise prompt never costs you a morning.
- A way back in. Know your setup entry key before you change anything. Some BIOS screens trap a mouse, some ignore the key the startup screen advertises, and laptops with a docked keyboard sometimes respond to Fn plus the key.
A current BIOS or UEFI update is worth doing only if the option is missing or greyed out, not as part of the normal enable. Firmware updates reset options to factory defaults on most boards, so a flash right before you enable the toggle can undo the work.
Step-by-Step
Step 1: Confirm the Processor and Firmware Support Virtualization
Identify your CPU first, because no firmware setting can create a feature the processor does not have. Nearly every Intel Core and Core Ultra chip from the last decade and every Ryzen processor has VT-x or AMD-V, so an unsupported CPU is rare on modern hardware but common on older office desktops and low-power chips such as some Intel Celeron and Pentium parts.
Three quick ways to check:
- CPU-Z, free and quick. Open the CPU tab and look for the instructions flag set containing
VMXon Intel orSVMon AMD. The flag shows the silicon supports it, not that it is currently switched on, which is the distinction people miss. - Intel ARK or the AMD product page. Search the exact model number, then read the Virtualization Technology or SVM field in the specification table. This is the authoritative source and settles arguments quickly.
- SecurAble, a portable utility that reports extended CPU features in one panel, including hardware virtualization support.
Then confirm the firmware exposes the setting. This is where OEM machines differ. A consumer desktop board almost always shows a virtualization toggle. A business ThinkPad or an EliteBook may hide it unless you have the BIOS administrator password, and some thin laptops simply do not offer it at all even though the chipset supports VT-x.
Intel VT-d and AMD-VIOMMU are not the switch you want. They control DMA remapping for device passthrough in high-end server and workstation boards, and enabling them does not turn on CPU virtualization. ASUS boards in particular list both close together, and mixing them up sends people down the wrong path for an hour.
Step 2: Check Whether Windows or Linux Sees the Virtualization Feature
You need a baseline before changing anything, otherwise you cannot tell whether the fix worked. On Windows 11, press Ctrl plus Shift plus Esc to open Task Manager, go to the Performance tab, select CPU in the left column, and read the Virtualization line at the bottom right. It reads Enabled, Disabled, or, in some driver states, Inactive.
Two more Windows views are worth knowing. Run msinfo32 from the Start menu and look for Virtualization-Based Security and the hypervisor-related fields near the bottom of the System Summary. Run systeminfo in a terminal and read the Hyper-V Requirements block at the very end: a No next to a virtual monitor means the hypervisor cannot see the firmware setting at all.
On Linux, lscpu | grep -i virt prints the flags this kernel uses. vmx means Intel extensions are exposed, svm means AMD ones, and hypervisor appearing in the same line means something already owns the layer, usually KVM or a cloud instance. The equivalent grep against /proc/cpuinfo returns the same flags per core.
Record the before value. In about two years of fixing these, the step that most often reveals the real problem is comparing the Task Manager reading before and after the firmware change, and noticing the reading never moved.
Step 3: Enter BIOS or UEFI Setup
The fastest route on Windows is the built-in one: go to Settings, then System, then Recovery, and choose Advanced startup, Restart now. On the blue screen that follows pick Troubleshoot, Advanced options, UEFI Firmware Settings, Restart. That lands in setup regardless of which key your manufacturer printed on the boot screen.
If you would rather use the keyboard, hold or tap the setup key repeatedly during the power-on self test, before the operating system loader appears. Miss the window and Windows boots normally, which is why the key must be pressed early and often.
| Brand | Setup key | Note |
|---|---|---|
| ASUS motherboards and laptops | Delete or F2 | Delete is the common default on consumer boards |
| MSI | Delete | Enter setup directly; F6 is the boot menu |
| Gigabyte | Delete or F2 | Check Q-Flash is not set to a hotkey |
| Dell | F2 | F12 is the one-time boot menu instead |
| HP | Escape, then F10 | Tab opens a diagnostic and startup menu |
| Lenovo ThinkPad | F1 or Fn plus F1 | Enter through the Startup menu then F1 for setup |
| Acer | F2 | F12 is the boot device menu |
| Microsoft Surface | Volume Up held at power-on | Use the UEFI Firmware Settings tile |
From Windows you can also schedule a firmware boot directly with shutdown /r /fw /t 0 in an administrator terminal. If you plan the change for a moment when you are not at the machine, that command is more reliable than trying to catch the key in time.
One warning: while you are in there, do not adjust unrelated options. Flickering memory timing, power limits and boot order changes have no business in this task. Change the virtualization line, note the key you pressed to enter, and leave.
Step 4: Enable Intel VT-x or AMD-V
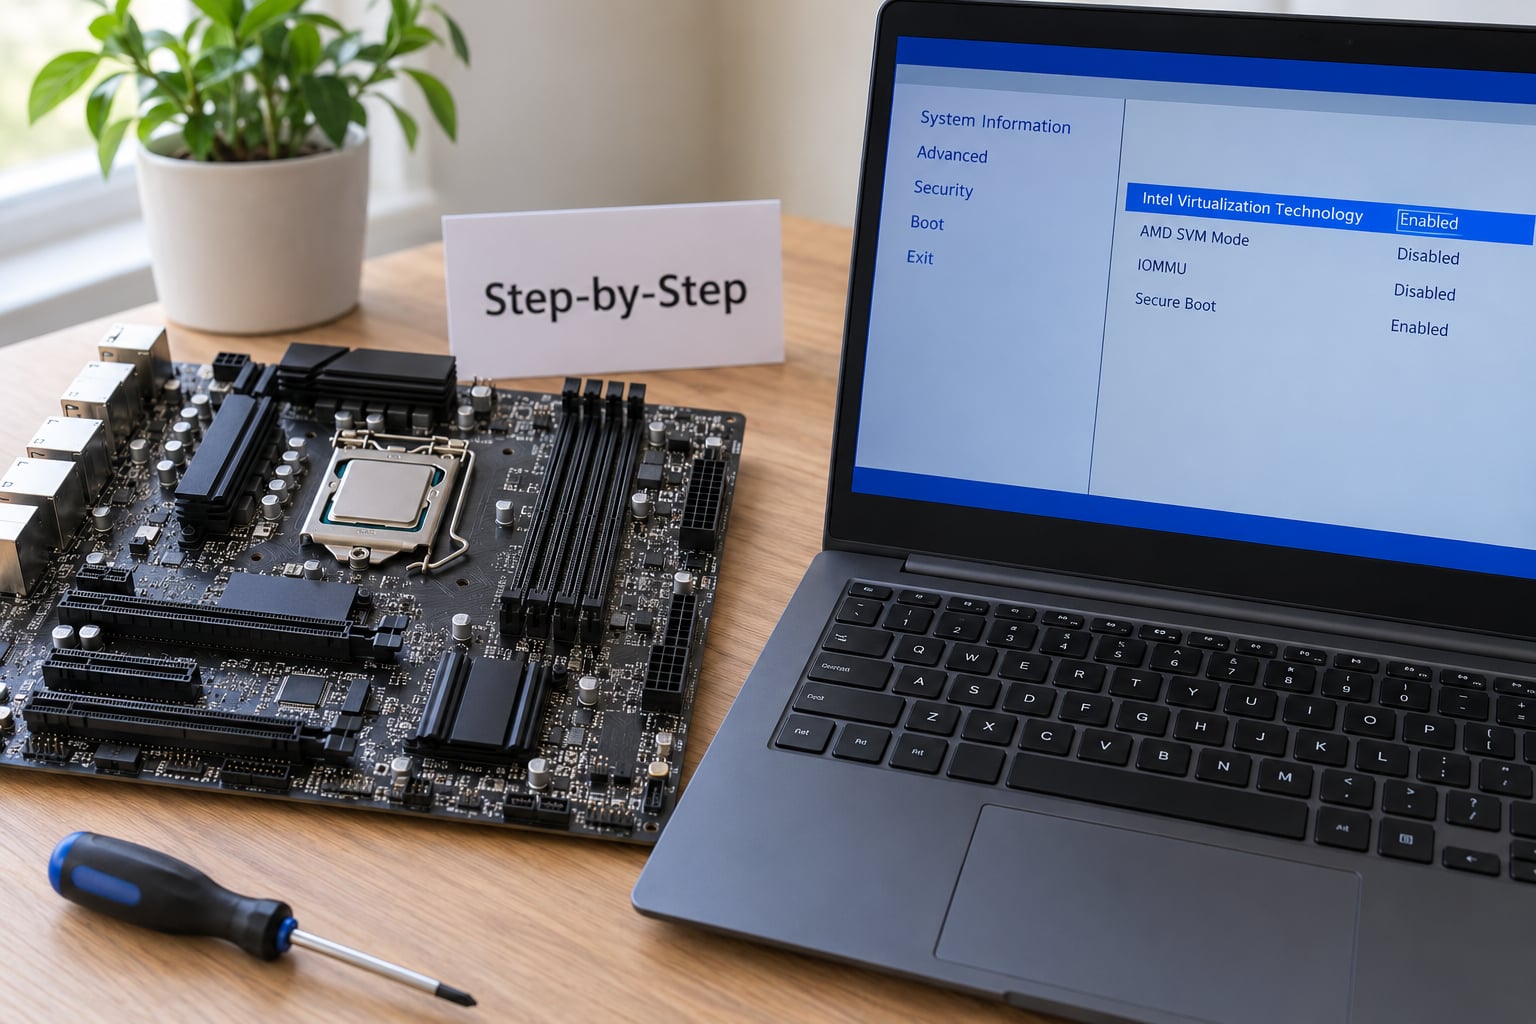
Inside setup the option is usually an Enabled or Disabled pair you toggle with Enter, or a checkbox you flip with Space. The name depends on the board maker and the CPU vendor.
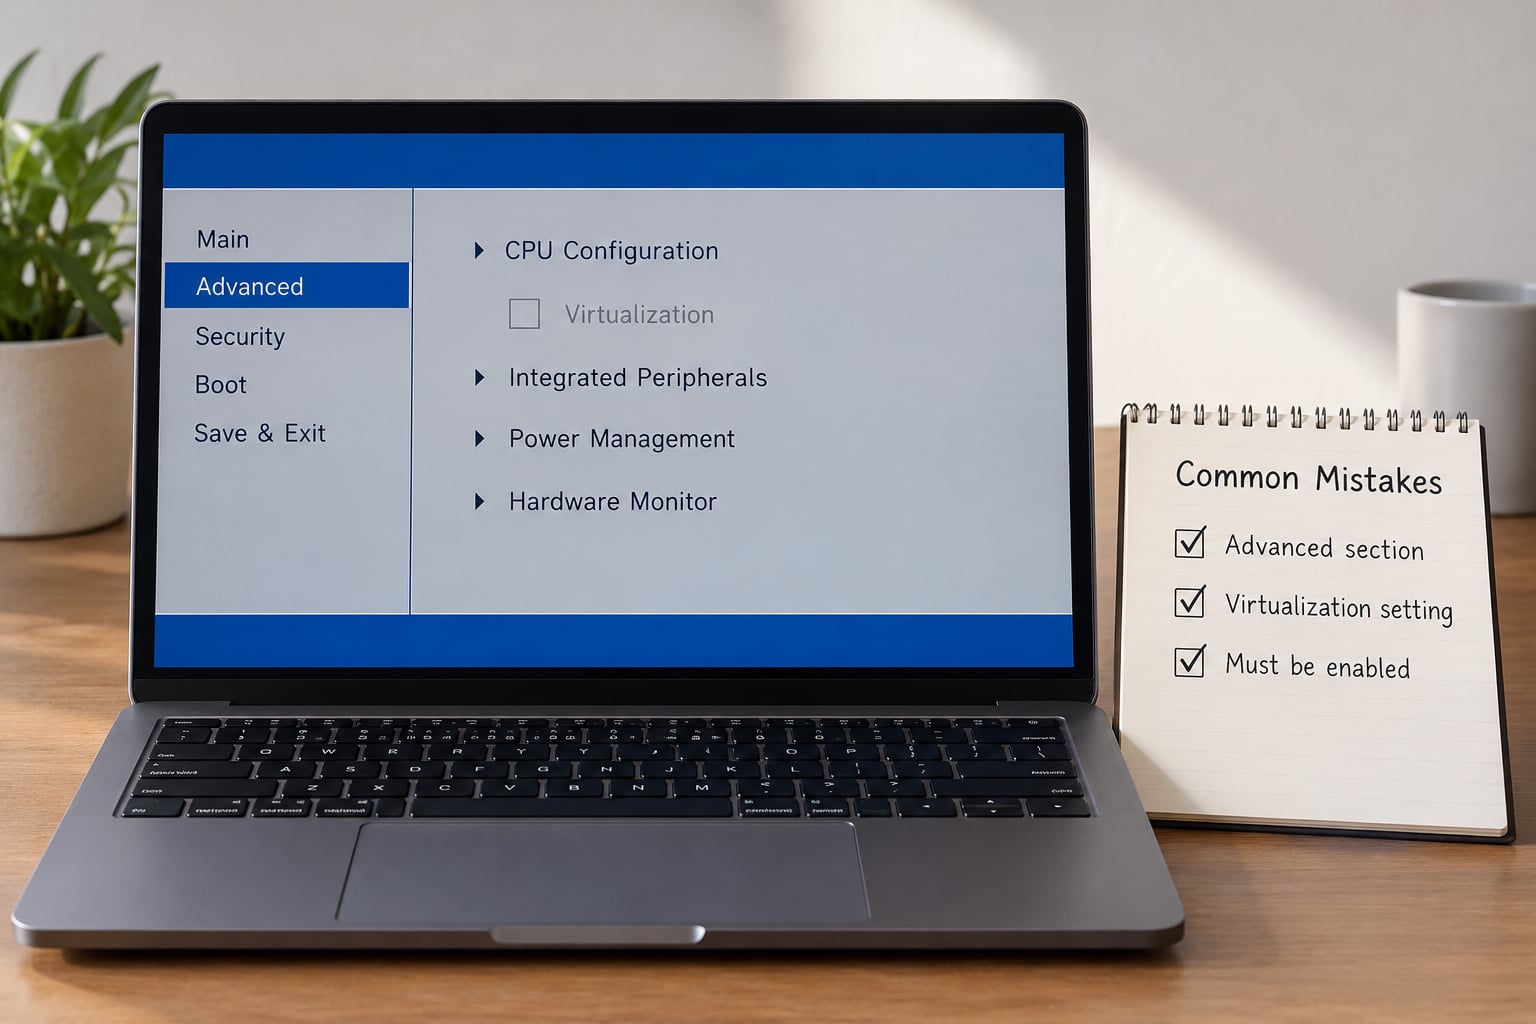
- ASUS: Advanced, then CPU Configuration, then Intel Virtualization Technology. On many boards the same toggle appears in Advanced as SVM Mode on AMD models. ASUS also exposes the setting through the EZ Mode screen for some 500 and 600 series boards.
- MSI: OC, then CPU Features, then Intel Virtualization Tech or SVM Mode. It also appears under Settings, Advanced on Click BIOS 5 layouts.
- Gigabyte: Settings, then Miscellaneous Mode, then Intel Virtualization Technology or SVM Mode. On newer boards with a 700 series layout, Settings, then Platform, then IO Ports.
- Dell and HP: the toggle sits under Security or System Security on many business boards, which matches the layout laptop users describe in forums.
- Lenovo ThinkPad: Config, then Virtualization, or Security, then Virtualization, depending on the generation. Some newer ThinkPads moved it under CPU, then Intel Virtualization Technology.
- Acer: Main, then the option often labelled Virtualization or Intel VT-x, and on some models in the Advanced or Security submenu.
If you cannot find the label in the obvious menus, use the firmware setup’s own search: ASUS, MSI, Gigabyte and Dell all ship with a search or Find function in setup. Searching for virtual jumps straight to the page.
Set it to Enabled and move on. Do not pair the change with a Secure Boot toggle or a CSM switch unless you have a stated reason. Secure Boot and CSM occasionally hide or grey out virtualization options on particular boards, but changing them to chase a symptom is how people break Windows boot.
Step 5: Save, Reboot, and Verify the Fix
Save and exit, usually F10 on an ASUS or MSI board and F10 on Dell and HP, with Enter to confirm on a Gigabyte or Lenovo. The machine reboots and returns to the operating system.
Verify in the same place you checked earlier. Open Task Manager, Performance, CPU, and read the Virtualization line. Enabled means the firmware is doing its job. Disabled after the change means either the save did not take, another profile or supervisor is overriding the setting, or the operating system is reporting a layer you have not accounted for yet.
For a real test, create a throwaway virtual machine rather than assuming. In VirtualBox, open Settings, System, Acceleration, and tick the hardware virtualization box: it is selectable and unticked when the feature is properly available, and greyed out when the hypervisor already owns it. That greyed-out state is not a failure, it means Hyper-V is active and VirtualBox is stepping politely aside. VMware Workstation gives the equivalent confirmation, and WSL2 with a Linux distribution installed is the quickest end-to-end proof on a machine you already depend on.
Keep the manual nearby for thirty days. Some OEM firmware reverts a manual change after a major Windows feature update, and knowing the menu path means a two-minute correction instead of a fresh investigation.
Common Mistakes
The BIOS says Enabled but Task Manager still says Disabled
This is the most common follow-up complaint and the most misunderstood. Windows features, not firmware, own the hardware virtualization layer. Open the Windows Features dialog with optionalfeatures, and look at Hyper-V, Virtual Machine Platform, Windows Hypervisor Platform and Hypervisor Platform. The last three all start the Windows hypervisor, which takes VT-x or AMD-V and hands VirtualBox and VMware a mediated path instead.
Core Isolation and Memory Integrity in Windows Security use the same silicon through Virtualization-Based Security. With it on, Task Manager can read Disabled while the CPU is virtualized and healthy, because the operating system deliberately hides the state from software that has not been authorized. If you only need one hypervisor, turning off the conflicting Windows features is the fix; if you want VBS protection, keep it on and use Hyper-V or WSL2 instead of fighting it.
Two commands settle it. bcdedit /set hypervisorlaunchtype off stops the hypervisor from starting at boot, and dism /online /disable-feature /featurename:Microsoft-Hyper-V-All /norestart removes the Hyper-V role. The command-line route matters on Windows 11 Home, where the Hyper-V role has no checkbox in the GUI.
The option is greyed out or completely missing
A greyed-out virtualization toggle usually means a dependent setting is off. Some boards require IOMMU or VT-d to be enabled first, some tie the toggle to CSM being disabled, and some enterprise BIOS builds hide the whole CPU page until Secure Boot is configured. Change the dependency, save, reboot, and check again. A missing option on an OEM laptop is different: on many business machines the advanced pages stay hidden until someone supplies a BIOS administrator password, and a handful of thin models never shipped with a toggle at all. The answer for those is the manufacturer’s support or a BIOS update that adds the option.
The setting reverted on its own
Loose causes, in order of how often I see them: a BIOS or firmware update that reset the board to defaults, a CMOS battery change, a motherboard vendor update that reapplied a profile, and a Windows feature update that reinstates a firmware-level policy. If it reverts, update the firmware first and enable the setting after, not before.
Fixing “VT-x/AMD-V hardware acceleration is not available on your system”
VirtualBox throws this in three situations, and each has a different fix. The CPU lacks the feature, which no setting can repair. The setting is off in firmware, which this guide fixes. Hyper-V or VBS is running and holding the layer, which you resolve by disabling the Windows hypervisor features above, or by accepting that VirtualBox will run through the Windows hypervisor path. On VirtualBox 7 and later, the Acceleration pane tells you which one you are in, so read the message before you change anything.
Fixing “Virtualized Intel VT-x/EPT is not supported on this platform”
This one is a nested virtualization error, not a firmware error. You are trying to run a hypervisor inside a virtual machine, and the host hypervisor has to expose VT-x or AMD-V to the guest. In VMware Workstation this is Virtualize Intel VT-x or AMD-V/RVI in the virtual machine settings, under Processor. If the host is a cloud instance or a VM whose provider did not enable nested virtualization, the host administrator has to expose it, and no guest-side change will help. Home lab builders hit this constantly, which is why the BIOS switch is only the first of two gates on that path.
Turning the wrong switch, or the wrong one entirely
VT-d, IOMMU, VT-x and SVM Mode appear in the same block on many boards. VT-d controls direct memory access remapping for device passthrough on server boards and does nothing for VirtualBox. SLAT, or second-level address translation, is a separate CPU capability that every virtualization extension requires and that no BIOS menu exposes. The switch you want always carries the words virtual technology, virtualization, VT-x, Intel VT-x, SVM or SVM Mode.
Frequently Asked Questions
Why is virtualization not enabled in my BIOS?
Manufacturers ship it off by default. The CPU virtualization extensions cost a small amount of performance in some workloads and add an attack surface, so consumer and business firmware alike start with the switch off. On OEM machines the option is often hidden until you have a BIOS administrator password, and any firmware update or CMOS reset returns it to the factory default of disabled. It is a conservative shipping decision, not a fault.
What happens if virtualization is disabled?
Hypervisors fall back to software emulation, where the guest instructions are translated on the CPU rather than run natively. A VM still boots and still works, but it becomes dramatically slower, and disk and network I/O degrade with it. Features that need real hardware support fail outright, including some Android emulators, Chrome Play Games, WSL2, Docker Desktop, and network labs built on GNS3 or Cisco CML.
Can you run a virtual machine without virtualization?
Yes, and every hypervisor offers a software-only mode. VirtualBox runs without hardware acceleration once you clear the checkbox, and VMware has a CPUID mask that hides the feature from the guest. The catch is performance: emulation of an entire processor in userland is typically one to two orders of magnitude slower, so it suits a boot test or a single lightweight command line, and nothing resembling real desktop work.
Should I disable virtualization in BIOS?
There is no general reason to turn it off. The performance cost of leaving VT-x or AMD-V enabled is small and rarely measurable in everyday use, while disabling it breaks WSL2, Docker Desktop, Android emulators and every hypervisor on the machine. The case for switching it off is narrow, and mostly about reducing attack surface on a machine that runs untrusted code, where the vendor guidance and your own threat model should decide.
Why won’t Hyper-V disable after I turn it off in Windows Features?
Two things commonly keep it alive. Virtual Machine Platform and Windows Hypervisor Platform are separate checkboxes that also start the Windows hypervisor, and unchecking Hyper-V alone leaves them enabled. On some systems a scheduled or policy-driven feature reinstalls it at the next update. Clear all three optional features, run bcdedit /set hypervisorlaunchtype off in an administrator terminal, and reboot fully rather than restarting the shell.
How do I enable virtualization on a Lenovo ThinkPad or an ASUS board?
On a ThinkPad, press F1 repeatedly at power-on, then look under Config for Virtualization, or under Security on older generations. On an ASUS motherboard, press Delete during the power-on self test, go to Advanced, then CPU Configuration, and set Intel Virtualization Technology to Enabled. On AMD ASUS models the same page carries SVM Mode instead. Both are covered in full in the step-by-step section above.
Conclusion
Start by confirming the processor supports VT-x or AMD-V, then check what the operating system currently reports so you have a before and after value. Enter BIOS or UEFI setup, enable the option labelled Intel Virtualization Technology or SVM Mode, save with F10, and reboot. Confirm it in Task Manager under Performance, CPU.
If the firmware is correct and Windows still says disabled, the cause is in the operating system rather than the board. Work through Hyper-V, Virtual Machine Platform, Windows Hypervisor Platform and Core Isolation, and the acceleration checkbox in VirtualBox becomes selectable again.