Pi-hole blocks ads and trackers for every device on your network by answering DNS queries on a Raspberry Pi instead of letting your router’s resolver handle them. This is the complete sequence for how to set up Pi-hole on a Raspberry Pi from a blank microSD card: flash the OS, run the install script, reserve a static IP, point your router’s DNS at the Pi, then confirm blocking works.
Budget about an hour for the hands-on part, plus another half hour wrestling with your router. The install itself takes five minutes. The network configuration is where most people get stuck, so each step below ends with a check that tells you whether it worked.
A note on what Pi-hole can and cannot do: it stops ads served from known tracking domains, which covers most banner ads on websites and a lot of telemetry from smart TVs and IoT devices. It does not block ads served from the same domain as the content, like most YouTube video ads. Expect a learning curve with sponsored links and deal redirects for the first week.
Table of Contents
- What You Need
- Step-by-Step: How to Set Up Pi-hole on a Raspberry Pi
- 1. Prepare the Raspberry Pi and install Raspberry Pi OS
- 2. Give the Raspberry Pi a static IP address
- 3. Install Pi-hole with the official script
- 4. Configure the Pi-hole web interface and DNS options
- 5. Point the network at Pi-hole
- 6. Verify blocking and troubleshoot the setup
- Common Mistakes
- Frequently Asked Questions
- Which Raspberry Pi should I use for Pi-hole?
- What is the best OS to use on a Raspberry Pi for Pi-hole?
- Does Pi-hole block YouTube ads?
- Should I use Wi-Fi or Ethernet for Pi-hole?
- Is Pi-hole still worth setting up today?
- How much maintenance does Pi-hole need?
- Conclusion
What You Need
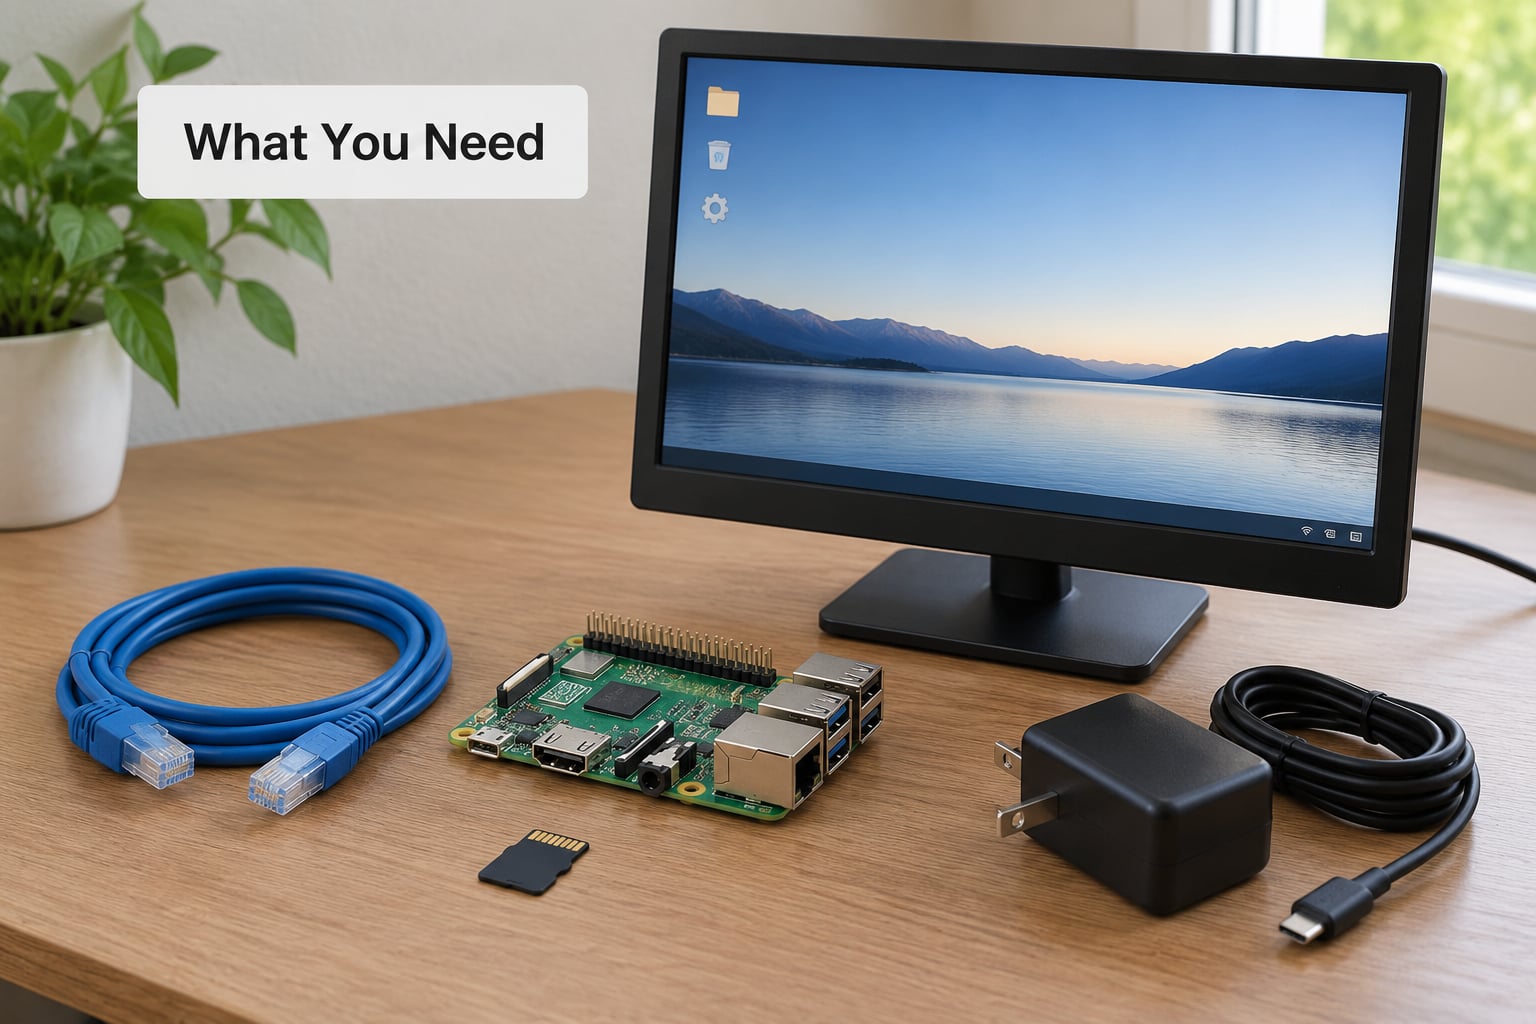
Any Raspberry Pi that has a working Ethernet port or Wi-Fi will run Pi-hole comfortably. A Zero 2 W handles thousands of queries per second without breaking a sweat, so buying a Pi 4 or Pi 5 for Pi-hole alone is usually money you don’t need to spend. Reserve the bigger board for other services you want to co-host later.
Use wired Ethernet where you can. Users running Pi-hole on a wired Pi report years with no maintenance and no dropped connections, while Wi-Fi setups pick up the occasional stall when the signal dips.
Here is the full list before you start:
- A Raspberry Pi — Zero 2 W, Pi 3, Pi 4 or Pi 5, with a case and reliable power supply. A Pi 4 or 5 wants a 5V 3A supply; underpowered boards throttle and the SD card complains.
- An 8GB or larger Class 10 microSD card — a USB SSD is a nice upgrade later but not required.
- Raspberry Pi Imager — runs on Windows, macOS and Linux.
- An Ethernet cable plus a second one if your router is a floor away.
- A computer with a browser and an SSH client — macOS and Linux have SSH built in; Windows needs PuTTY or PowerShell.
- Router admin access — you will change DHCP and DNS settings, and you should know the current DNS values so you can put them back.
- Your broadband account details — some routers will not let you change DNS without it.
- A username and password for the Pi — Raspberry Pi OS no longer ships with the old
piaccount, and plenty of stale tutorials still tell you to log in aspi.
Choose Raspberry Pi OS Lite (64-bit) in the Imager. It has no desktop environment, which means less to update and nothing to consume RAM that Pi-hole needs.
Step-by-Step: How to Set Up Pi-hole on a Raspberry Pi
1. Prepare the Raspberry Pi and install Raspberry Pi OS
This stage ends with a Pi that boots, has an address on your network, and accepts an SSH login. Open Raspberry Pi Imager, pick your Pi model, then choose Raspberry Pi OS Lite (64-bit) as the operating system and your microSD card as the storage target.
Before writing the image, open the gear icon under Advanced options and set four things: a hostname (pihole works well), a username and password, your Wi-Fi SSID and password, and the SSH service toggle under the Services tab. The hostname matters later because you can log in with ssh [email protected] instead of hunting for an IP address.
Write the card, pop it into the Pi, boot it, and then update the system over SSH:
ssh [email protected]
sudo apt update && sudo apt upgrade -y
To find the Pi’s IP address at any point, run hostname -I on the Pi itself. Write that address down now — you will need it in three more places.
2. Give the Raspberry Pi a static IP address
A static address is what stops your network breaking every time the router reboots. A DHCP reservation is the easiest route: the router still hands out the address, but always the same one to the same MAC address.
Find the MAC address on the Pi with ip -br link, then open your router’s admin page and add a reservation binding that MAC to an unused address in your pool, for example 192.168.1.50. Reboot the Pi and run hostname -I again to confirm it kept the same address.
If your router has no reservation feature, set it in the Pi instead. Check the gateway with nmcli -f IP4.GATEWAY device show wlan0 (use eth0 for a wired connection), then add a matching static profile in NetworkManager. Record the subnet prefix length too — it is easy to get wrong and it produces a Pi that pings but resolves nothing.
3. Install Pi-hole with the official script
The install is a single command that pulls the current Pi-hole packages, sets up the FTL DNS engine and the lighttpd web server, and walks through five questions:
curl -sSL https://install.pi-hole.net | bashAnswer it like this:
- Interface: choose the wired interface (
eth0) overwlan0. - Static IP: confirm the address you reserved.
- Upstream DNS provider: Cloudflare (1.1.1.1), Google (8.8.8.8) or Quad9 (9.9.9.9). Quad9 also blocks known malicious domains, which makes it a sensible default.
- Blocklist: keep the bundled StevenBlack Unified Hosts List to start with.
- Web admin interface: accept it, and set a dashboard password when prompted.
Confirm the service came up with pihole status. For a more private setup, install Unbound on the same Pi and point Pi-hole’s upstream at 127.0.0.1#53 so your queries never touch an ISP or third-party resolver.
4. Configure the Pi-hole web interface and DNS options
The dashboard lives at http://<pi-ip-address>/admin. If it loads a blank page, the lighttpd service is the first thing to check rather than your network.
Settings worth reviewing in the first week:
- Query logging. Leave it on. The Query Log is how you identify which domain is serving a blocked ad, and turning it off removes your only debugging tool.
- Privacy level. Level 0 stores everything, level 1 hides client addresses, level 2 masks them completely. Level 2 is a blunt instrument because you lose per-device filtering and group rules.
- Blocklists. Add a couple of well-maintained lists. Too many lists slows the Pi down and blocks domains you need.
- Allowlist and denylist. Whitelisting a first-party site does nothing if the ad comes from a third-party tracker, which is the single most common reason “Pi-hole broke my website”.
- Groups. Assign clients to groups when you want IoT devices filtered more aggressively than adult laptops.
Write down the admin password somewhere safe, and remember the reset command in case you do not: sudo pihole -a -p.
5. Point the network at Pi-hole
This is the stage that decides whether blocking works for everyone or just for you. There are three ways to do it, and only one is a good idea per network.
Router DNS method (recommended). In your router’s LAN or internet settings, set the DNS server to your Pi’s address and leave the secondary field empty. Fill that secondary field in with your ISP’s DNS and blocking quietly decays as clients fall through to it whenever Pi-hole returns 0.0.0.0 for a blocked domain.
Pi-hole as DHCP server. Disable DHCP on the router, then enable it inside Pi-hole’s Settings, setting the pool range and lease duration. This guarantees every device gets the Pi as its resolver and your DNS address for anything that breaks.
Manual per device. Set the DNS server to the Pi’s address on individual phones, laptops and TVs. Good for testing, painful to maintain.
Never point a device’s DNS at the Pi’s own address while the Pi uses that device as its router — that is a DNS loop and it produces an instant, total outage.
6. Verify blocking and troubleshoot the setup
Four checks, in order. First, resolution: dig @192.168.1.50 google.com should return a real address. Second, visit an ad test page such as Adblock Tester or DNS leak test and watch the blocked percentage appear on the Pi-hole dashboard.
Third, open the Query Log and search for a domain you know is blocked. If it shows up with a blocked row, your device is talking to Pi-hole correctly. Fourth, confirm the dashboard shows queries climbing as you browse.
Then close the gaps people usually leave open. Encrypted DNS bypasses Pi-hole entirely, so turn it off in each browser: Chrome and Edge under Settings, Privacy and Security, Secure DNS; Firefox under Settings, Privacy and Security, Encryption, Network Settings. On iOS, switch off Private Relay. On Windows 11, set encrypted DNS to off in Network and Internet settings.
Finally, IPv6 can undo everything. If your router hands out IPv6 addresses and DNS over IPv6, many clients resolve over IPv6 and bypass Pi-hole. Either configure the Pi’s IPv6 address in the router’s DNS settings or disable IPv6 DNS on the router.
Common Mistakes
No internet after pointing the router at Pi-hole. Check that the Pi itself still has internet, then confirm the Pi’s upstream resolver works by running dig @1.1.1.1 example.com on the Pi. If the router still has a secondary DNS field filled in, clear it — blocked domains return 0.0.0.0 and clients fall through to that second resolver.
It worked, then broke after a reboot. The Pi got a new IP address. Reserve it again with the same process from step 2.
Everything resolves to 0.0.0.0. That is a DNS loop. A device is pointed at Pi-hole while Pi-hole’s gateway is that device, usually the router advertising itself as DNS on the Pi’s interface. Fix the router’s LAN DNS setting.
The admin page will not load. Open the Pi’s IP address in a browser rather than pi.hole or pihole.local. If it still fails, check sudo systemctl status lighttpd and make sure nothing else on the port, such as another web server, has taken it.
Ads still appear in Chrome, Firefox or Edge. Encrypted DNS is the usual cause. Disable Secure DNS in each browser separately — turning it off in one does nothing for the others.
Blocking faded away over a few weeks. Two usual reasons: IPv6 clients resolving outside Pi-hole, or a blocklist that stopped being updated. Run pihole -g to refresh the gravity database, and set a weekly automation for it.
Shopping sites or deal redirects break. Sponsored links point at tracking domains that look identical to the advertiser’s real link until you check the Query Log. Add the domain you find there to the allowlist.
Login pages or banking sites fail to load. Some sites use CNAME-based ad domains for their own assets. Whitelist the specific domain from the Query Log rather than switching blocking off.
Frequently Asked Questions
Which Raspberry Pi should I use for Pi-hole?
Any Raspberry Pi with an Ethernet port runs Pi-hole comfortably. A Zero 2 W handles thousands of queries per second, so it is enough for a typical home network of phones, TVs and laptops. Pick a Pi 4 or 5 only if you plan to run other services on the same board, such as a VPN or a media server.
What is the best OS to use on a Raspberry Pi for Pi-hole?
Raspberry Pi OS Lite 64-bit is the right choice. It ships without a desktop environment, so there is less to update and more memory available for DNS queries. Flash it with Raspberry Pi Imager, tick SSH under the Services tab, and set your username and password before writing the image to the card.
Does Pi-hole block YouTube ads?
No, and this is the most common misunderstanding. YouTube serves its video ads from the same domains as the video itself, so a DNS-level blocker cannot tell them apart. Pi-hole does block the separate tracking and telemetry domains that come with most websites, banner ads, and a good share of smart TV and app advertising.
Should I use Wi-Fi or Ethernet for Pi-hole?
Use Ethernet if you can. A wired Pi keeps a steady connection for DNS, and people running it that way report years without a single site breaking. Wi-Fi works fine for a small network, but the occasional signal dip causes visible delays in page loads that are hard to diagnose later.
Is Pi-hole still worth setting up today?
Yes, for home networks it remains a genuinely useful free tool with no subscription attached. Browsers now ship their own blockers, so the gains on a laptop are smaller than they used to be. The real value shows up on devices that cannot install anything: smart TVs, consoles, speakers, doorbells and other IoT gear.
How much maintenance does Pi-hole need?
Very little. Run pihole -g to refresh the blocklist database, pihole -up to update Pi-hole itself, and pihole restartdns if behaviour changes unexpectedly. Automating the first two with a weekly cron job covers almost everything. Back up /etc/pihole and /etc/dnsmasq.d once, and your setup is easy to restore.
Conclusion
Start with one test device. Set the Pi’s DNS manually on a single laptop, confirm ads disappear and normal browsing still works, and only then change the router. That order means a broken setup costs you five minutes instead of an evening with no internet.
Before you touch the router, write down its current DNS settings so you can put them back. Install Pi-hole on Raspberry Pi OS Lite, reserve a static IP, run the install script, clear that secondary DNS field, and verify with the Query Log. Once the whole network is routed through it, add Unbound and a weekly blocklist update, and you will not have to think about it again.