Creating a Windows VM on Linux with KVM means running KVM, QEMU, libvirt, and virt-manager on your Linux host, then pointing the VM at a Windows installation ISO and a VirtIO driver ISO. With the storage bus, firmware, and TPM set correctly, Windows 11 installs and boots at close to native speed.
The whole procedure takes about 40 minutes, most of which is Windows Setup itself. The fiddly part is not the clicking. It is that a default KVM virtual machine uses devices Windows Setup does not yet know how to talk to, so you get a disk that appears to be missing and an installer that asks for a TPM that is not there.
Below is the order I use: verify hardware virtualization on the host, install the packages, get both ISOs, build the VM, then fix the two blockers. Every command is complete and runnable — no ellipses, no “adjust as needed”.
Last updated: October 2026
Table of Contents
- What You Need
- Step-by-Step
- Check Hardware Virtualization Support
- Install KVM, QEMU, and virt-manager
- Prepare a Windows Installation ISO
- Create the Windows VM in virt-manager
- Configure the VM Storage and Firmware
- Set Up CPU, Memory, and Network Resources
- Start the VM and Install Windows
- Install Guest Drivers and Verify the VM
- Common Mistakes
- Frequently Asked Questions
- Can you run a Windows VM on KVM?
- Is KVM better than VirtualBox for a Windows guest?
- Why does Windows Setup say no drive found in KVM?
- How do I add a TPM 2.0 device so Windows 11 will install?
- Do I need VirtIO drivers for Windows on KVM, and can I use KVM inside a VM?
- Conclusion
What You Need
Hardware first, because this is where a surprising number of attempts end before anything is installed. Your CPU needs Intel VT-x or AMD-V, and it needs to be switched on in the BIOS or UEFI firmware, not just present in the silicon.
- CPU virtualization: Intel VT-x or AMD-V, enabled in firmware. KVM is a kernel module; without these extensions it will not load at all.
- Host RAM: 16 GB is a comfortable floor for a Windows 11 guest, since Windows itself wants 8 GB to be happy and you need headroom for the host.
- Host storage: 80 GB of free space or more. The virtual disk image, the Windows ISO, and the VirtIO driver ISO all live in the same directory by default.
- A 64-bit Linux host: Ubuntu, Debian, Fedora, RHEL, Rocky, AlmaLinux, Arch, and openSUSE all work. The commands differ per distro; they are listed side by side below.
- Windows installation ISO: downloaded from Microsoft’s own site, not a third-party mirror.
- The VirtIO driver ISO: this is the piece almost every guide glosses over, and it is mandatory. Windows Setup contains no driver for a VirtIO disk, so you cannot install to it without loading one.
- A Windows license: strictly speaking, a license is not needed to evaluate Windows in a VM, but a product key is needed to keep it activated past the trial period.
Four components do the work, and it helps to know which is which. KVM is the in-kernel hypervisor that talks to your CPU. QEMU is the emulator that builds the actual virtual hardware. libvirt is the management daemon that owns VM lifecycle. virt-manager is the GUI you point and click in. When someone says “I installed KVM”, they usually installed all four.
Step-by-Step
Here is the entire procedure in eight steps. Each later section expands on one of them.
- Confirm VT-x or AMD-V is enabled, then verify with
lsmod | grep kvm,ls -l /dev/kvm, andvirt-host-validate. - Install QEMU, libvirt, virt-manager, and the VirtIO driver ISO with your distro’s package manager.
- Download a legitimate Windows 11 ISO and verify its checksum.
- Open virt-manager and choose File > New Virtual Machine > Local install media.
- In the customization step, set the chipset to Q35, firmware to OVMF (UEFI), disk bus to VirtIO with writeback cache, NIC to VirtIO on NAT, and add a TPM 2.0 device.
- Attach the VirtIO driver ISO as a second CD-ROM, then start the VM.
- When Windows Setup reports no drive found, click Load driver and browse to
viostor > w11 > amd64on the VirtIO CD. - After Windows is installed, run
virtio-win-gt-x64.msiandqemu-ga-x86_64.msifrom the VirtIO CD.
Check Hardware Virtualization Support
Run this on the host first. It tells you whether the kernel module is loaded and whether you have permission to use it.
lscpu | grep -i virtualization
lsmod | grep kvm
ls -l /dev/kvm
You are looking for two flags in the lscpu output — vmx for Intel or svm for AMD — and a loaded kvm_intel or kvm_amd module. The /dev/kvm line should show a character device owned by root with the kvm group.
If lscpu prints nothing, the extensions exist in hardware but firmware is hiding them. Reboot into BIOS or UEFI setup and look for Intel VT-x / VT-d, or SVM Mode on AMD boards. Turning on VT-d alone is not enough; the virtualization toggle is often a separate line.
Once the packages are installed, virt-host-validate gives you the summary view. Anything marked warn is usually harmless; anything marked fail is not.
virt-host-validate
# kvm support: not installed  -> packages not installed yet
# KVM module signature: ok     -> good
A useful detail: if lsmod shows no kvm module but QEMU still creates VMs, they run under slow TCG emulation. That is the single biggest cause of “KVM feels slower than VirtualBox” reports, and it is worth ruling out early.
Install KVM, QEMU, and virt-manager
Pick the block for your distro. These are complete commands, including the driver ISO package.
# Debian / Ubuntu / Linux Mint
sudo apt update
sudo apt install qemu-kvm libvirt-clients libvirt-daemon-system bridge-utils virt-manager virt-viewer ovmf swtpm qemu-system-x86 qemu-utils
# Fedora / RHEL / Rocky / AlmaLinux
sudo dnf install qemu-kvm libvirt-client libvirt-daemon qemu-img virt-manager virt-viewer edk2-ovmf swtpm
# Arch Linux
sudo pacman -S qemu-full libvirt edk2-ovmf swtpm virt-manager virt-viewer dnsmasq
# openSUSE
sudo zypper install qemu-kvm libvirt-clients libvirt-daemon virt-manager virt-viewer ovmf swtpm
Then enable the daemon and confirm the KVM device exists. On systemd hosts that means sudo systemctl enable --now libvirtd.
sudo systemctl enable --now libvirtd
sudo usermod -aG libvirt $USER
ls -l /dev/kvm
Log out and back in after the usermod command, or the group change will not take effect in your current session. On the Debian family you also need qemu-system-x86, which is packaged separately and is easy to miss.
The VirtIO driver ISO installs to /usr/share/virtio-win/. Confirm the file is there before you start, because you will attach it as a CD-ROM later.
ls /usr/share/virtio-win/
# virtio-win.iso  or  virtio-win-0.1.XXX.iso
Prepare a Windows Installation ISO
Download the ISO from Microsoft’s official download page and create the media yourself. Third-party repackaged ISOs are a common source of exactly the auto-reboot loop described later, and pre-activated images carry a legal problem of their own.
Two things to get right. First, architecture: a standard PC Windows 11 ISO is x64, and that is what you want for a KVM guest on x86 hardware. Second, you will want the English ISO, because the VirtIO driver ISO ships with English-only installer screens and mismatched language makes the load-driver dialog hard to read.
Verify the checksum after download so you know the file is complete and untampered. Microsoft publishes SHA-256 sums for each build on the same download page.
sha256sum Win11_24H2_English_x64.iso
Compare the output against the published hash character for character. If it differs, delete the file and download it again — a truncated ISO fails much later, in a confusing way.
Store both ISOs somewhere the libvirt service can read. A path under your home directory works, but note that some SELinux-enforcing distributions block qemu from reading from arbitrary home paths. If Setup cannot see the disc at all, that policy is usually the reason.
Create the Windows VM in virt-manager
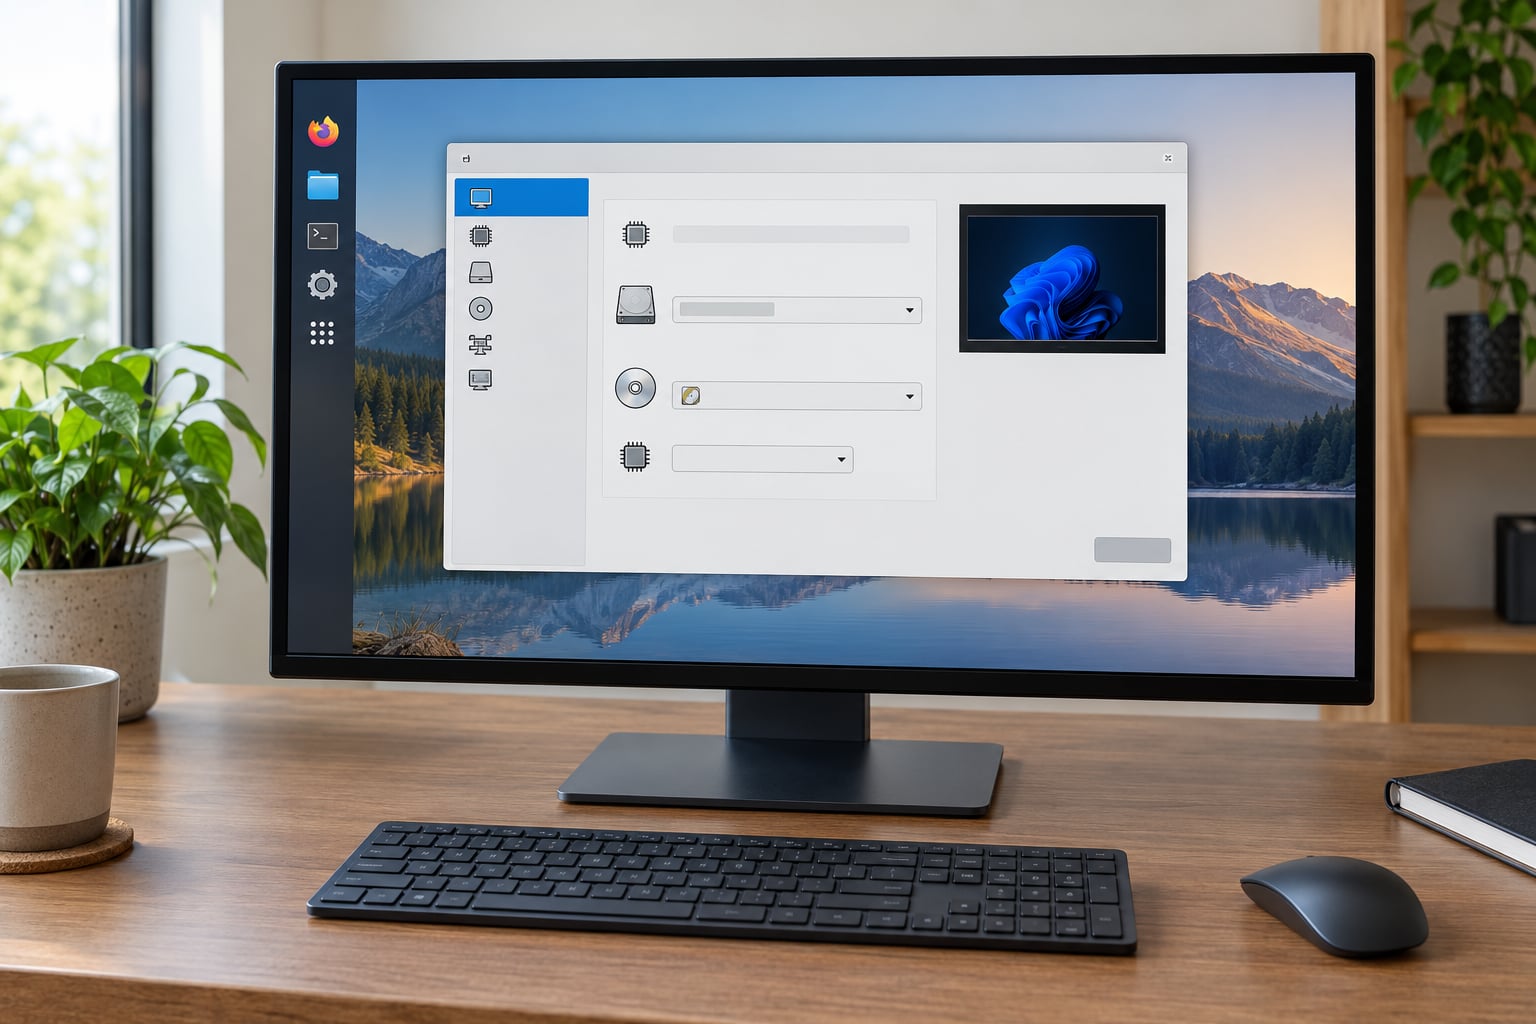
Launch virt-manager from your desktop menu. On first run it connects to the local libvirt daemon and shows an empty hypervisor list.
The path is File > New Virtual Machine. On step 1 choose Local install media, then point at the Windows ISO in the second field. On step 2 choose the operating system — Windows 10 or 11, depending on your ISO — and the version. virt-manager uses the os-variant value to pick sensible CPU, firmware, and chipset defaults, and selecting Windows 11 is what gets you UEFI firmware rather than legacy BIOS.
On step 3 give the VM a name and choose where the qcow2 disk image will live. Keep it on a filesystem with room to grow, since a Windows guest will add 20 to 30 GB of updates within a year.
On step 4 choose the disk size and format. Pick qcow2 for the format. A qcow2 disk is sparse — it only consumes the space actually written to — and it supports snapshots, which a raw disk image does not.
On step 5 confirm the final settings, then tick Customize hardware before install. This is the step most guides skip, and it is the one that determines whether the install works. The next section is entirely about that dialog.
If you prefer the command line and want the same VM on a headless server, virt-install can create an identical machine:
virt-install --name win11 --memory 8192 --vcpus 4
  --os-variant win11 --boot uefi
  --disk path=/var/lib/libvirt/images/win11.qcow2,format=qcow2,bus=virtio,size=64
  --cdrom /home/user/isos/Win11_24H2_English_x64.iso
  --cdrom /usr/share/virtio-win/virtio-win.iso
  --network network=default,model=virtio
  --graphics spice,listen=none
  --video virtio
  --tpm backend-emulator,version=2.0
  --rng /dev/urandom
  --noautoconsole
The --noautoconsole flag leaves the VM running in the background; connect to it from a desktop with virt-viewer win11.
Configure the VM Storage and Firmware
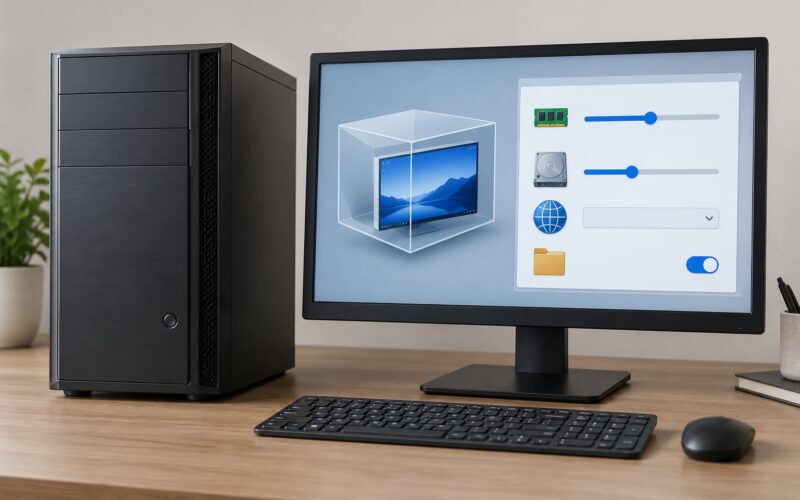
This dialog is where Windows 11 either installs cleanly or refuses to start. Here are the values that matter and the reason behind each one.
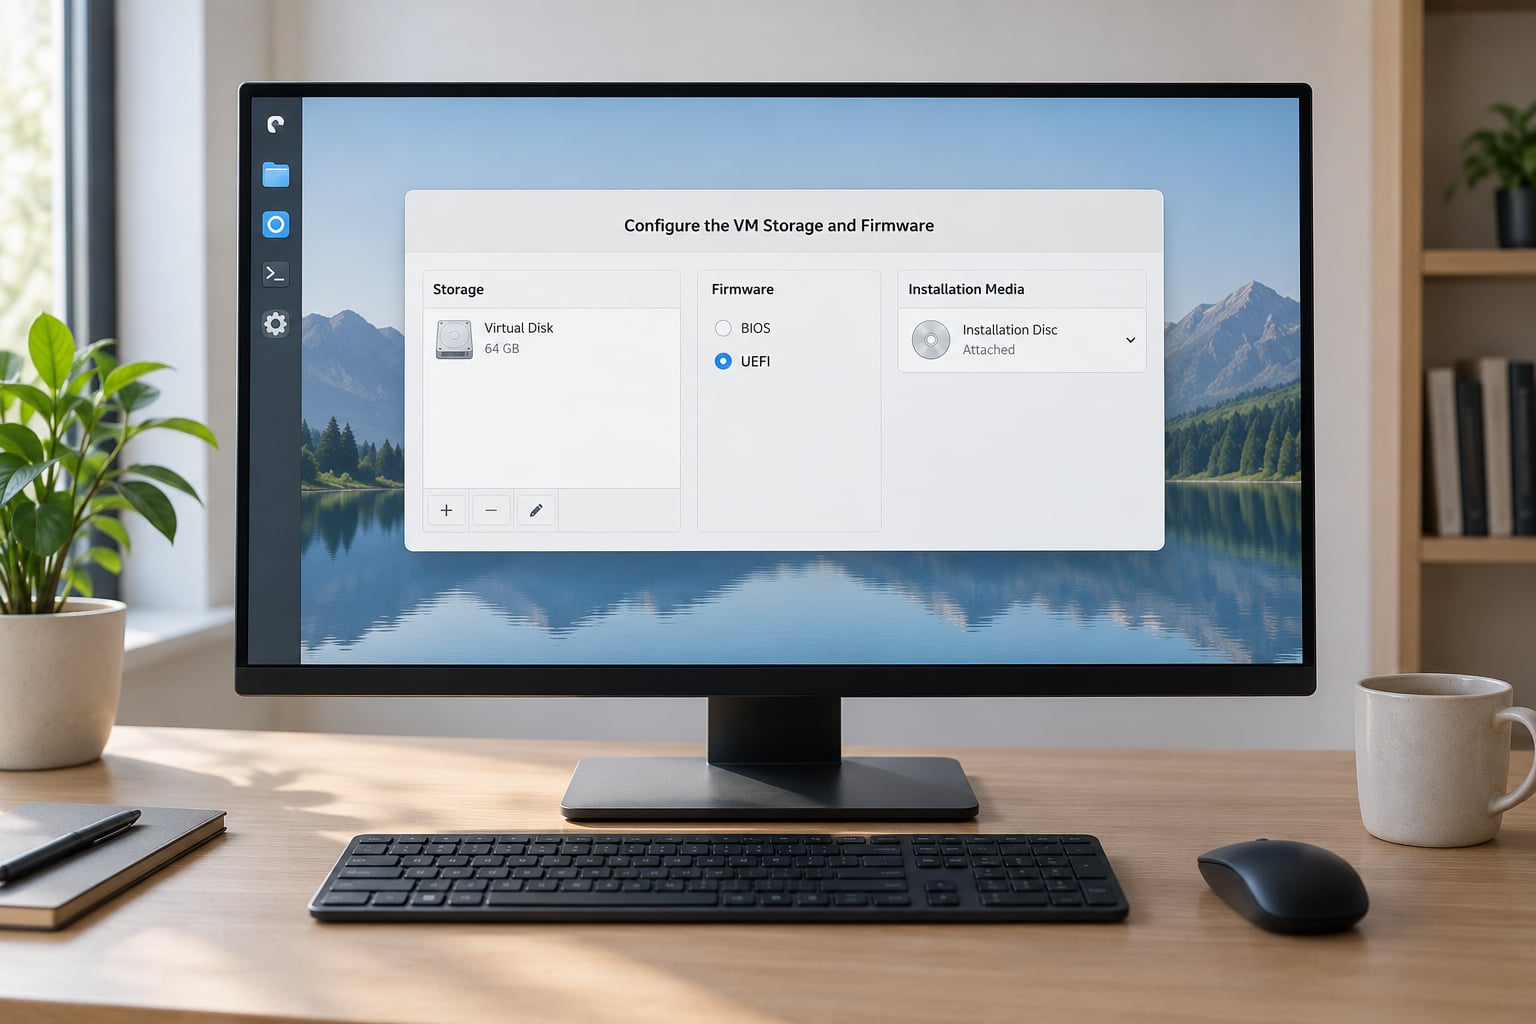
| Setting | Recommended value | Why |
|---|---|---|
| Chipset | Q35 | Modern machine type with the PCIe layout Windows 11 and TPM 2.0 expect |
| Firmware | UEFI (OVMF) | Windows 11 will not boot on legacy BIOS firmware |
| Disk bus | VirtIO | Paravirtualized, much faster than SATA emulation; requires a driver at install time |
| Disk format | qcow2 | Sparse allocation plus snapshot support |
| Disk cache | writeback | Balances host memory use against guest write speed |
| Network model | virtio | Fastest NIC; needs the NetKVM driver after install |
| Network mode | NAT | Works out of the box with no host-side bridge configuration |
| TPM | TPM 2.0 (emulated) | Hard requirement for a Windows 11 clean install |
| CPU model | host-passthrough | Exposes CPU features directly; fastest option |
| Video | VirtIO | Better resolution handling than the legacy VGA model |
| Random device | /dev/urandom | Windows Setup can stall for minutes waiting for entropy |
In the Hardware list, open System Emulation and set the chipset to Q35. Then open BIOS and pick the UEFI firmware file. On Debian and Ubuntu that is /usr/share/OVMF/OVMF_CODE_4M.ms.fd; on Fedora and Arch it is usually /usr/share/edk2/x64/OVMF_CODE.4m.fd. The 4M variant is the one that leaves room for the Windows 11 requirement of a large enough firmware variable store.
Leave Secure Boot enabled — OVMF without a custom key still boots Windows 11 because the Microsoft keys ship in the firmware image. Disabling it only makes the install easier and the guest weaker.
Open Hard Disk and change the bus type to VirtIO if virt-manager did not set it already. Then open Controller and add a second CD-ROM device with the VirtIO driver ISO attached to it at /usr/share/virtio-win/virtio-win.iso.
That second optical drive is the second half of the “no drive found” fix. The Windows ISO boots from one disc, and the VirtIO disc supplies the driver that lets Setup see the disk on the other.
Finally, open Video and set the model to VirtIO. It gives you usable resolution options instead of the 1024×768 default that the VGA model locks you into.
Set Up CPU, Memory, and Network Resources
For CPU, open Processors and set the model to host-passthrough, then pick a core count. Two vCPUs is the minimum Windows will behave well on. Four is the sweet spot for normal desktop use. Match your host core count or go higher only if you are building or compiling Windows code, and leave the host enough cores to stay responsive.
For memory, open Memory and enter your RAM. 8 GB is Microsoft’s stated minimum for Windows 11 and about where a clean install stops feeling cramped. If your host has 32 GB, giving the guest 12 to 16 GB is reasonable.
One trap: do not allocate your entire host RAM to the guest. Leave at least 4 GB for the host, or you will find the desktop stuttering and the host swapping when Windows starts its first update pass.
Networking is under Network. NAT is the default and requires nothing — the guest gets an address on the host’s private network and reaches the internet through it. Bridged attaches the guest’s NIC directly to your physical LAN, giving it its own IP on the same network as everything else. Bridged is what you want for a home lab server or anything another machine needs to connect to directly, and it does require a configured bridge on the host.
Under Display, the SPICE graphics option enables clipboard sharing once the guest tools are installed. Leave USB redirection enabled if you need to pass a USB stick straight through to Windows. Under Audio, pick your host backend so sound works from the guest.
Start the VM and Install Windows
Click Begin Installation and the VM console opens. Windows Setup boots from the ISO and walks through language, keyboard, and network steps.
Two moments need your attention. The first is the disk selection screen, where you will probably see no drives listed. Click Load driver, choose Browse, and navigate the VirtIO CD to viostor > w11 > amd64. For a Windows 10 ISO the folder is w10. Press Next and your virtual disk appears in the list above.
Select the disk, choose Custom install if you want to manage partitions yourself, and let Setup run.
The second moment is if you see “This PC can’t run Windows 11”. That is the TPM or Secure Boot check. Cancel back to the drive list, shut the VM down, and confirm in the Hardware dialog that you have both a TPM 2.0 device and UEFI firmware with Secure Boot enabled. That single error accounts for most failed Windows 11 KVM installs.
Let Setup finish. It restarts a couple of times on its own, which is normal. The Just a moment spinning-dots screen near the end can sit there for several minutes the first time — that is Setup installing updates, not a hang.
Install Guest Drivers and Verify the VM
Once you reach the Windows desktop, do not stop. Open File Explorer, find the VirtIO CD drive, and run the guest tools installer.
msiexec /i X:virtio-win-gt-x64.msi /passive /norestart
msiexec /i X:qemu-ga-x86_64.msi /passive /norestart
The first command installs the VirtIO drivers — storage, network, graphics, and the balloon driver. The second installs the QEMU Guest Agent. Replace X: if the VirtIO CD mounted as a different letter.
The guest agent is what makes shutdown, snapshots, and disk resize work properly. Without it, virt-manager sends an ACPI power button press that Windows may ignore, and you end up force-killing the VM, which risks filesystem corruption.
After installing, open Device Manager and confirm there are no devices with a yellow warning triangle. If there are, they are on the VirtIO CD and double-clicking each one updates the driver. Restart Windows once the installs finish.
Now verify the whole thing. Run virsh list --all on the host and confirm the VM shows as running. Inside Windows, open a browser and load a page. Check that the resolution list under Display settings offers something above 1024×768. Then power the VM off from the Windows Start menu and watch virt-manager return the state to shut off rather than needing a force stop.
Once it behaves, take a snapshot from virt-manager. A clean install snapshot gives you a known-good baseline to roll back to before any experimentation.
Common Mistakes
Almost every failure in this process falls into one of the patterns below. Match your symptom rather than guessing.
| Symptom | Cause | Fix |
|---|---|---|
| No drives listed in Windows Setup | Windows Setup has no VirtIO storage driver | Load driver, browse the VirtIO CD to viostor > w11 > amd64 |
| Setup loads then reboots about 15 seconds in | Missing or mismatched storage driver, or a third-party ISO | Rebuild from a Microsoft ISO; if it persists, switch the disk bus to SATA to confirm the image is good |
| “This PC can’t run Windows 11” | No TPM 2.0 device, or legacy BIOS firmware | Add a TPM 2.0 device and set firmware to OVMF UEFI |
| Stuck on the “Just a moment” screen | Setup applying updates before the desktop appears | Wait it out; if it never resolves, power off and start from a snapshot |
| virt-manager starts VMs very slowly | VT-x or AMD-V disabled, so QEMU fell back to emulation | Enable virtualization in firmware; confirm with lsmod | grep kvm |
| Permission denied on /dev/kvm | User not in the kvm or libvirt group | Add the group, then log out and back in |
| No network in the guest after setup | NIC still waiting on a driver, or DHCP not served | Install the NetKVM driver from the VirtIO CD, then run ipconfig /renew |
| Display stuck at one low resolution | Legacy VGA video model | Switch the video model to VirtIO and install the guest tools |
| Host freezes when the VM starts | Host RAM over-allocated, or dm-crypt workqueue contention on an encrypted host | Lower guest RAM below host total; switch the root filesystem cipher to non-AES |
| Setup cannot see the VirtIO CD at all | SELinux policy blocking qemu from the path | Move the ISO to a standard location, or set SELinux to permissive to test |
Two more worth mentioning. If your host is a virtual machine itself, nested virtualization has to be exposed by the outer hypervisor and then enabled in the guest’s CPU settings — performance will be poor, and it is only worth it for training. On ARM hardware such as Apple Silicon, KVM is the wrong tool entirely; use a Windows 11 ARM VM instead.
Frequently Asked Questions
Can you run a Windows VM on KVM?
Yes. KVM is the Linux kernel’s built-in hypervisor, and both Windows 10 and Windows 11 run on it as normal guests. What makes it work is a small amount of setup beyond a default VM: UEFI firmware, a TPM 2.0 device for Windows 11, and a VirtIO storage driver loaded manually during Setup so the installer can see the disk.
Is KVM better than VirtualBox for a Windows guest?
For a Windows guest, KVM is faster and safer. It uses the CPU’s hardware virtualization extensions and paravirtualized VirtIO drivers instead of emulating a physical chipset, which cuts CPU and disk overhead noticeably once the guest tools are installed. VirtualBox is easier to install and still fine for a throwaway learning VM, but KVM wins once you want snapshots, clean shutdown, and server-side management.
Why does Windows Setup say no drive found in KVM?
Your virtual disk is attached as a VirtIO device, and Windows Setup ships without a driver for it. On the disk selection screen choose Load driver, then browse the VirtIO CD to viostor and then w11 (or w10) and then amd64, and press Next. Your disk appears and Setup continues normally.
How do I add a TPM 2.0 device so Windows 11 will install?
Shut the VM down, open virt-manager, select the machine, choose Show hardware, click Add new device, and pick TPM. Set the version to 2.0 and leave the backend as the default emulated TPM. Windows 11 also requires UEFI firmware, so confirm the BIOS setting uses the OVMF firmware file rather than legacy BIOS.
Do I need VirtIO drivers for Windows on KVM, and can I use KVM inside a VM?
You do need VirtIO drivers: the Windows installer and the running OS both need them for storage, network, and graphics, and they ship on the separate virtio-win driver ISO. For nested virtualization, yes it is possible on x86, but the outer hypervisor must expose VT-x or AMD-V to the guest first. Expect poor performance and use it only for training.
Conclusion
You now have a Windows 11 VM on Linux running on KVM, with a qcow2 disk you can snapshot, and the guest tools installed so shutdown and resize behave. Most of the frustration people hit on this topic comes from the same two places: the VirtIO storage driver and the TPM 2.0 device.
Before you change anything else, power the VM off cleanly from inside Windows and confirm it returns to the shut-off state without a force stop. Then take a snapshot. That snapshot is your baseline — if an experiment goes sideways, you are one click away from a working machine again.
After that, check activation status under Settings and connect a real network test. Only then start tuning: extra vCPUs, more RAM, disk cache mode, and disabling background Windows services all pay off much more once the base install is stable. If something goes wrong on the way, the troubleshooting table above maps the common error messages to the exact setting that causes them.