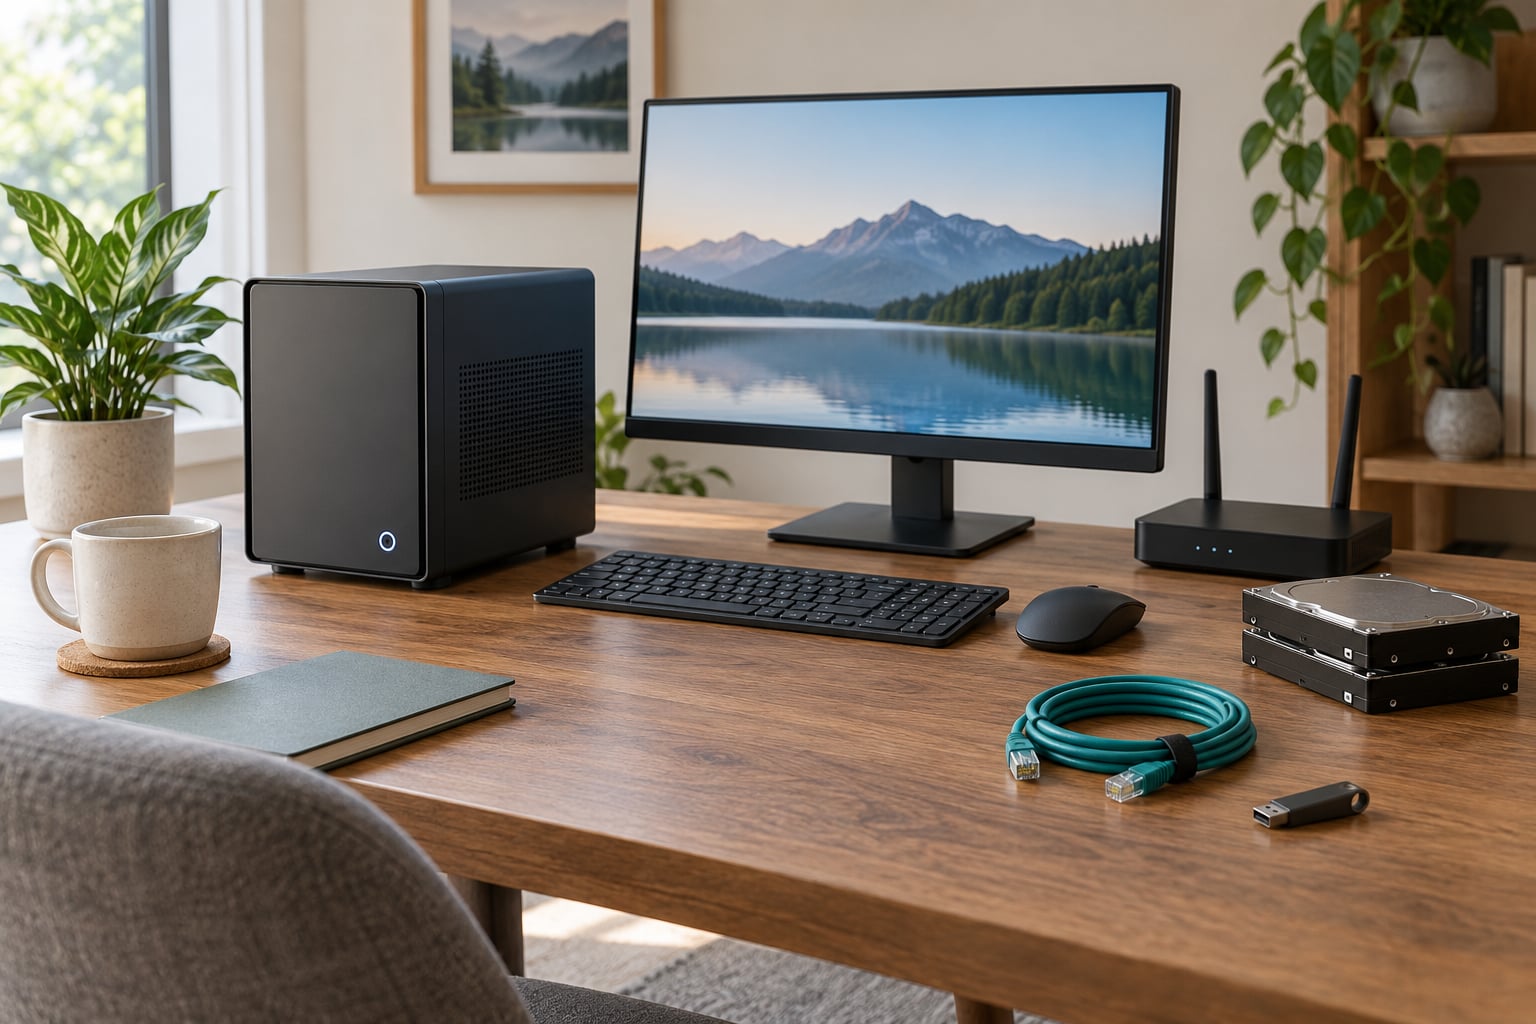
If you want to know how to build a home lab server for beginners, it comes down to four things: a spare computer, one clear job for it, a network cable, and an operating system you can reinstall without panic. Pick a machine you already own, give it a reserved address on your LAN, install Proxmox VE or a plain Linux server, and deploy one service. Add the second service only after the first one stays up for a week.
Most beginners do not have a hardware problem. They have a starting-point problem: they try to run storage, media, a dozen containers, a virtualisation platform and a monitoring stack on the first afternoon, then lose track of what is installed and where its data lives. This guide walks through the build in order, and every step ends with a check that tells you it worked.
I still run a small lab myself, and the thing I got wrong first time was buying server gear before deciding what the machine was for. Used enterprise boxes are cheap and genuinely capable, but they are loud, they draw real power while idle, and their proprietary replacement parts turn a weekend into a sourcing expedition. A quiet small-form-factor PC on a shelf does the same work for a beginner and takes up a fraction of the room.
Table of Contents
- What You Need
- Step-by-Step: How to Build a Home Lab Server for Beginners
- 1. Choose What the Server Is For
- 2. Choose the Hardware and Operating System
- 3. Prepare the Storage and Network
- 4. Install the Server Operating System
- 5. Secure and Maintain the Server
- 6. Install a First Useful Service
- 7. Access and Expand the Home Lab
- Common Mistakes
- Frequently Asked Questions
- What hardware should I use for my first home lab server?
- Is Proxmox VE or plain Linux better for a beginner?
- Do I need a NAS, or is a home lab server enough?
- How do I reach my lab server from outside home without exposing it?
- Can I use an old laptop or desktop as a home server?
- Start With One Useful Server Project
What You Need
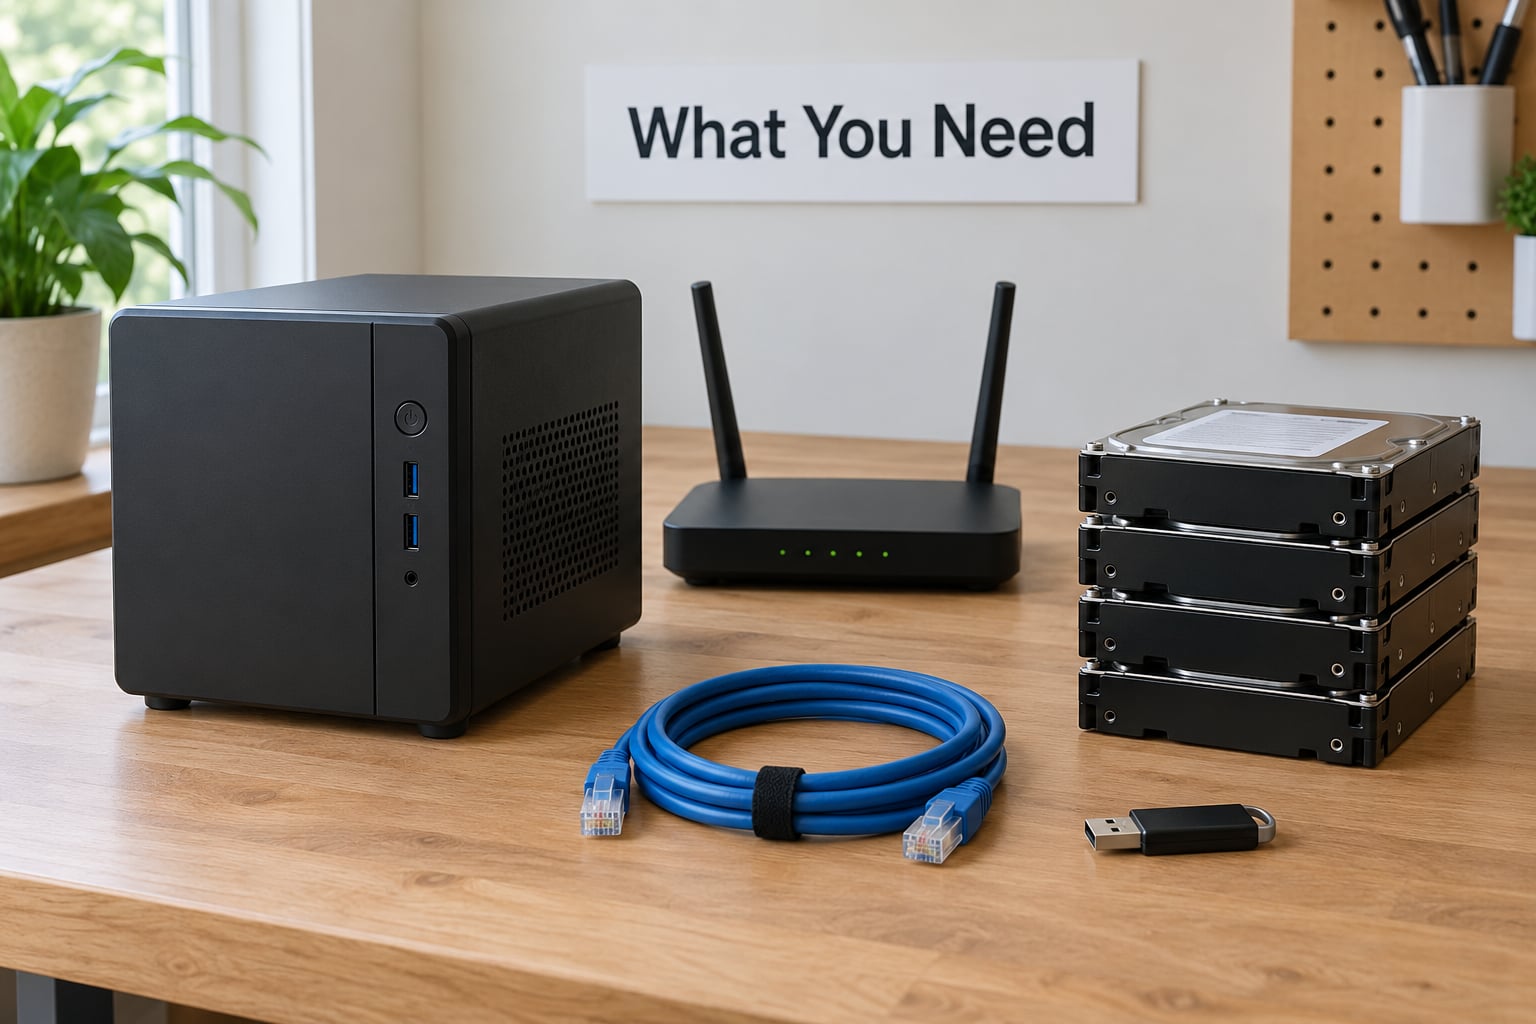
Start with the free option. Any desktop or laptop from the last decade with an Ethernet port can run Debian or Ubuntu Server, and that path costs nothing but an afternoon. People on the Level1Techs forum consistently point beginners at spare computers and spare parts for exactly this reason.
Beyond the computer itself, here is what you actually need and what you can skip for now.
- A computer with an Ethernet port. A small-form-factor PC, a refurbished office desktop, a tower, or a laptop you no longer travel with. Wi-Fi works for the install but is a poor choice for a server, so buy a USB-to-Ethernet adapter if the machine has no port.
- Storage. One small SSD for the operating system is plenty. Add larger drives later, sized to the data you actually hold rather than to the largest drive you can afford.
- An 8 GB or larger USB flash drive to build the installer. You will rebuild this a few times, and a drive you can wipe is worth its keep.
- An Ethernet cable to the router. One cable, one purpose.
- A monitor and keyboard for the install only. Proxmox and Linux servers run headless, meaning no screen attached, once they are configured.
- A way to install the OS. A USB stick for bare metal, or a pre-made boot drive if you are putting a virtualisation layer on first.
Skip the rack server, the UPS and the managed switch on day one. They are not wrong purchases, they are purchases for a lab that already exists. The single most useful optional item is a small uninterruptible power supply, but only once something on the box matters enough to lose.
Step-by-Step: How to Build a Home Lab Server for Beginners
1. Choose What the Server Is For
Write down one job before you touch any hardware. One. The single most common thread in beginner threads on r/homelab and r/minilab is that the real blocker is not hardware, it is not knowing which workload to start with.
For most people the first job is shared file storage over your LAN, a Pi-hole or AdGuard Home DNS filter for every device in the house, or a media library served by Jellyfin. Developers often pick a throwaway virtual machine lab or a container playground. Certification candidates go for Active Directory, DNS and DHCP practice, or a GNS3 and Wireshark network lab to sit alongside the CCNA material.
Your choice locks in the rest. Shared files and backups want large disks and a boring operating system. A virtual machine lab wants CPU cores and memory. A container playground wants modest hardware and a fast network. Check the step worked when you can state the workload in one sentence and name the two services that satisfy it.
2. Choose the Hardware and Operating System
Here is the honest comparison. It matters less than most buying guides suggest.
| Option | Good for | Watch out for |
|---|---|---|
| Reuse a desktop you own | Zero cost, learning the install | Fan noise, older CPU, single drive bay |
| Refurbished office desktop | Cheap, quiet, plenty of RAM slots | Check that the power supply and CPU are included |
| Mini PC | Low idle draw, small footprint, efficient CPUs | Few storage bays, upgrades are soldered or limited |
| Used tower or rack server | Many drive bays, remote management, memory headroom | Acoustic noise and idle power, proprietary spare parts |
| NAS appliance | Storage with a friendly interface | Less flexible for learning anything beyond files |
For a baseline you can grow from, four CPU cores and 16 GB of memory handles a handful of containers or two or three lightweight virtual machines. Add memory before you add disks, because memory is usually the cheaper upgrade and the one that decides how many things you can run at once. For storage, a single SSD for the system plus one larger drive for data is a cleaner first layout than a big mirrored array you do not yet know how to recover.
Two criteria get skipped by most guides and matter most in a home. Idle power draw decides your yearly bill and whether the box belongs on a shelf or in a cupboard. Fan noise decides whether you will leave it running or quietly switch it off, which defeats the purpose.
Now the software. Three paths cover almost everything a beginner wants.
| Path | What it is | Pick it when |
|---|---|---|
| Ubuntu Server or Debian | A plain Linux operating system, no virtualisation layer | You want containers and services, and you want to learn Linux itself |
| Proxmox VE | A hypervisor running both virtual machines and LXC containers | You want throwaway test machines, snapshots and a clean web interface |
| Hyper-V or VMware Workstation | Windows-hosted virtualisation | Your study material is Windows-centric and you already run Windows |
If you genuinely do not know yet, Debian or Ubuntu Server is the smallest thing that works and the least to undo. Proxmox VE is a fine beginner platform and widely recommended, but it adds a layer of abstraction between you and the operating system, so you learn less about the layer underneath until you go looking for it. The step worked when the machine boots to a login prompt on its own, with a monitor and keyboard still attached.
3. Prepare the Storage and Network
Decide what each drive is for before you format anything. A common clean layout is one SSD for the operating system and one larger drive mounted at a fixed path such as /mnt/data. That fixed path is the thing people forget three months later, when they are hunting for where the media library went.
For a first build, keep data internal where the SATA or NVMe ports allow it. An external USB enclosure is fine for occasional backups and awkward for a database, because spinning disks and USB buses have a habit of disconnecting when nobody is watching.
Plug the Ethernet cable into the router. Then reserve an address for the server in your router’s DHCP settings, which pins a fixed address to the machine’s MAC while still letting the router hand it out. That is a DHCP reservation, and it gives you the stability of a static IP without hand-editing network config files on a machine you may rebuild next week. Once it is reserved, verify the link with a ping from another computer on the same network. No reply means check the cable and the port, not the operating system.
4. Install the Server Operating System
Download the ISO from the distribution’s own site, and write it to the USB drive with a tool such as balenaEtcher, Rufus or Ventoy. Confirm the ISO checksum before writing if the download page offers one. Then reboot the machine and pick the USB drive from the one-time boot menu, usually F12, F11, Esc or F8 depending on the board.
The installer will ask a few questions that are worth thinking about instead of clicking through. Choose the correct target disk carefully, because this is the step that erases something if you rush it. Set a hostname you will recognise on a network scan later, such as lab-server, rather than the default. Set the time zone properly, because scheduled jobs and log timestamps will quietly be wrong otherwise.
Create a named administrator account and write the password somewhere outside your head. If the installer offers SSH during setup, enable it and allow key-based authentication; if it does not, you will configure it in the next step. Finish, remove the USB drive, and reboot.
Verify the install by connecting over the network rather than through the monitor. From another machine run ssh username@your-reserved-address and log in. That single command proves the install, the network and the account all at once.
5. Secure and Maintain the Server
Security on a home server is simple and mostly boring, which is a good sign. Update the system on a schedule you will actually keep, and check what is waiting before you apply it. On Debian and Ubuntu that is a standard update command; on Proxmox the updates come through the web interface or the package manager.
Then work through this list.
- Separate accounts. One human, one account. Day-to-day work happens as a normal user with
sudo, not as root. - SSH keys instead of passwords. Generate a key pair on your laptop, copy the public key to the server, then disable password authentication. This is the single highest-value change you will make.
- A host firewall.
ufwon Ubuntu,nftableson Debian, or the firewall options in Proxmox. Default to denying inbound, then open the specific ports your services need. - Unused services off. Anything you did not install on purpose should not be listening.
ss -tulpnis the fastest way to see what is open. - A backup schedule. Backups go to a different device than the data they protect. A mirror is not a backup, and this is the mistake that costs people their data most often.
- Disk space and temperature. A quick check of space and SMART data every few weeks catches a failing drive before it fails outright.
Verify this step by rebooting the server and reconnecting over SSH with a key and no password. If that works, the network exposure of your admin interface is the only remaining question, and the honest answer is that it should not be exposed at all yet.
6. Install a First Useful Service
Pick something small that produces something visible. A shared file library is the classic choice because it proves networking, permissions and storage all in one. If your chosen workload was a DNS filter, install Pi-hole or AdGuard Home instead and watch query logs fill up.
Whatever you choose, verify it the same way: from your laptop, open the service by name or address and confirm real data comes back. For a file share, that means creating a file on the server from a remote machine. For a media server, that means the library page loads and a test title appears. A service that installs without error but never answers a request is not running, and the check is what tells you the difference.
Do not add a second service the same day. Give the first one a week. Services that fail tend to fail early, while you still remember what you changed.
7. Access and Expand the Home Lab
Local access is by name rather than by address, which you get from your own DNS. A reserved address plus a hostname entry in the Pi-hole or AdGuard Home you already run covers it without touching your router.
For access from outside the house, the safest beginner route is a VPN on your router or a firewall appliance such as OPNsense or pfSense, which connects you back into your LAN as if you were at the kitchen table. Port forwarding a web interface or SSH straight to the public internet is the option beginners pick first and regret later. Unifi gear makes VLAN segmentation approachable, though most consumer routers cannot create VLANs at all, so check before you plan around it.
Expand on purpose. Add storage when you run out of it, add memory when a workload will not fit, and add a second service only when the first two have been stable for a month. The failure mode in beginner labs is sprawl, where a machine runs more experiments than anyone can remember rebuilding.
One habit pays for itself more than any upgrade: document as you build. A plain text file with the disk layout, the reserved address, the accounts and the install steps means a broken server is an afternoon, not a lost weekend. People who write things down report far less frustration when something fails.
Common Mistakes
These seven come up again and again in beginner threads, each with a fix.
- Buying server hardware before knowing the workload. Cheap rack boxes are the most common day-one impulse. Fix: decide the workload first, then buy the smallest box that runs it.
- Underpowering memory. Running out of RAM shows up as everything being slow at once, which is hard to diagnose. Fix: 16 GB as a starting point, and treat memory as the first upgrade.
- Depending on Wi-Fi. A wireless server works, until it drops mid-transfer. Fix: Ethernet, with a USB adapter if the machine has no port.
- Installing to the wrong disk. The single destructive mistake in this whole guide. Fix: check disk model numbers and sizes twice before confirming the partition step.
- Skipping backups, or calling RAID a backup. A mirrored array protects against one drive failing, not against deletion, corruption or ransomware. Fix: scheduled backups to separate hardware, and test a restore once.
- Exposing admin interfaces to the internet. A router port forward on SSH or a web admin panel is how lab machines get found. Fix: VPN access, or nothing.
- Installing too much on day one. Fix: one workload, one service, then a week of quiet before the next change.
Frequently Asked Questions
What hardware should I use for my first home lab server?
Start with a machine you already own if you can. Otherwise a refurbished office desktop or a current small-form-factor mini PC with four CPU cores and 16 GB of memory handles a handful of containers or a few lightweight virtual machines. Judge it on idle power draw and fan noise as much as on speed, because a noisy server in a living space tends to end up switched off. Save rack servers and enterprise parts until a workload proves you need the drive bays.
Is Proxmox VE or plain Linux better for a beginner?
Plain Linux is smaller and teaches you the layer underneath. Debian or Ubuntu Server gives you a shell, a package manager and containers, with nothing extra to understand. Proxmox VE adds virtual machines, containers, snapshots and a web interface, which is excellent for throwaway test machines and for Windows labs you cannot otherwise run. If you are unsure, install plain Linux first, learn the basics, and add a hypervisor when you hit a limit.
Do I need a NAS, or is a home lab server enough?
A NAS appliance is built around storage with a friendly interface and does that one job well. A home lab server built on Linux or Proxmox handles storage and also runs containers, virtual machines and services, so it suits you if you want to learn rather than only back up files. Many beginners start with the second and never look back. If storage reliability and a simple interface matter more to you than the learning, a NAS is the shorter path.
How do I reach my lab server from outside home without exposing it?
Set up a VPN on your router, or install a firewall appliance such as OPNsense or pfSense and connect back into your LAN as if you were at home. Then use the same names and addresses you use locally. Avoid port forwarding SSH or a web admin panel straight to the public internet, since those are scanned continuously. If you must forward something, forward it to a reverse proxy with HTTPS and a strong password, never to the admin interface itself.
Can I use an old laptop or desktop as a home server?
Yes, and it is the most common beginner starting point. A laptop with an Ethernet port running Debian or Ubuntu Server works well, and the older machines people retire usually have more drive bays and RAM slots than a new mini PC. Two cautions: check that it sleeps or hibernates when you close the lid, because a sleeping server stops serving, and expect more fan noise from a machine built to move with you.
Start With One Useful Server Project
Pick one workload and write it down. Reuse a reliable desktop or buy a quiet small machine, install a supported operating system from a USB drive, connect by Ethernet, reserve an address, and secure it with a non-root account, SSH keys and a host firewall. Then deploy a single service and confirm it answers a request from another device.
That is the whole job when you learn how to build a home lab server for beginners: one machine, one workload, one service, and notes you actually keep. Everything else in a home lab is a second project. Write down what you did while it is fresh, and the machine stays repairable.