To set up a NAS at home, you need a box with at least two drive bays, a set of NAS-rated hard drives, and an Ethernet cable to your router. Plug it in, run the setup wizard from a browser, create a few shared folders, and turn on scheduled backups. Most people finish the whole thing in an afternoon.
A NAS is just a small computer that exists to hold files. Every laptop, phone and TV in the house reaches it over the network instead of reaching out to someone else’s data centre. You get one place for family photos, one place for backups, and no monthly bill for storage you already own.
This guide covers network attached storage setup in the order that actually works. The steps are written for Synology DSM, QNAP QTS and the common DIY platforms such as TrueNAS SCALE, OpenMediaVault and Unraid, and I note where the menu names differ. I have made every mistake worth avoiding on someone else’s network and none of them were subtle.
Table of Contents
- What You Need to Set Up a NAS at Home
- The enclosure
- The drives
- The network
- Power protection and a test file
- Step-by-Step
- Step 1: Plan Your NAS Storage and Network
- Step 2: Assemble the Hardware
- Step 3: Install the NAS Operating System
- Step 4: Create Shared Folders and User Access
- Step 5: Protect and Back Up Your Data
- Common Mistakes
- Frequently Asked Questions
- Do I need RAID for a home NAS?
- Can a NAS replace cloud storage?
- How much storage does a home NAS need?
- How do I access my NAS when I am not at home?
- How do I connect a NAS to my home network?
- Do I need a UPS for a home NAS?
- Conclusion
What You Need to Set Up a NAS at Home
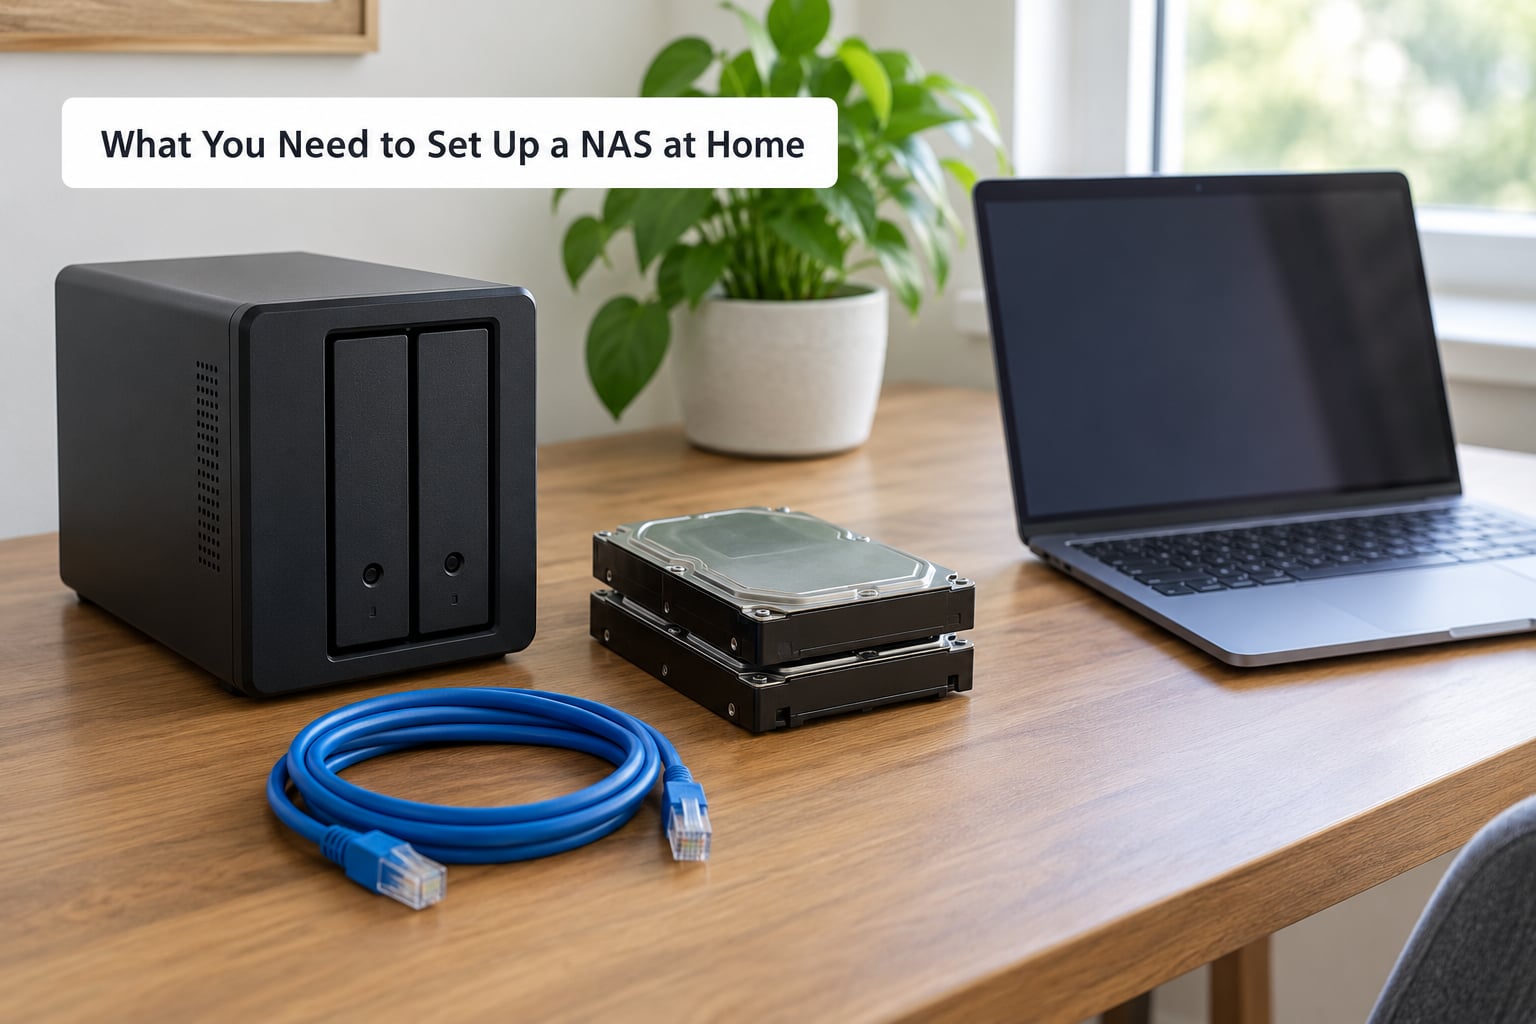
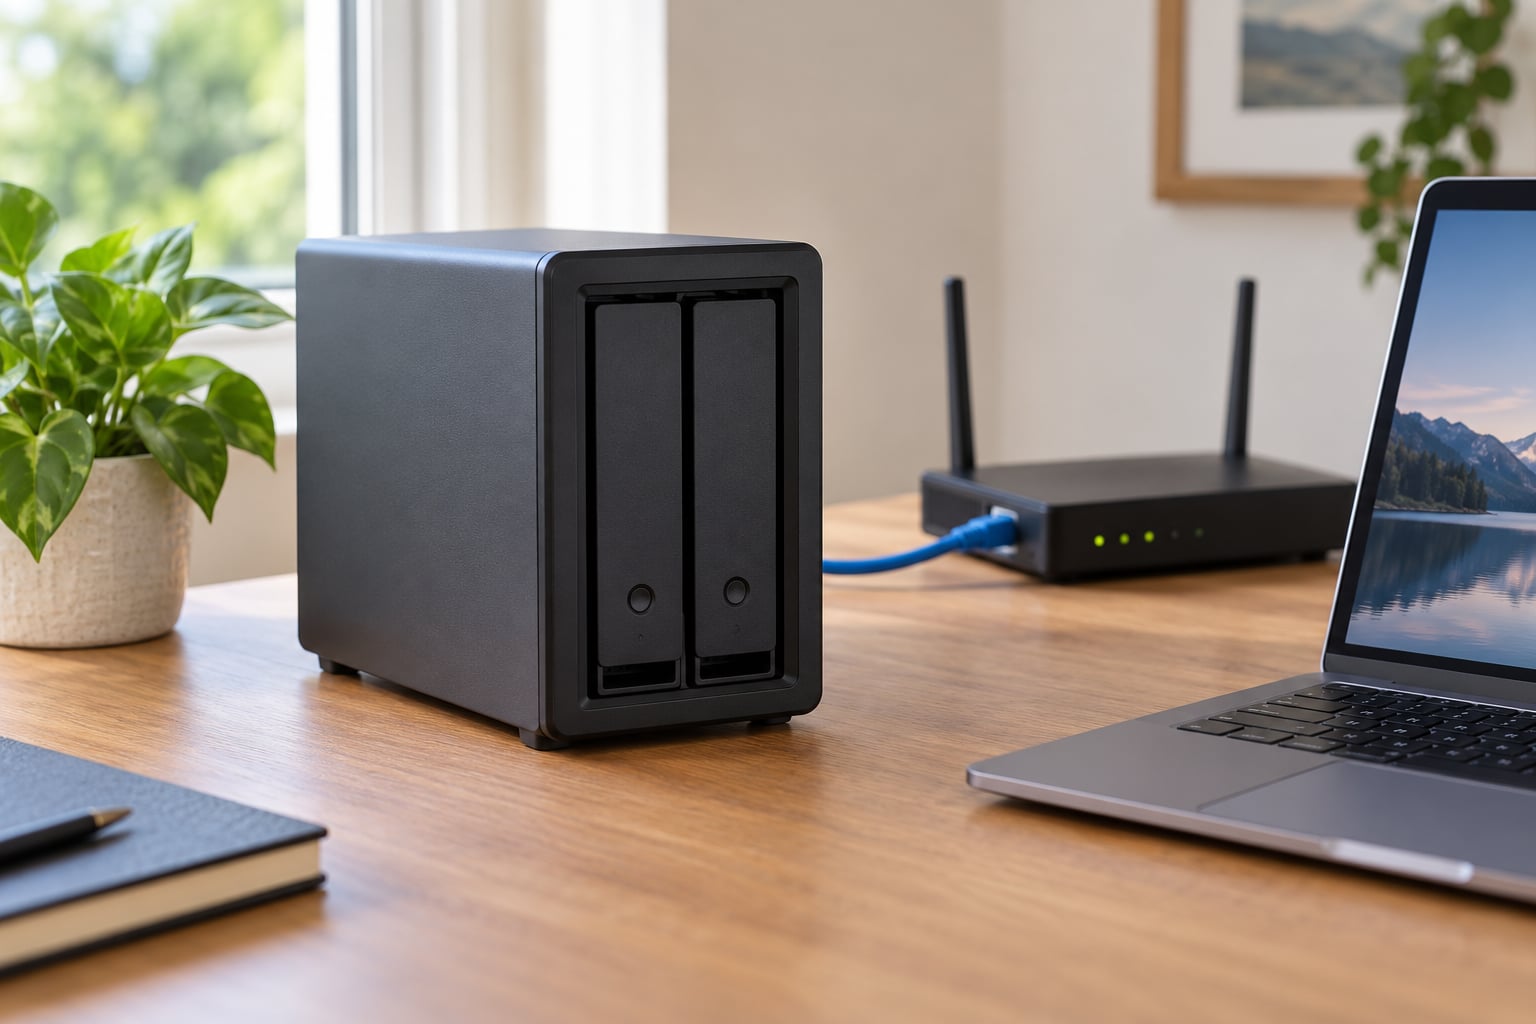
The short version: a two-bay enclosure, two matching NAS-rated CMR drives, an Ethernet cable, and somewhere sensible to stand it. That is genuinely enough for most first-time users.
The enclosure
Two bays is the sweet spot for a household. It lets you mirror one drive onto another, so a single failure does not take your photos with it, and it leaves room to grow by replacing both drives later. Four bays only pays off if you plan to run ZFS, serve several users, or store large video libraries you cannot re-download.
Pre-built units from Synology and QNAP arrive with the operating system already on a small flash drive, and the web interface just works. DIY builds on TrueNAS or OpenMediaVault cost less and teach you more, but you own the maintenance. If your first goal is backups that run quietly in the background, buy the pre-built box. If you already run Linux and want to experiment, build it.
The drives
Use NAS-rated drives. WD Red Plus and Seagate IronWolf lines are built for the vibration and near-continuous duty cycle of a NAS, and they come with warranty terms aimed at always-on use. A desktop drive in a NAS will work until it doesn’t.
Check the recording type before you buy. CMR, also called conventional magnetic recording, rewrites tracks independently. SMR, shingled magnetic recording, overlaps tracks to squeeze in more capacity and performs badly in a RAID pool, especially during a rebuild. Older WD Red drives without the Plus or Pro suffix are SMR. The forum consensus on r/HomeNAS and the TrueNAS community is blunt: return them.
Buy every drive in a pool from the same capacity and speed. A pool mixing a 4 TB drive with an 8 TB drive works, but the smaller one caps the mirror size and you pay for capacity you cannot use.
The network
Use a wired Ethernet connection to the router, not Wi-Fi. A single gigabit link saturates at roughly 110 MB per second in real transfers, and a wireless link will sit well below that while adding latency and dropouts. Every NAS setup problem that looks like a software fault is sometimes just a NAS on the guest Wi-Fi.
Reserve an IP address for the NAS on your router so it keeps the same address after a reboot. Services like a mapped network drive, a media library and phone backup apps all break when the address moves.
Power protection and a test file
Put the NAS on a small UPS or at minimum a proper surge protector, never directly into a wall socket shared with a kettle. And find a file that you would be sad to lose, ten megabytes is plenty, because you will want to prove the backup path works while nothing is at stake.
Step-by-Step
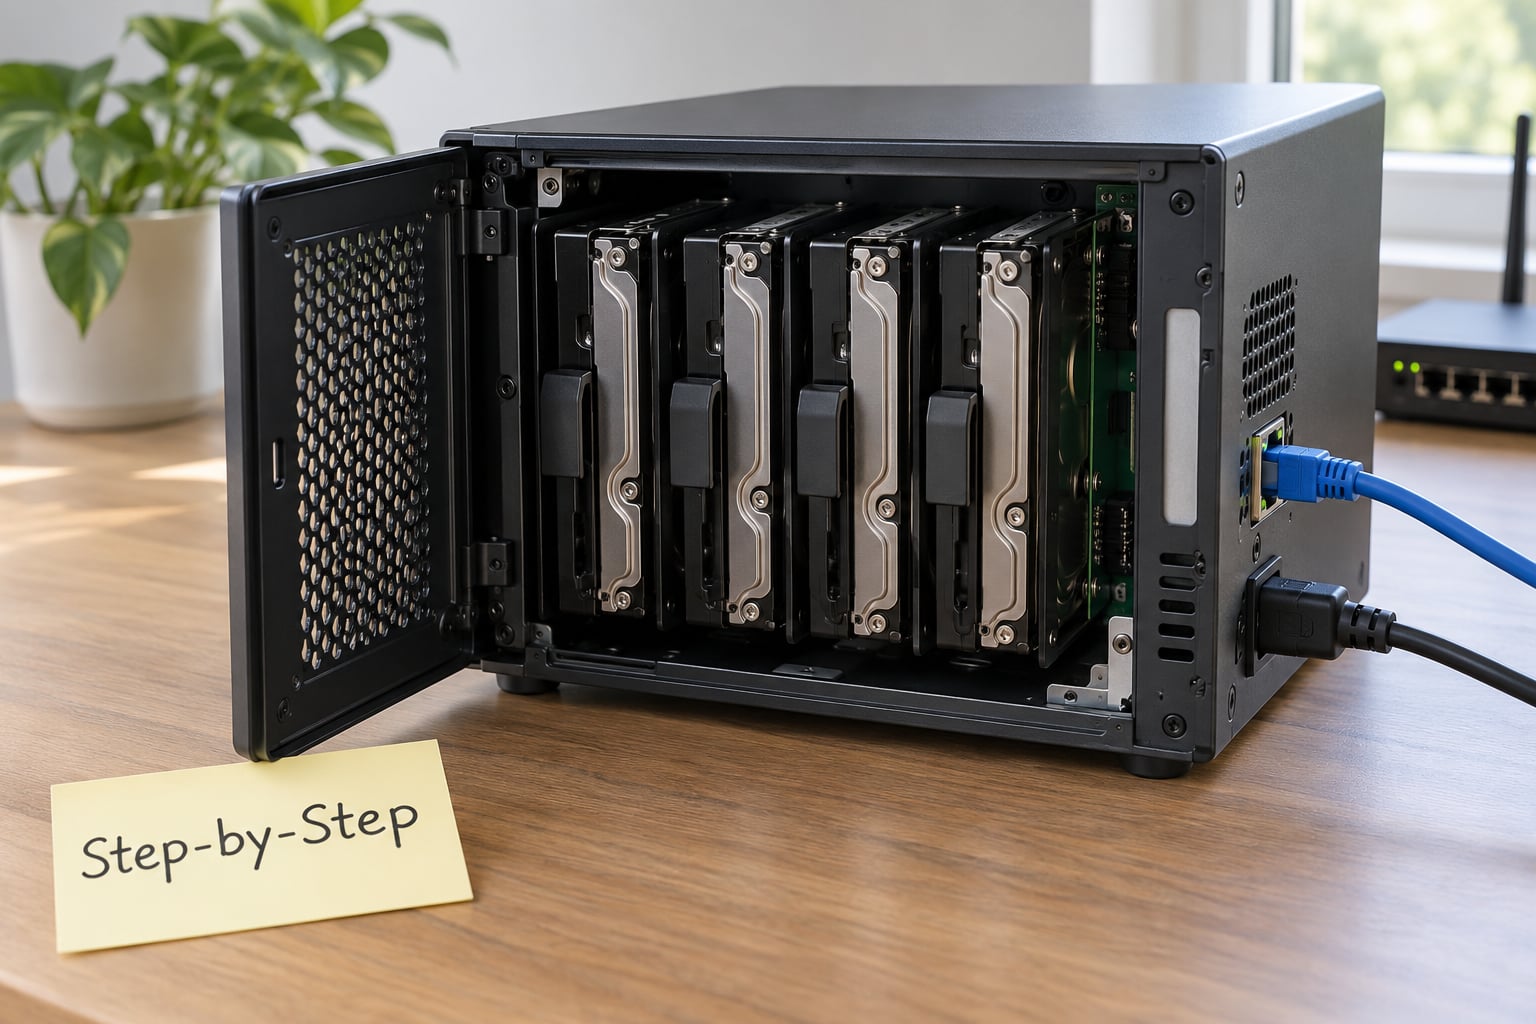
Five phases. Each one ends with a check you can actually see, so if something goes wrong you know which phase caused it.
Step 1: Plan Your NAS Storage and Network
Measure before you buy. Add up the current size of your photo library, media and documents, then multiply by two to cover growth over three years. A rough number beats a bad guess, and disks are the one part of a NAS you cannot cheaply replace later.
Decide how the drives combine. A mirror holds one copy on each drive and survives a single drive failure, which is the right answer for most homes. RAID 5 or RAIDZ1 needs three or more drives and survives one failure, but a second failure during a rebuild means the data is gone. RAIDZ2 in ZFS needs four or more and survives two. More redundancy also means slower rebuilds and less usable space per drive spent.
Do the arithmetic. Two 8 TB drives mirrored give you 8 TB usable, not 16, and the file system takes a little more. Two drives in a JBOD-style pool give 16 TB but a single failure wipes both. Pick the one you would rather explain to your family.
On the router, reserve a static address for the NAS, for example 192.168.1.50, outside the range handed out by DHCP. You can do this in the router’s DHCP settings or once the NAS is running, in its own network settings. Then walk to the spot where the NAS will live and check that a cable reaches the router or a switch.
How you know it worked: you can write down the address the NAS will use, and the cable reaches without a stretch.
Step 2: Assemble the Hardware
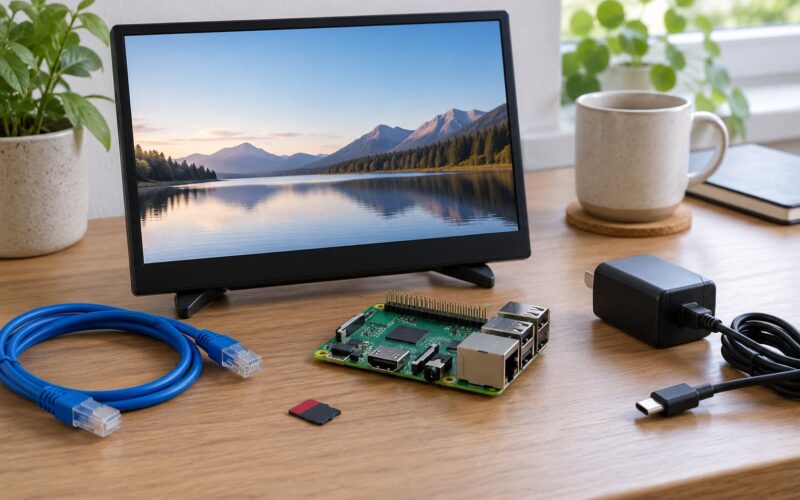
Unbox the NAS on a desk, not a shelf. Most two-bay units are tool-free: slide a drive into a tray or caddy, connect the short SATA data cable if one is not attached, and lock the tray in place.
Connect Ethernet from the NAS to the router or switch, then the power supply. A first boot takes a minute or two on a cold drive, which is normal. On a NAS that is already running an operating system you may see drive activity lights blink, and you may hear a single click as the drives spin up. Repeating clicking, a beeping alarm or a red status light means stop and reseat the drive.
Give the box airflow on all sides, keep it off carpet and soft surfaces, and pick a spot with stable temperature and no direct sun. Drives are the component that fails most often, and heat is the reason.
How you know it worked: the power light is steady, the drive lights settle into occasional blinking, and the fan is running quietly.
Step 3: Install the NAS Operating System
On a pre-built unit, power on your computer, join the same network, and open the vendor’s discovery page, find.synology.com or find.qnap.com, which walks you through finding the box on the network. The wizard downloads the operating system to the NAS, sets the hostname, time zone and an administrator account, and asks you to update the NAS to the latest firmware.
On a DIY build, you write the platform to a USB stick and boot the machine from it. TrueNAS SCALE is the most common choice now, and the installer labels your disks and drops you into a shell or a web installer depending on the version. OpenMediaVault is the gentler option and installs onto the first disk, leaving the others as pure data. Unraid uses one parity drive and paid license, and suits people who want mixed-drive sizes.
This is where beginners get stuck: the wizard asks about a storage pool, a volume and sometimes a dataset, and those are three different layers. The pool is the raw combination of your disks. The volume or dataset is a filesystem created on top of it, and it is where your files and permissions live. For a first setup on ZFS, create one pool, then one dataset for your own files. Leave datasets for applications until you need them.
Create a separate admin account rather than using the built-in administrator, and turn on two-factor authentication before anything else. It costs you thirty seconds now.
How you know it worked: the dashboard shows a healthy storage volume, no drive listed as failed, and the admin account you created can sign in from your computer.
Step 4: Create Shared Folders and User Access
Create shared folders that match how people actually use files, for example Photos, Media, Documents, Backups and one per person in the household. Avoid a single catch-all share. Once folders exist, you can set permissions per folder instead of per file.
Give every person their own NAS account. Sharing one login is how you get files deleted by accident, and you lose the ability to see who did it. Assign the least access each person needs: read and write on Photos for everyone, write only on their own Documents folder, and no access to Backups for anyone but the admin. Group accounts help once the household grows past four or five people.
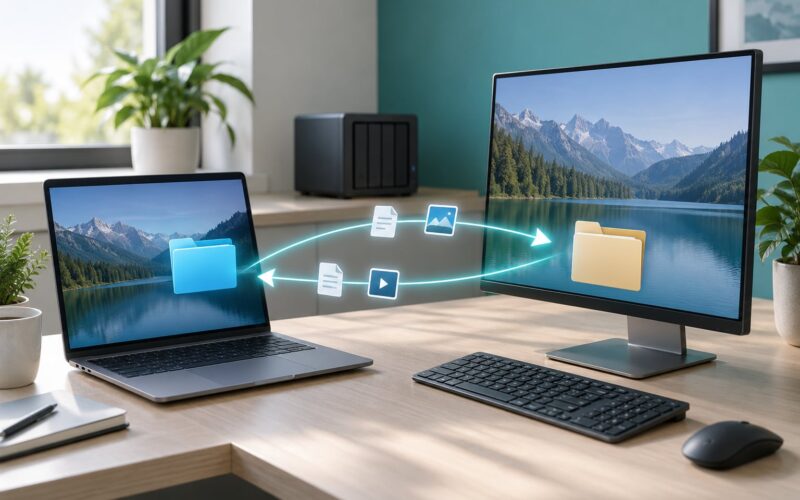
Enable SMB for Windows and macOS. On the NAS, create an SMB share and restrict it to the right users. On a Windows 11 PC, open File Explorer, type the NAS address in the address bar in the form \192.168.1.50sharedname, and sign in with the NAS username and password.
If Windows refuses the connection, it is usually one of two things. Windows 11 blocks guest access and unencrypted SMB by default, so turn on SMB signing requirements and encryption in the NAS share settings. Or Credential Guard is holding on to an old password, and clearing the stored credentials in Credential Manager fixes it. Map the drive from the share’s menu so it comes back after a reboot.
On Linux, mount the share with an NFS export instead, and set the filesystem to mount at boot in /etc/fstab.
How you know it worked: two different computers, one Windows and one Mac or Linux, each open the share with their own account, and neither can see a folder they were not given.
Step 5: Protect and Back Up Your Data
RAID is not a backup. It keeps a server running when a drive dies, and it is close to useless against accidental deletion, ransomware, a failing NAS, a stolen house or a fire. A mirror with one copy of your only copy of something is a single point of failure with a reassuring label on it.
Apply the 3-2-1 rule: three copies of your data, on two types of storage, with one copy somewhere else. Your NAS holds the live copy, your laptop holds a working copy, and a second NAS or encrypted cloud storage at another location holds the third.
Set up the scheduled jobs. Every mainstream NAS ships with a backup app for Windows and macOS clients, so laptops and desktops can push their data to the NAS on a schedule overnight. Then configure replication or a sync job from the NAS to the off-site destination, and turn on email or push alerts so a failed job tells you instead of sitting there quietly.
Now test a restore. Copy your ten megabyte test file to the off-site copy, delete it from the NAS, and pull it back. Watch where each backup app puts its version history, because Time Machine and the various Windows agents each keep snapshots in their own way.
For access outside the home, use a VPN rather than port forwarding. Tailscale and WireGuard set up in minutes, expose nothing on your router and work through CGNAT, which is the single biggest reason remote access frustrates people. Skip the third-party file relay services that require you to punch holes in your router firewall.
How you know it worked: you can see the off-site copy in the backup app, and you restored a deleted file successfully.
Common Mistakes
Almost every avoidable NAS disaster on the forum threads is one of these, and every one has a two-minute fix if you catch it early.
- Treating RAID as a backup. Fix: apply 3-2-1 and get a genuine second copy off the NAS. A mirror is uptime, not insurance.
- Wireless networking. Fix: run Ethernet from the NAS to the router or a switch. Transfers on Wi-Fi stall badly even with a strong signal.
- SMR drives in a pool. Fix: confirm every drive is CMR before you create the pool. Rebuilds on SMR can take days and fail outright.
- Forgotten permissions. Fix: one account per person, and check that nobody can read a folder they should not. New shares often default to read-only for everyone else.
- No power protection. Fix: a UPS that communicates over USB can shut the NAS down cleanly and start your backups on the way back up.
- Restores never tested. Fix: delete a file and restore it during week one, when it is boring, rather than during a real failure.
- Port forwarding to the internet. Fix: use Tailscale or WireGuard. Exposing a NAS admin interface directly is how a lot of home servers get found by scanners within days.
- Ignoring drive health and updates. Fix: schedule a weekly data scrub in ZFS or a monthly verify in RAID, turn on SMART email alerts, and install firmware updates during a quiet period with a backup taken first.
One more that wastes hours: buying hardware for problems you do not have yet. Two bays, mirrored drives and a tested backup covers most households for years.
Frequently Asked Questions
Do I need RAID for a home NAS?
No, you need a second copy, which is a different thing. RAID keeps a server available when a drive dies, so a two-drive mirror is a sensible minimum for a home NAS, but it does nothing about deleted files, ransomware or fire. Start with a mirror if you can afford two drives, and pair it with a scheduled off-site backup. RAID 5 or RAIDZ1 only earns its slower rebuilds when you have three or more drives and real capacity pressure.
Can a NAS replace cloud storage?
For photos, documents and media, yes, and most households find it improves their setup. Cloud photo services compress your images and keep you on someone else’s business model, while a NAS with a phone backup app gives you the originals on your own hardware. You trade a monthly bill for upfront drives and about an hour of setup, and you gain local speed for photos and backups. Keep one encrypted cloud copy for the things you would hate to lose, such as documents.
How much storage does a home NAS need?
Add up what you store today, then double it. A family of four with a decade of phone photos, some 4K video and a music library usually lands between 8 TB and 16 TB of usable space. Two 8 TB drives mirrored give 8 TB usable, so two 12 TB or 16 TB drives cover a heavy household. Check your current library size first, because the number surprises people, and prefer the larger drives over a bigger bay count you will not fill.
How do I access my NAS when I am not at home?
Use a VPN, not port forwarding. Install Tailscale or WireGuard on your laptop and phone, sign in with the same account, and the NAS appears on your home network from anywhere. It works through carrier-grade NAT, which is the reason manual port forwarding fails for many people, and it exposes nothing to the internet. Vendor relay services also work and are simpler, but they route your traffic through a third party. Avoid opening the NAS admin interface directly to the internet.
How do I connect a NAS to my home network?
Plug an Ethernet cable from the NAS to your router or switch, power it on, and let it boot. On the same network, open the vendor discovery page, find.synology.com or find.qnap.com, and the wizard finds the box and installs the operating system. For a DIY build, boot from a USB stick with TrueNAS, OpenMediaVault or Unraid instead. Then reserve a static IP address on the router so the address never changes, and confirm you can reach the web interface from a laptop.
Do I need a UPS for a home NAS?
Strongly recommended, and a surge protector is the bare minimum. Drives spin constantly, so a power cut or a brownout is the most common way a NAS loses data outside of a drive failure. A UPS with USB communication lets the NAS shut itself down cleanly and restart your backups on the way back. Even a small unit buys enough ride-through time for a safe shutdown. If you skip it, at least put the NAS on a surge protector and never share that strip with a kettle.
Conclusion
The first day of learning how to set up a NAS at home comes down to four things. Size the storage to double your current data and buy CMR NAS-rated drives, not SMR. Wire it to the router and reserve a static address so nothing breaks later. Run the backup job to a second location and prove it by restoring a deleted file. Then give every person their own account and no more access than they need.
Everything else, media servers, photo apps, cameras, containers, running Home Assistant on it, can wait until the basics have been boringly reliable for a month. That is the order the experienced users on the forums recommend, and it is the order that keeps a first-time setup from turning into a weekend of troubleshooting.