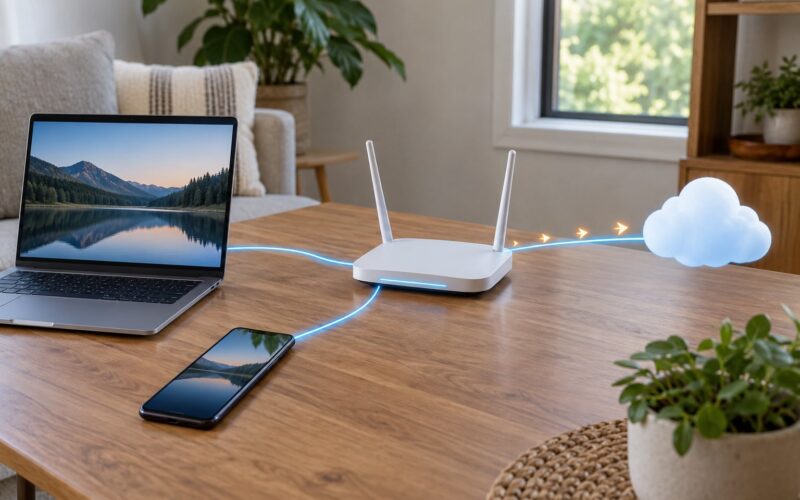
To pick the best Wi-Fi channel, look at overlap rather than signal bars: on 2.4 GHz choose 1, 6 or 11 at 20 MHz and pick whichever of the three your neighbors are using least; on 5 GHz choose a non-DFS channel such as 36, 40, 44 or 48 at 40 or 80 MHz. The whole job takes about fifteen minutes and needs nothing but a phone or laptop and your router’s admin page.
A channel is a lane on a shared road. Neighbors in your lane have to take turns, and neighbors in the lane next to yours still lean into your space and force retries. If your bars say Excellent while your video calls stutter, that is the usual reason, and the fix costs nothing.
Table of Contents
- What You Need
- How to scan from the command line on Windows or Linux
- Step-by-Step: How Wi-Fi Channels Work and How to Pick One
- 1. Identify the band and current channel
- 2. Check how crowded each channel is
- 3. Choose a channel and width that fit the band
- 4. Change the channel in your router
- 5. Reconnect and verify the result
- Common Mistakes
- Frequently Asked Questions
- What is the best Wi-Fi channel?
- Should I use 2.4 GHz or 5 GHz Wi-Fi?
- Does changing the Wi-Fi channel improve speed?
- Is a wider Wi-Fi channel always better?
- How do I find the least crowded Wi-Fi channel?
- Do Wi-Fi channels change automatically?
What You Need
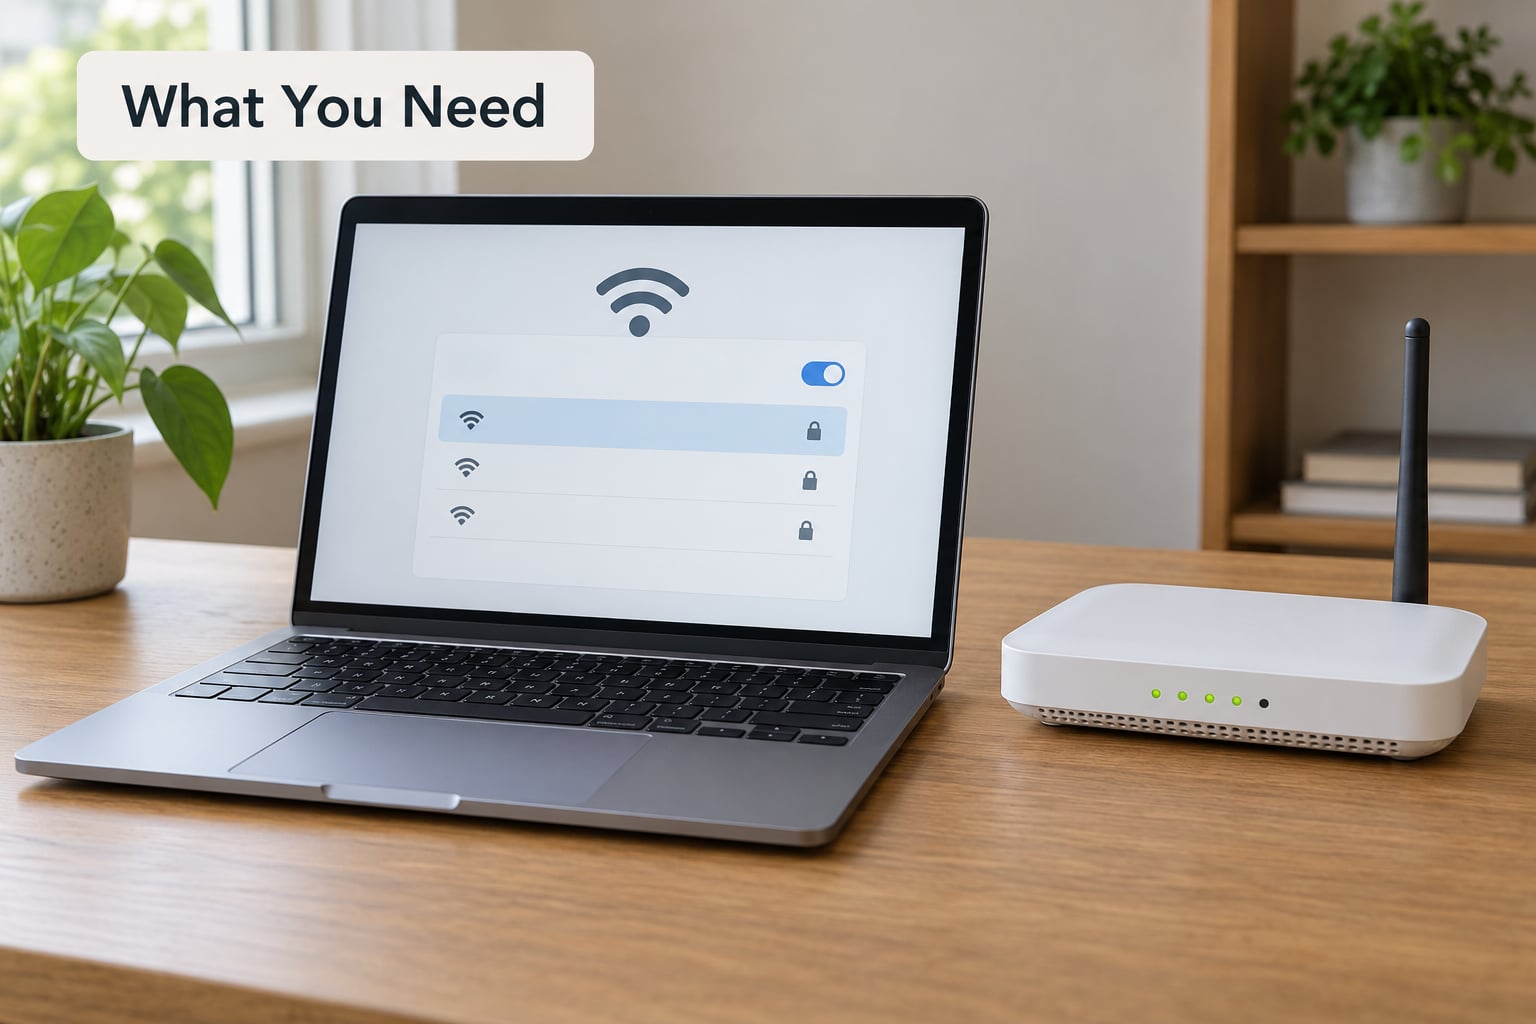
Three things, and only one of them is optional.
- Admin access to your router. The default address is almost always 192.168.1.1 or 192.168.0.1. The credentials are printed on a sticker on the underside. If your ISP supplied the box and locked the settings, some firmware hides the channel option entirely, and no amount of scanning changes that.
- A client device with a wireless adapter. Your phone works, but a laptop gives you a keyboard and lets you run a command line.
- A Wi-Fi analyzer (optional). Plenty of free ones scan continuously and show every nearby access point.
Analyzers worth knowing about, by operating system:
| Platform | Option | How you get it |
|---|---|---|
| Windows 10/11 | Built-in scan plus a free third-party viewer | netsh wlan show networks mode=bssid in an elevated terminal, then open the output in NetSpot or Acrylic Wi-Fi |
| macOS | Airport Utility, hidden in Optional installs, or NetSpot | Hold Option while clicking the Wi-Fi icon in the menu bar to reveal Wi-Fi Diagnostics |
| Linux | iw, iwlist | iw dev wlan0 scan |
| Android | WiFi Analyzer | Play Store, no account needed |
| iOS | Airport Utility | Settings, then Developer, then Airport Utility |
How to scan from the command line on Windows or Linux
On Windows, netsh prints the SSID, BSSID, channel and signal for every network in range, which is enough to count overlap by eye. On Linux, iw dev wlan0 scan returns the same data with noise and bitrate fields attached. No install required on either, so the command line is the fastest route when you already have a terminal open.
Two fields matter most: the channel number, which tells you the lane, and the signal level, which tells you how much that lane’s traffic will cost you. A network you can barely hear is not really a neighbor.
Step-by-Step: How Wi-Fi Channels Work and How to Pick One
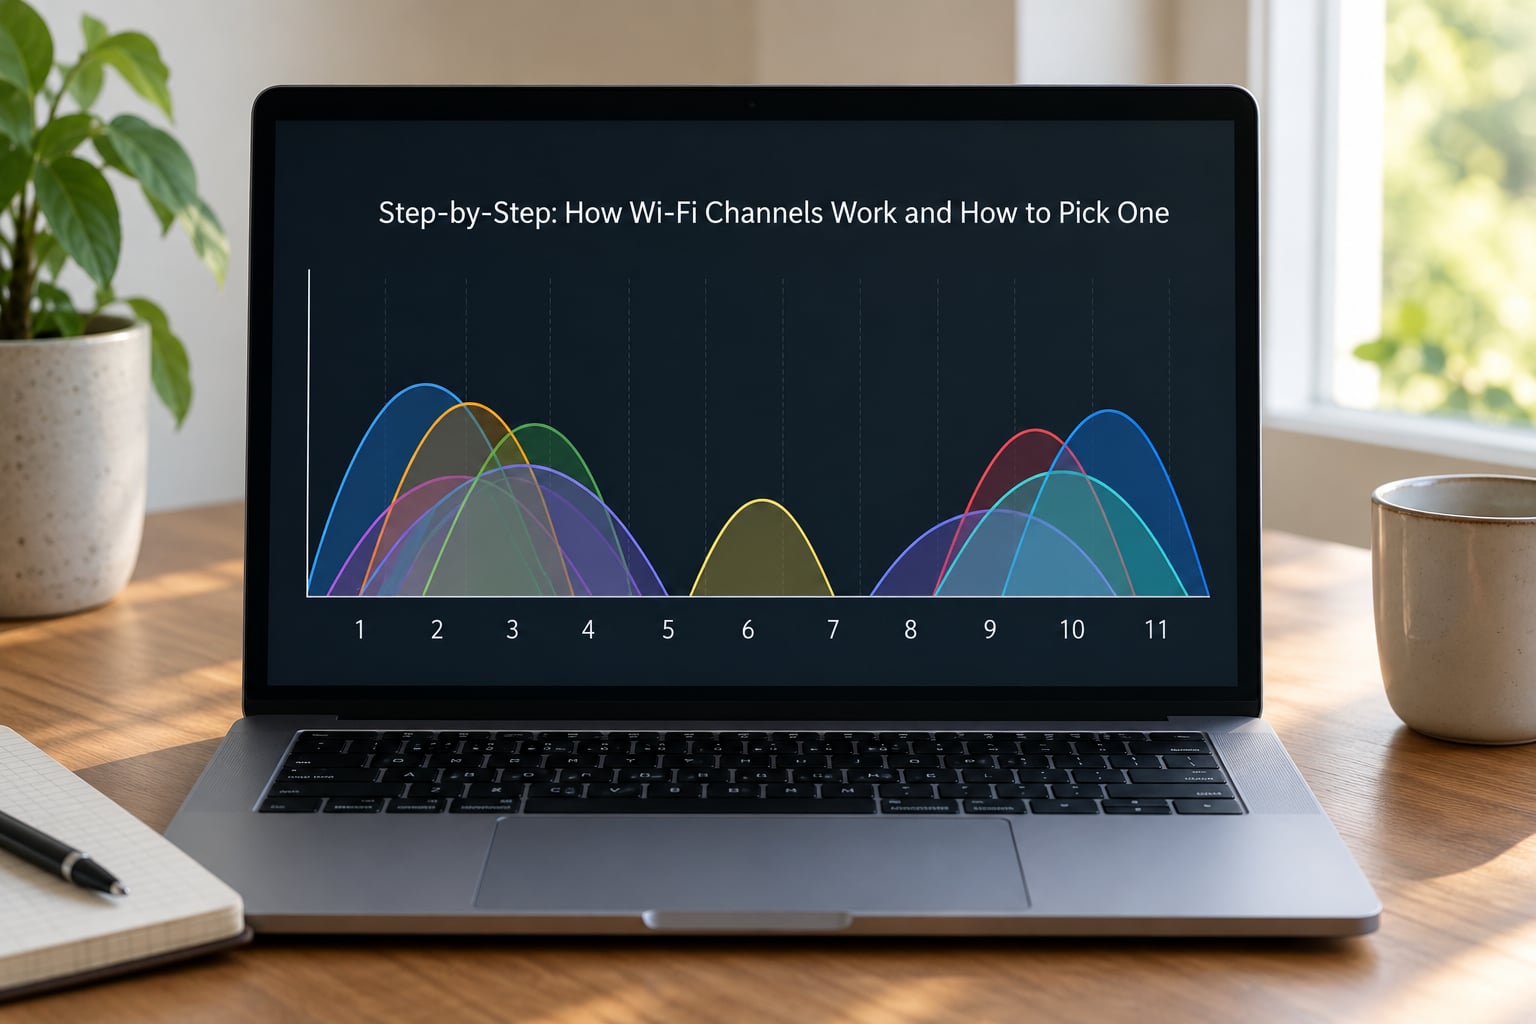
The short version of the mechanism: a router picks one channel number and transmits on it. The 2.4 GHz band offers 14 numbered channels, each about 22 MHz wide but only 5 MHz apart, so most of them overlap their neighbors badly. That arithmetic is why only channels 1, 6 and 11 stay clean across the roughly 83.5 MHz of spectrum from 2.400 to 2.4835 GHz.
On 5 GHz the channel numbers are spaced differently: 20 MHz-wide channels with guard bands between them, which gives more than twenty non-overlapping options. 6 GHz, used by Wi-Fi 6E and Wi-Fi 7 gear, opens up 1200 MHz of fresh spectrum and is the least crowded band in almost every building.
1. Identify the band and current channel
Windows Settings, Network and Internet, Wi-Fi, then the network you are on gives you the band and sometimes the channel. macOS holds Option and clicks Wi-Fi in the menu bar for a Technical Information panel. On Android, long-press the connected network and look at frequency and channel. Most routers also report the value under wireless settings.
Write down three numbers: band, channel and width. Signal strength matters too, and a rough RSSI scale is worth keeping in your head: around -50 dBm is excellent, -67 is a solid working connection, -70 is weak, and -80 is where things fall apart. Bars on a phone are not a measurement, so do not plan around them.
2. Check how crowded each channel is
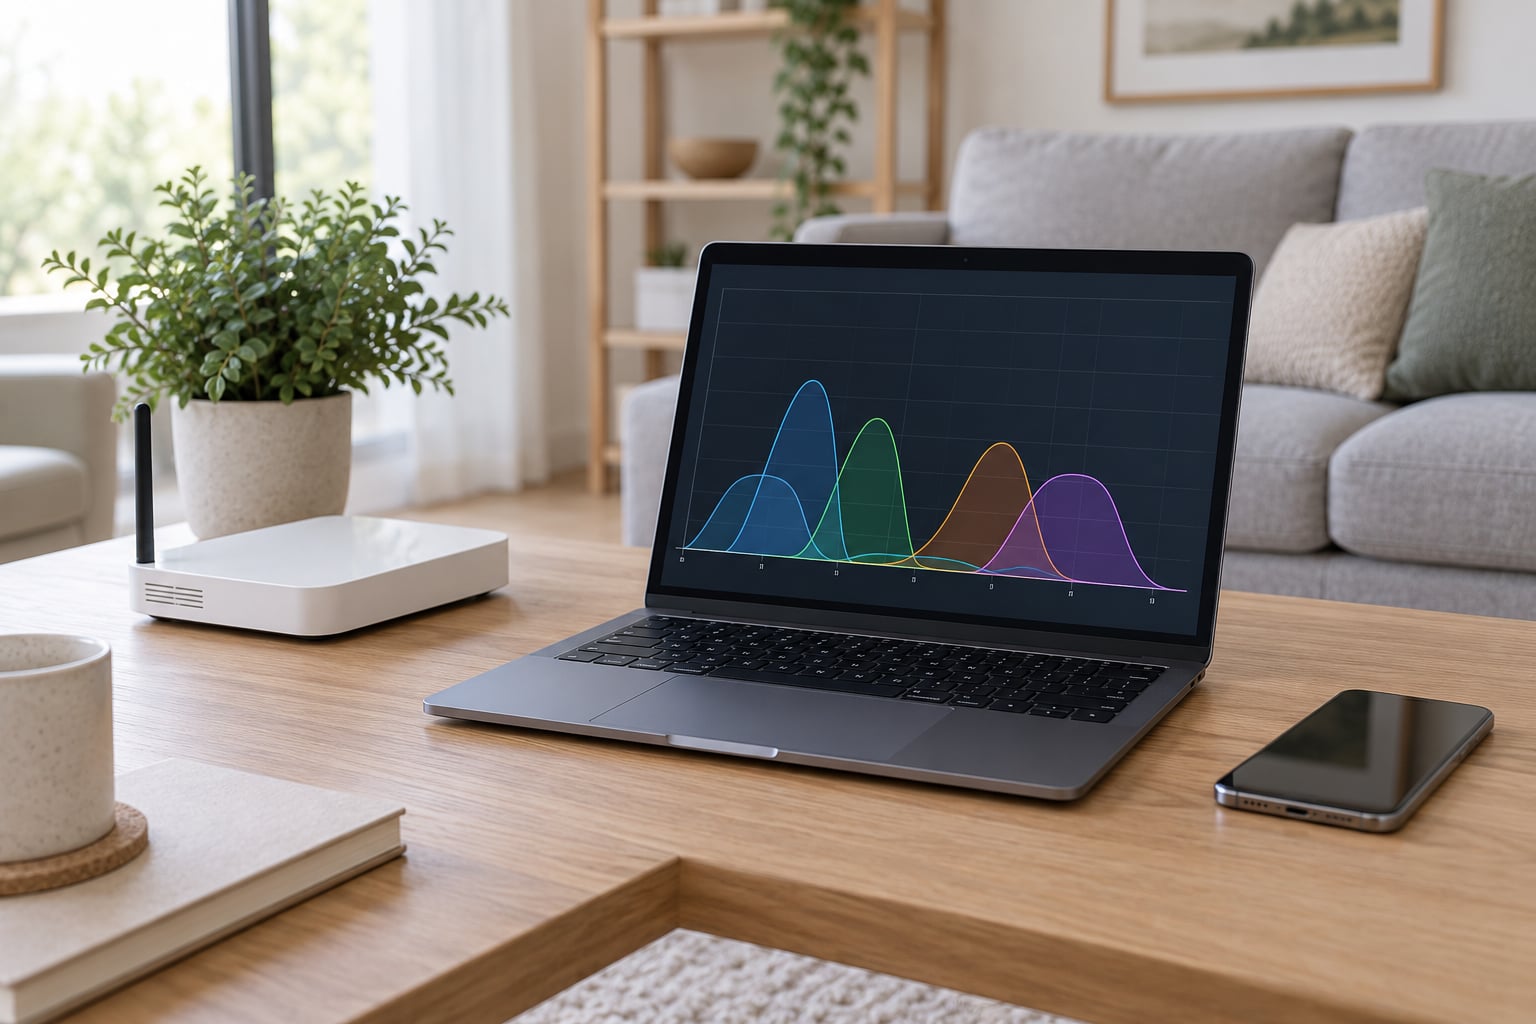
Run the analyzer and look at the whole picture at once rather than one network. On a graph, each access point appears as a bar sitting on a channel number, and a wide bar covers several channel numbers if that router is set to 40 or 80 MHz. Overlapping bars are the congestion.
What you are looking for is the quietest region, not the strongest signal. A network on channel 9 at -40 dBm overlaps both 6 and 11 and hurts you twice. A network on channel 6 at -85 dBm sits on your lane but you will barely hear it.
Two worked examples. In a quiet house, 2.4 GHz might show four networks, one each on 1, 6 and 11 plus a laptop hotspot on 3, and channel 1 is the obvious pick. In an apartment block, 2.4 GHz might show 22 networks piled on channels 1, 6 and 11 with nothing else free, in which case the fix is 20 MHz width plus picking the one with the fewest strong networks, and accepting that 2.4 GHz is now range-only. On 5 GHz in that same apartment, expect a much emptier band where 80 MHz still fits without collision.
3. Choose a channel and width that fit the band
Channel number and channel width are two separate decisions that people constantly mix up. A width of 80 MHz on channel 36 actually occupies 36, 40, 44 and 48 together. Choosing width first and channel second is the sane order.
On 2.4 GHz, use 20 MHz. There are only three clean lanes and a 40 MHz block swallows two of them, so wider buys you nothing you can actually use. On 5 GHz indoors, 80 MHz is usually right for speed, and 40 MHz is the better stability choice in a dense building. 160 MHz sounds appealing but rarely helps at home: it eats four 80 MHz blocks, you are likely to be sharing at least one of them with a neighbor, and the resulting retransmissions cost more than the extra width returns.
Here is the band comparison in one place:
| Band | Clean channels | Useful widths | Range and walls | Best for |
|---|---|---|---|---|
| 2.4 GHz | 3 (1, 6, 11) | 20 MHz | Longest range, best wall penetration | IoT, smart home, cameras, range |
| 5 GHz | More than 20 | 20, 40, 80 MHz | Medium range, weaker through masonry | Laptops, phones, streaming, calls |
| 6 GHz | Dozens | 20, 40, 80, 160 MHz | Shortest range, weakest wall penetration | Modern devices in the same room |
The 5 GHz channel reference, including which ones are DFS:
| Channels | Sub-band | DFS required | Notes |
|---|---|---|---|
| 36, 40, 44, 48 | UNII-1 | No | Never moves on its own, the safe default |
| 52 to 144 | UNII-2 | Yes | Radar detection can force a mid-session move |
| 149, 153, 157, 161, 165 | UNII-3 | No | Plenty of room, ideal for an 80 MHz block |
Channel 44 is a good choice, and so is 149 or 161, as long as the analyzer shows a clear space around it. The DFS channels are worth using only when you need the extra spectrum and can tolerate the router abandoning the channel when it thinks it heard radar. After a radar event the access point has to leave that channel alone for about 30 minutes, which is a bad trade for a video call.
4. Change the channel in your router
Open the admin page in a browser, sign in, and hunt for the wireless section. The label moves around by brand: Wireless, Wi-Fi Settings, Radio Settings, Advanced Wireless, or 802.11 under a Network tab. On some models channel and width live in a dropdown labeled Channel and Channel Width; on others they are two separate menus. Set the channel, set the width, save, and expect the router to reboot or re-broadcast for a few seconds.
If you run several access points or a mesh, assign them by hand instead of letting each pick for itself. Two of your own routers sharing a channel is self-inflicted interference, and it is the most common self-sabotage in multi-node setups. Broadband on 1, one node on 6, one node on 11 is a good starting rotation for 2.4 GHz. On 5 GHz, spread them across different 80 MHz blocks where the building allows it.
5. Reconnect and verify the result
Forget the saved network on your device and rejoin it, or simply restart the wireless adapter, so the client picks up the new channel rather than sitting on the old one. Then measure, and do not skip this part.
Run the same speed test you ran before and compare latency first, not just the download number. Congested air shows up as latency spikes and packet loss long before throughput collapses, so a ping test run for a minute tells you more than a speed test does. Check the analyzer again to confirm you moved. If nothing changed, look at the width next: narrowing from 80 to 40 MHz often rescues a channel that looked fine on paper.
Re-check every few months, and always in the evening. Morning scans miss the peak that causes most of the complaints.
Common Mistakes
Picking by signal strength. A loud neighbor on a bad channel hurts more than a quiet one on your lane. Count overlap, not bars.
Choosing 2.4 GHz channel 3 or 9. These overlap both 1 and 11. Pick one of the three, no matter how quiet it looks in the dropdown.
Running 40 MHz on 2.4 GHz. You lose a lane to gain nothing, because real-world throughput is bounded by airtime anyway.
Testing 5 GHz from one room only. Walk to the far end of the space and check again there. Channel problems can be local, especially near a neighbor’s wall-mounted unit.
Letting auto selection run forever. Auto routers often sample once at boot and then hold that decision for weeks, or they flip channels mid-session and drop your call. Locking the channel after a scan is usually more predictable.
Confusing channel number with frequency. They are not the same thing, and the conversion depends on the band. Channel 6 on 2.4 GHz sits near 2437 MHz; channel 149 on 5 GHz is a completely different frequency in another sub-band.
And a word on triage: if your problem is one device failing to get an address, that is DHCP, not a channel. If it is one wired machine, suspect cabling or a switch. If the slowness started at the same hour every evening across every device, the ISP is more likely than your Wi-Fi. Channels matter most when the problem is nearby congestion, and much less when it is one stubborn device.
Frequently Asked Questions
What is the best Wi-Fi channel?
The best channel is the least crowded one, which is different from the strongest. On 2.4 GHz choose among 1, 6 and 11 at 20 MHz width and pick whichever of those three shows the fewest strong networks in an analyzer scan. On 5 GHz choose a non-DFS channel such as 36, 40, 44, 48 or 149 at 40 or 80 MHz. In an empty house, any clean channel works and the choice barely matters.
Should I use 2.4 GHz or 5 GHz Wi-Fi?
Use 5 GHz for anything that moves data: laptops, phones, streaming, video calls. It has more channels and less congestion, so latency stays lower. Keep 2.4 GHz for smart home devices, cameras and anything that needs range through walls. If you have to pick one band for general use, pick 5 GHz and leave 2.4 GHz on 20 MHz for the IoT gear that needs it.
Does changing the Wi-Fi channel improve speed?
Often yes, but expect stability gains before throughput gains. A congested channel forces retransmissions, which shows up as latency spikes, video buffering and dropped calls long before the raw download number drops. In a quiet house you may see no difference at all. In an apartment building, moving off a crowded 2.4 GHz channel can turn an unusable connection into a usable one. It is free to test, so test it.
Is a wider Wi-Fi channel always better?
No. Wider channels push more data per transmission, but they also occupy more spectrum, so you are more likely to overlap a neighbor. On 2.4 GHz always use 20 MHz, since wider blocks swallow the only clean lanes available. On 5 GHz, 80 MHz is a good default in an open home and 40 MHz is steadier in a crowded building. 160 MHz rarely helps at home because it spans four 80 MHz blocks and you are unlikely to get all four to yourself.
How do I find the least crowded Wi-Fi channel?
Run a Wi-Fi analyzer on the same device you will use for testing. Windows users can run netsh wlan show networks mode=bssid, Linux users can run iw dev wlan0 scan, and phones have free analyzer apps that draw every nearby network across the channel axis. Look for the stretch of channels with the fewest bars overlapping them, and treat anything below about -80 dBm as irrelevant. Then set your router to that channel.
Do Wi-Fi channels change automatically?
Many routers pick a channel themselves at startup and hold it, which is fine until a neighbor moves. Some re-scan periodically and change mid-session, and if your router lands on a DFS channel it may also abandon it for about 30 minutes when it thinks it detected radar. Automatic selection is convenient and unpredictable. Once you know your building, setting the channel and width by hand removes the surprise dropouts.
If you do one thing tonight, scan your 2.4 GHz band from your phone and see which of channels 1, 6 and 11 has the thinnest crowd. That single free check resolves more flaky Wi-Fi complaints than any amount of new equipment, and it tells you whether the problem is worth chasing at all. Updated for October 2026.